37
English
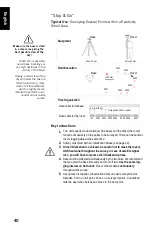
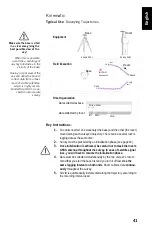
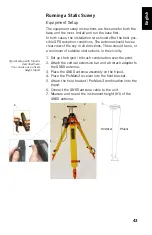
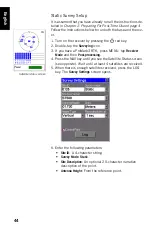
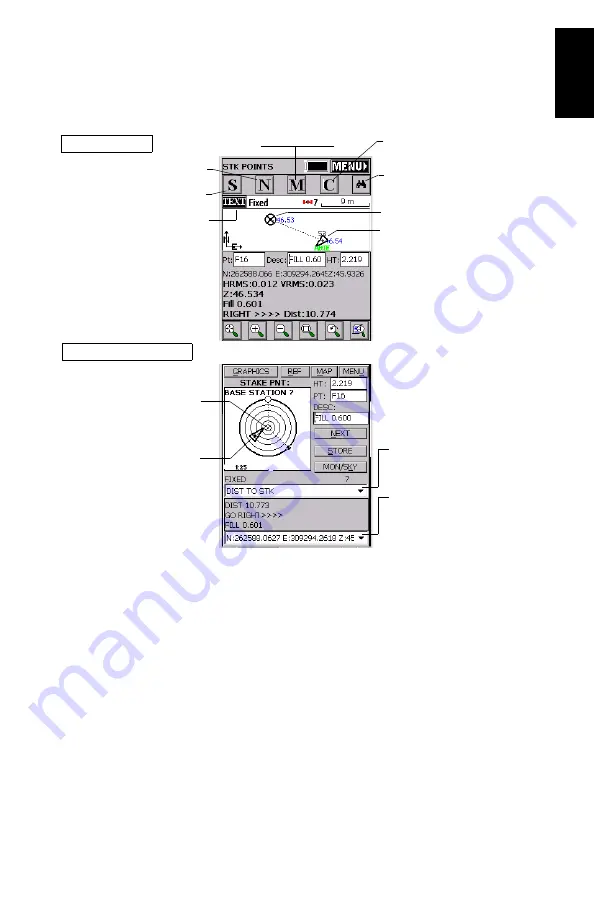
3. Once you have chosen a point, tapping on the
OK
button
will display a graphic screen from which you can easily
stake out your point:
The target radius is automatically changed as the distance
from you to the point changes.
When getting closer to the point, markers appear at the
four corners of the target (see below left) informing you
that you nearly are on the point. You can now set the stake
and log the position of this point.
4. Tapping on the
STORE
button allows you to start perform-
ing measurements to determine the position of the point.
Your current position and
heading
Provides access to
monitor screen
Takes you back to the point
selection screen
Point to be staked out (target)
Provides access to the detailed
stakeout screen below
Stakeout screen
Detailed stakeout screen
Next point
Logs the point
Your current position
and heading
Point to be staked out
Used to select which guidance
data to display
Used to select which data to
display for the point:
coordinates or quality data
Configures general
case of point logging


