
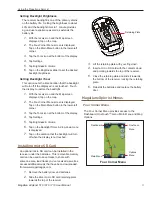


Magellan eXplorist Waypoints
Magellan eXplorist 510 / 610 / 710 User Manual
19
14.
Tap the Disk icon at the bottom of the screen.
15.
The waypoint is saved. Tap the Back icon to
return to the map.
Saving Your Current Location as a Waypoint
1.
Tap on the Map screen.
2.
Tap on the Options Menu icon.
3.
Select
Add Waypoint
.
4.
Edit the waypoint as desired.
5.
Tap on the Disk icon at the bottom of the
display.
6.
The waypoint is saved and you are returned to
the Map screen.
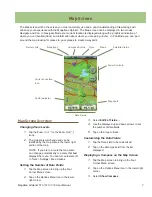
Waypoint Projection
A waypoint can also be created by entering the
distance and heading for the waypoint from your
current location.
Projecting a Waypoint
1.
Tap on the Map screen.
2.
Tap on the Main Menu icon in the lower left
corner.
3.
Tap on the Waypoints icon.
4.
From the
Waypoint List
, tap on the Options
Menu button in the lower right corner.
5.
Tap on
Add Waypoint
.
6.
Tap on
Projection
.
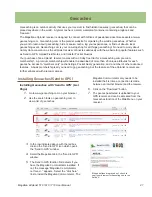
7.
Tap on the Bearing field. Use the keypad to
enter the degrees that the projected waypoint
is from your current position.
8.
Tap on
OK
.
9.
Tap on the Distance field. (Note that you can
tap on the units of measure drop-down menu
to change the units to be used.
10.
Use the keypad to enter the distance from
your current location that you want to project a
waypoint.
11.
Tap on
OK
.
12.
Tap on
Next>
.
13.
The
Waypoint Description
page is displayed.
Make the necessary edits and tap the Disk
icon at the bottom to save.


