WARNING
Improper maintenance and storage of the log splitter may void your warranty.
MAINTENANCE
x
Before performing maintenance, the log splitter must be placed in maintenance mode. Turn off
the engine and move the control lever forward and backwards to relieve the hydraulic
pressure.
x
After performing any maintenance, make sure all guards, shields and safety features are put
back in place before operating the log splitter.
x
Before operating make sure the tires have the
RECOMMENDED TIRE PRESSURE.
x
Regularly grease axle and wheel bearing area or when needed.
x
After the wheel bearings have been greased make sure the axle nuts and pins are in place and
secure.
x
Periodically check all fasteners and hoses for tightness and leaks.
x
Annually clean and lightly lubricate all moving parts o
r when needed.
x
Use a glossy enamel spray paint to touch up scratched or worn painted metal surfaces.
x
Never exceed load capacity rating of 22 tons it will damage the log splitter.
What
When
How
Hoses
Each Use
Inspect hoses for exposed wire mesh and leaks.
Replace all worn or damaged hoses before
starting the engine.
Hydraulic Fittings Each Use
Inspect fittings for cracks and leaks. Replace all
damaged fittings before starting the engine.
Nuts and Bolts
Each Use
Check for loose bolts, tighten before operating.
Beam
Each Use
Apply grease to beam surface.
Moving Parts
Each Use
Clear debris from log splitter.
Refer to the Engine Owner
’
s Manual for engine maintenance.
IMPORTANT:
If a part needs replacement, only use parts that meet the manufacturer
’
s specifications. Replacement
parts that do not meet specifications may result in a safety hazard or poor operations.
STORAGE
x
Before storing make sure the log splitter is clean and dry for years of trouble-free service.
x
Lightly lubricate all log splitter surfaces and moving parts to prevent rust.
x
Store
indoors
or
protected
area
during
severe
weather
and
winter
months.
Maintenance and Storage
Summary of Contents for CARDEN TOOLS LSE2204
Page 21: ...DIAGRAMA DE PE AS...
Page 44: ...DIAGRAMA PIEZAS...
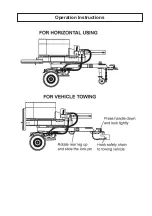
Page 64: ...Operation Instructions...
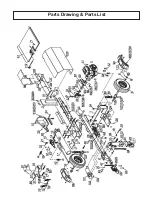
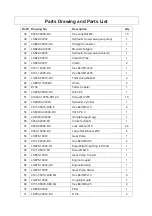
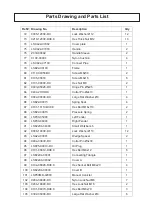
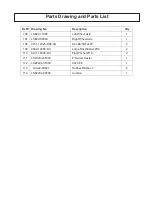
Page 68: ...Parts Drawing Parts List...
Page 75: ......


