


56
Chapter 4: Building Your First Application
2.
Next, drag car.png from the Library panel onto the Stage and place it in the middle of the
rectangle you drew, as in the following illustration:
Add text
The next step is to add text on the Stage.
1.
Select the Text tool from the Tools panel and click on the Stage, under the car.
A text field appears, with a round control that indicates that the field will expand as you type.
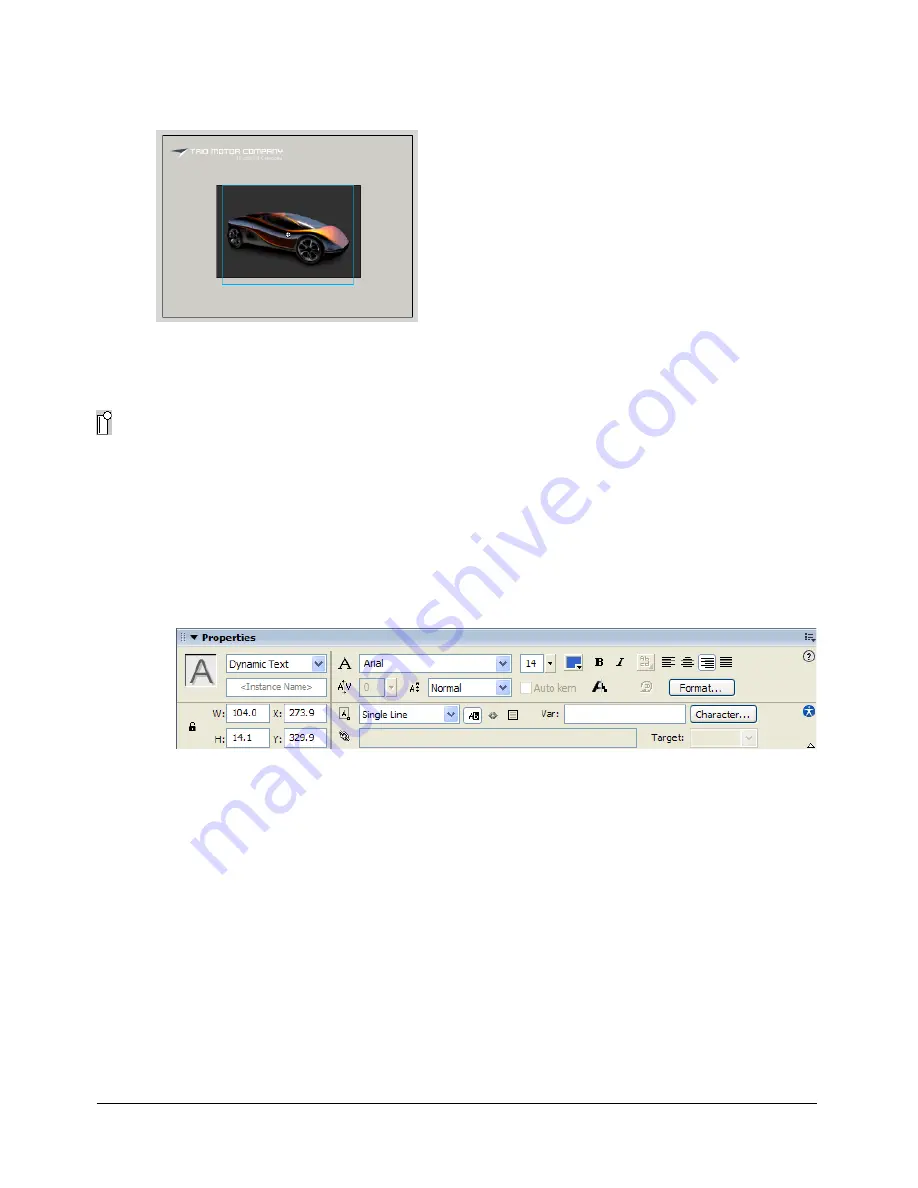
2.
You can specify all the settings for the Text tool before you start typing. In the Property
inspector, do the following:
■
In the Font text box, select Arial
■
In the Point Size text box, type
14
.
■
In the Text (fill) color box, select blue (hexadecimal 3366CC).
■
Verify that additional settings appear as in the following screen shot:
3.
Type
Don’t let your dream car fade away! Click here for more information
.
4.
If necessary, click the Selection tool in the Tools panel and move the text so that it’s more
centered under the car on the Stage.
Add navigation controls
You can easily add navigation controls to your application so that users can click a button to go to
a website. You can do this quickly by adding a PushButton component to the Stage, then adding
behaviors to the button to make it go to a URL.
Add and configure components
Components are drag-and-drop elements that you use to create a user interface almost instantly.
You will use the Button component to create the Information button.
Summary of Contents for DIRECTOR MX 2004-GETTING STARTED WITH DIRECTOR
Page 1: ...Getting Started with Flash...
Page 14: ...14 Chapter 1 Getting Started...
Page 68: ...68 Index...


