


Orion II User Guide
If you buy a spare
power adapter for
your working place
or at home, make
sure the output and
polarity is identical
with the power
adapter supplied!
Chapter 3 - System Set Up
Connection to your Computer
A few tips on how to connect your external storage enclosure:
•
Do not cover the Enclosure and leave enough room around
it for the drive to cool down
•
Do not expose the product to water or humid conditions
•
Always check for visible damage and defects of power and
interface cables before using it
•
We recommend using the cables and adapter supplied with
your product
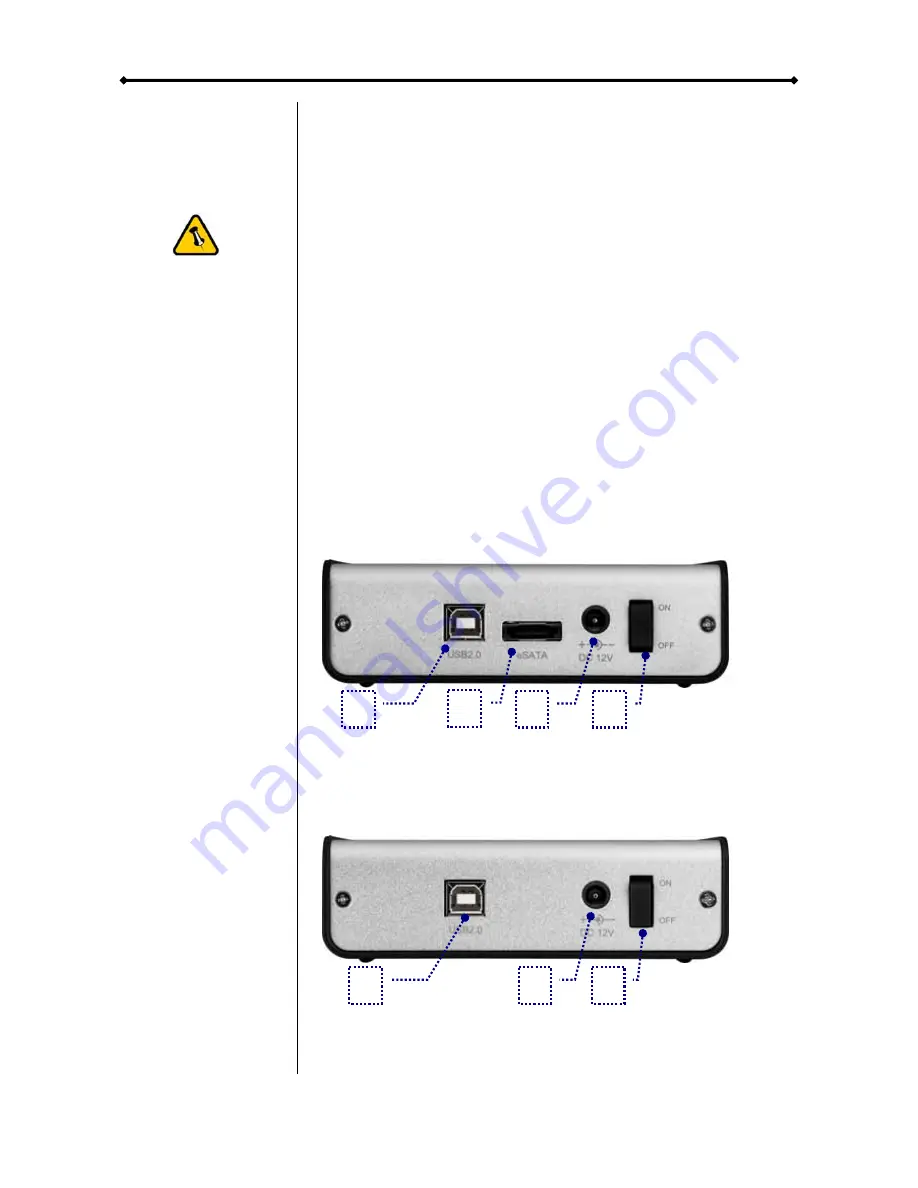
Detailed View
Rear View USB 2.0 & eSATA
1. USB 2.0 port
2. eSATA port
3. Power receptacle
4. ON/OFF switch
2
1
3
4
Rear View USB 2.0
1. USB 2.0 port
2. Power receptacle
3. ON/OFF switch
1
2
3
Note: Always connect the power adapter to your device
BEFORE you plug it into the wall socket.
Page 7 / Chapter 3 - System Set Up


