Getting Started with FeverWarn l Models FW1100A and FW1100B 5
MachineSense • Sales: +1-443-457-1165 • [email protected] • www.feverwarn.com
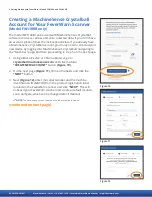
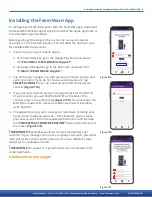
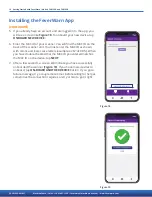
QC-FW005-051821
Micro-USB
power
Figure 9
Type A USB
Figure 7
Figure 8
Connecting the FeverWarn Unit
to the Optional Stand
(continued)
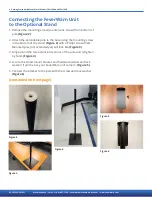
6. Remove the FeverWarn unit from its box and remove the four (4)
screws which are holding the attached wall bracket to the back of
the unit. This will remove the wall bracket and allow you to replace
it with the stand bracket. Hold onto these four (4) screws you will
be using them in the next step.
7. Use the four (4) screws you removed from the back of the
FeverWarn unit (See step 6 above.) to attach the FeverWarn unit
to the stand mount bracket.
(Figure 7 and Figure 8).
8. Plug all the cables into their respective connectors in the scanner
(Figure 9).
9. Set the unit in its location and plug the scanner into an outlet.


