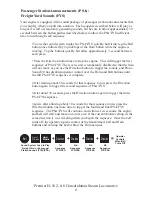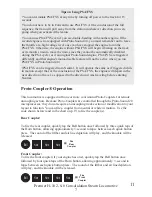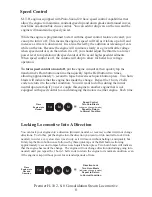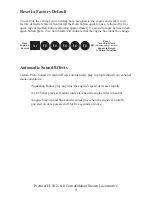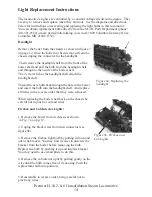
If you experience poor or no smoke output when the smoke unit is on and has fluid,
check the wick to see if it has become hard, blackened, and unabsorbent around the
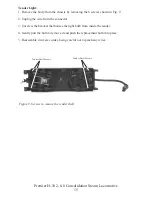
heating element. To remove the smoke unit you will first have to remove the boiler shell
(by removing the body mounting screws shown in Fig. 7a on pg. 12), board and bracket
that block the smoke unit assembly from being accessed. To do this, follow these
instructions:
1. Unplug the two wiring harnesses from the board mounted to the inside of the boiler
and behind the smoke unit.
2. Pry the board away from the bracket using a small screwdriver.
3. With the board free of the bracket, use a phillips head screwdriver to remove the
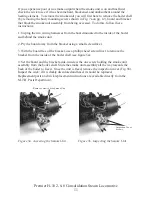
bracket from the inside of the boiler shell (see figure 5a).
4. Set the board and the bracket aside, unscrew the one screw holding the smoke unit
assembly from the boiler shell. Slide the smoke unit assembly all the way towards the
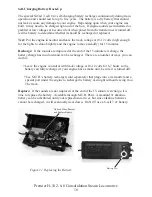
back of the boiler to free it. Once the unit is freed, remove the inspection cover (Fig. 5b).
Inspect the wick; if it is darkly discolored and hard, it should be replaced.
Replacement parts and wick replacement instructions are available directly from the
M.T.H. Parts Department:
Figure 5a. Accessing the Smoke Unit
Figure 5b. Inspecting the Smoke Unit
Remove Screw to Free Smoke Unit
Inspection Cover
Screws
Premier H-10 2-8-0 Consolidation Steam Locomotive
11


