


19
8. You will be prompted for a disk drive from which to read the
driver. Insert the PORTMAN 4x4/S drivers and diagnostics
disk into your floppy disk drive and, if necessary, enter the
disk drive specification in the prompt box. Click on “OK”.
9. When the “Add Unlisted or Updated Driver” window pops
up, select “Midiman PORTMAN 4x4/S” and click on “OK”.
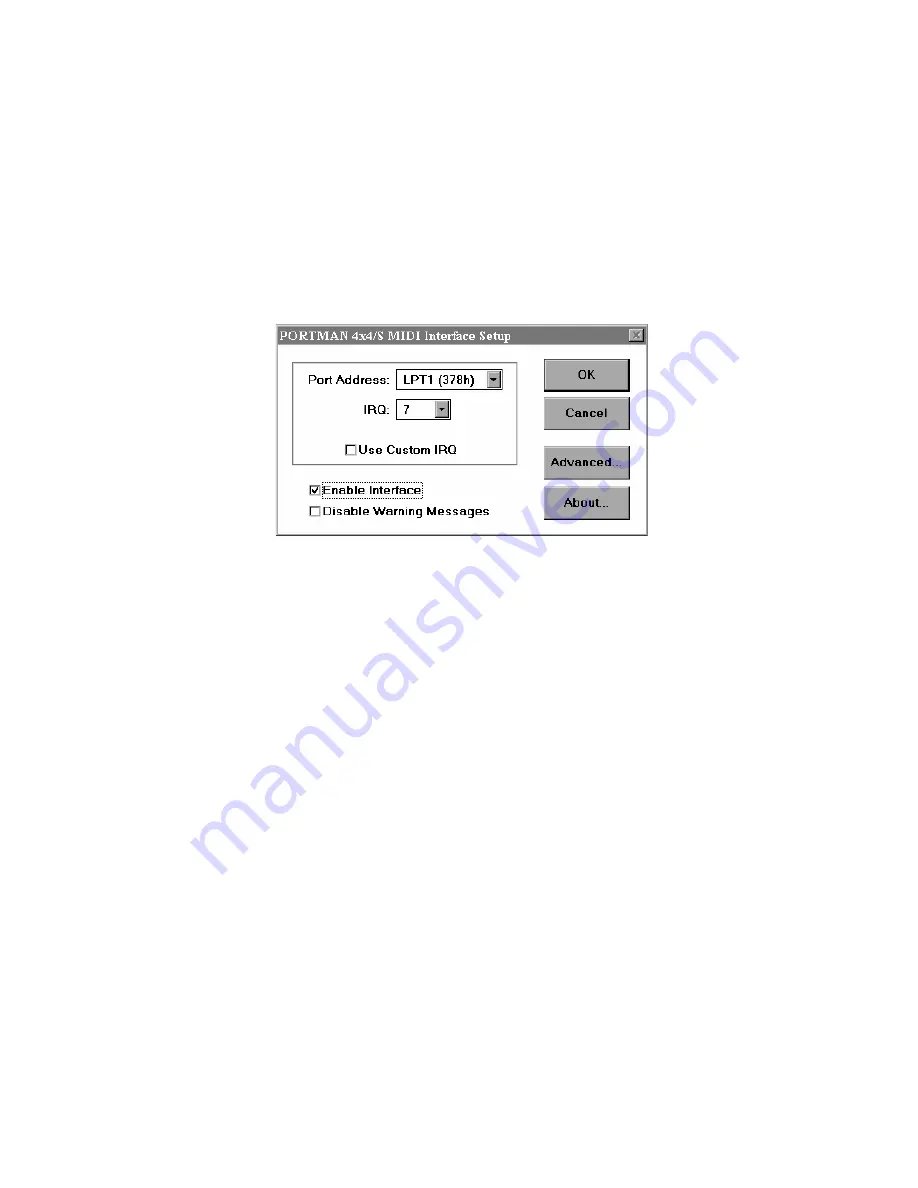
10. The PORTMAN 4x4/S driver setup dialog box will then
appear. It will allow you to set up the driver to match the
Parallel port address and IRQ settings.
(Insert Driver Setup SNAG 4 screen shot here)
11. If you needed to set a special H/W Mode or Delay factor in
order to successfully pass the DOS diagnostics, you should
click on the “Advanced” button and go set those parameters.
See the “About the <Advanced> Button” section below.
12. In order for Windows to install the new driver completely,
you will now be required to exit and restart Windows.
13. As you are restarting Windows, the driver will automatically
calibrate the PORTMAN 4x4/S to your system.
14. After restarting Windows, run your MIDI application(s). You
will need to set up each MIDI application in order to use the
PORTMAN 4x4/S as the selected interface. From within the
application(s) select the proper PORTMAN 4x4/S port as the
current device. This selection procedure will depend on the
application.
Important Note: When using the PORTMAN 4x4/S with
Windows 3.11 for Workgroups, it is important to comment out
the Windows Virtual Print Driver. This driver is automatically
loaded when Windows is loaded and will intercept any data
sent to the parallel port to see if it should be going to a net-


