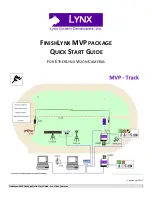
FinishLynx MVP Package Quick Start Guide - For Vision Cameras
5
3.
Connect the cable on the remote lens to the remaining
serial port on the remote positioner.
4.
Secure the geared head to the top of the tripod.
5.
Note how the mounting plate is attached to the top of
the geared head. Then, pull back on the lever at the top
of the geared head to release the mounting plate.
6.
Tighten the mounting plate to the bottom of the remote
positioner by turning the screw with a flathead
screwdriver. Make sure the
Lens
marking on the bottom
of the plate is facing the front of the remote positioner
(where the Lynx label is affixed).
7.
Attach the camera with the remote positioner and
mounting plate to the tripod by clicking the mounting
plate into place on the geared head.
8.
With the camera lens lined up with and facing the finish
line, make minor adjustments to the tripod legs so both
bubbles on the tripod are centered.
9.
Turn the black knob on the geared head that controls the
tilt
of the camera so that it is at about a 30 degree angle
to the ground.
10.
Repeat this process for the second EtherLynx Vision
camera.
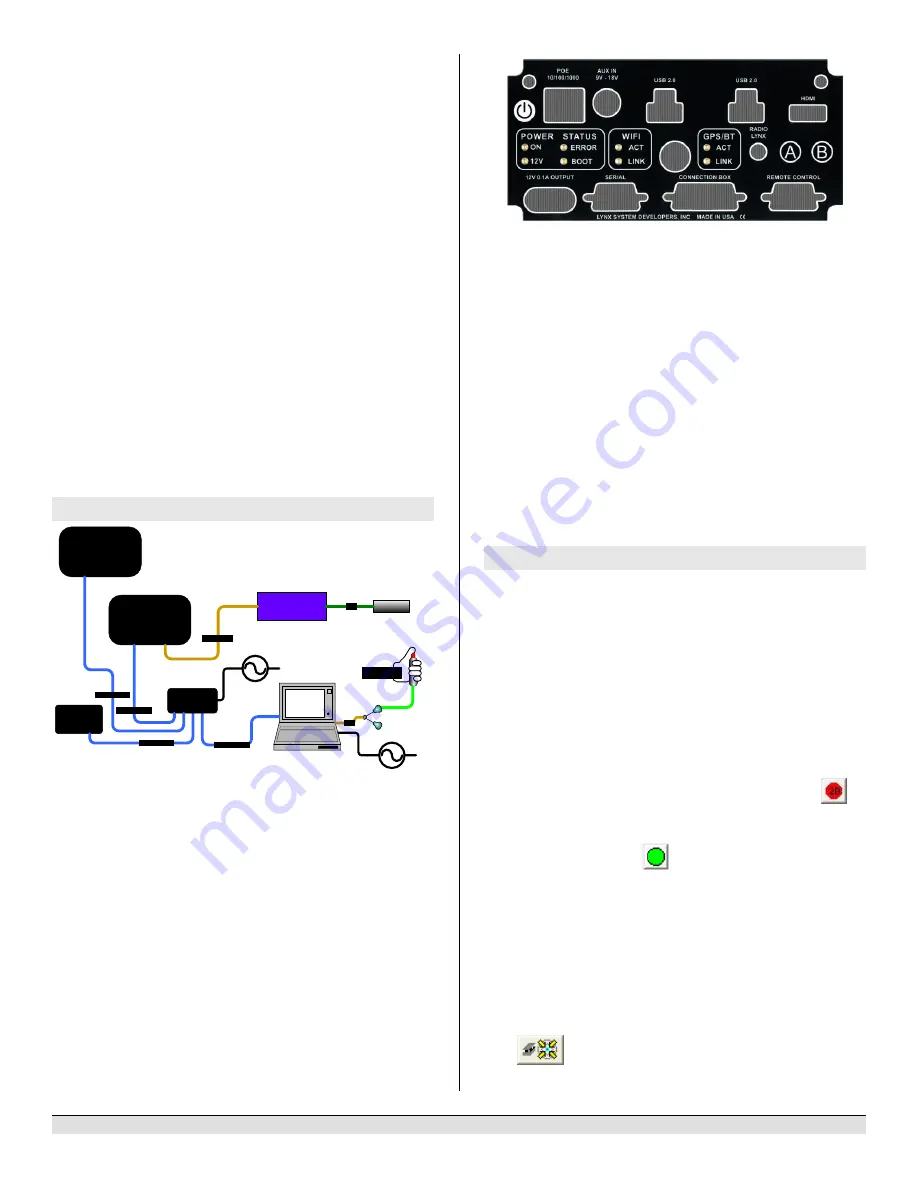
Step 9:
Connect the Cables to your Cameras
AC
EtherLynx Vision
Primary Camera
Connection Box
Sensor
DB 15 Cable
XLR
Capture
Button
Cat 5 Ethernet
IdentiLynx
Camera
Cat 5 Ethernet
AC
PoE
Switch
USB
Button Splitter
EtherLynx Vision
Reverse Camera
Cat 5 Ethernet
Cat 5 Ethernet
Primary
camera
(Marked TIMING ENABLED on camera ID
plate on base of camera)
1)
Connect the female end of connection box cable to the
port on the back of the camera) labeled Connection Box
and the male end to the left side of the connection box.
2)
Connect the male end of the start sensor cable to the
connection box where it says
Start
. Attach the start
sensor to the other end of the cable and keep the start
sensor close by.
3)
Connect an Ethernet cable to the network connection on
your computer and the other end to a port on the Power
over Ethernet switch
4)
Connect an Ethernet cable between the back of the
Primary camera labeled
POE 10/100/1000
and a port on
the Power over Ethernet switch.
5)
Turn on the camera by pressing and holding the black
power button on the back.
Reverse Angle Camera
1)
Repeat Steps 3) above.
Capture Button
1)
Connect the capture button cable to the 9-pin serial port
on the button splitter that is labelled
Capture Button
.
2)
Connect the button splitter to a 9-pin serial port on your
computer, or to a USB port with the supplied adaptor.
Step 10:
Align the Primary Camera
Note
: The EtherLynx Vision camera can be aligned using
either 1-D mode or 2-D EasyAlign mode. We recommend
using EasyAlign. If you are using an older model EtherLynx
camera, however, it must be aligned using classic 1-D mode.
NOTE: If running a wireless Ethernet card on your computer,
we recommend that you disable it before starting FinishLynx
and while the camera is booting.
Start FinishLynx
. Wait while the green status bar in the lower
right corner of the screen completes its cycle.
Align Vision Camera in EasyAlign 2-D Video Mode
1.
Activate EasyAlign
by clicking on the 2D align Icon
in
the top left hand corner of the FinishLynx
Hardware
Control
screen.
The icon turns green
and the 2-D video viewer
appears within the software. The 2-D viewer makes it
easy to see how your camera is aligned on the finish
. The
goal is to align the green vertical line with the painted
finish line and near its front edge.
2.
Adjust Remote Lens/Positioner Controls -
Adjust the
remote lens/position controls on the right of the
FinishLynx hardware control screen.
Center Remote Camera Positioner
Click
to center the camera automatically using the
remote positioner.


