16
5
Cord / Cordless trimming
·
Corded
1. Connect the Power Adapter cord plug to the socket at the bottom end of the clipper.
2. Plug the Power Adapter into a 230V/50Hz AC outlet.
3. Switch the clipper ON and begin trimming.
4. When finished, switch the clipper OFF and unplug.
·
Cordless
1. Charge the clipper according to directions.
2. Remove the clipper from the Charging Stand.
3. Switch the clipper ON and begin trimming.
Note:
If the battery has completely run out, you can return to corded trimming. Connect
the Power Adapter cord plug to the clipper and switch ON. If the clipper does not start
immediately when plugged in, switch it OFF. Wait approximately 1 minute. Switch back
ON and begin trimming.
Guide comb attachment
The Guide Comb helps to guide hair to cutting blades and gives you precise control of
hair lengths.
It’s designed for easy operation that it can be adjusted only by one
hand
.
It may be removed if you are:
·
Defining/outlining hair line edges
·
Trimming nape of neck
·
Trimming with a Barber’s comb or fingers
In the above three situations, you can remove the guide comb and turn the turning
wheel rightwards to “ “ to start to use the thinning function.
To Remove the Guide Comb
1. Be certain the clipper is in OFF position.
2. Gently pull the Guide Comb off the clipper by one hand.
The Hair Length Selector allows you to adjust to five different hair lengths:
1. Be certain the clipper is in OFF position.
2. Turn the Turning Wheel leftwards until it cannot be turned further.
3. Push the Guide Comb to desired setting.
Nastavení
Přibližná délka vlasů
1
4 mm
2
8 mm
3
12 mm
4
16 mm
5
20 mm
Střihání
1. Ujistěte se, že je zastřihovač čistý. Pohybuje-li se stříhací čepel pomalu nebo se
nepohybuje, může být znečištěná nebo zanesená. Zastřihovač vyčistěte podle
pokynů pro ÚDRŽBU.
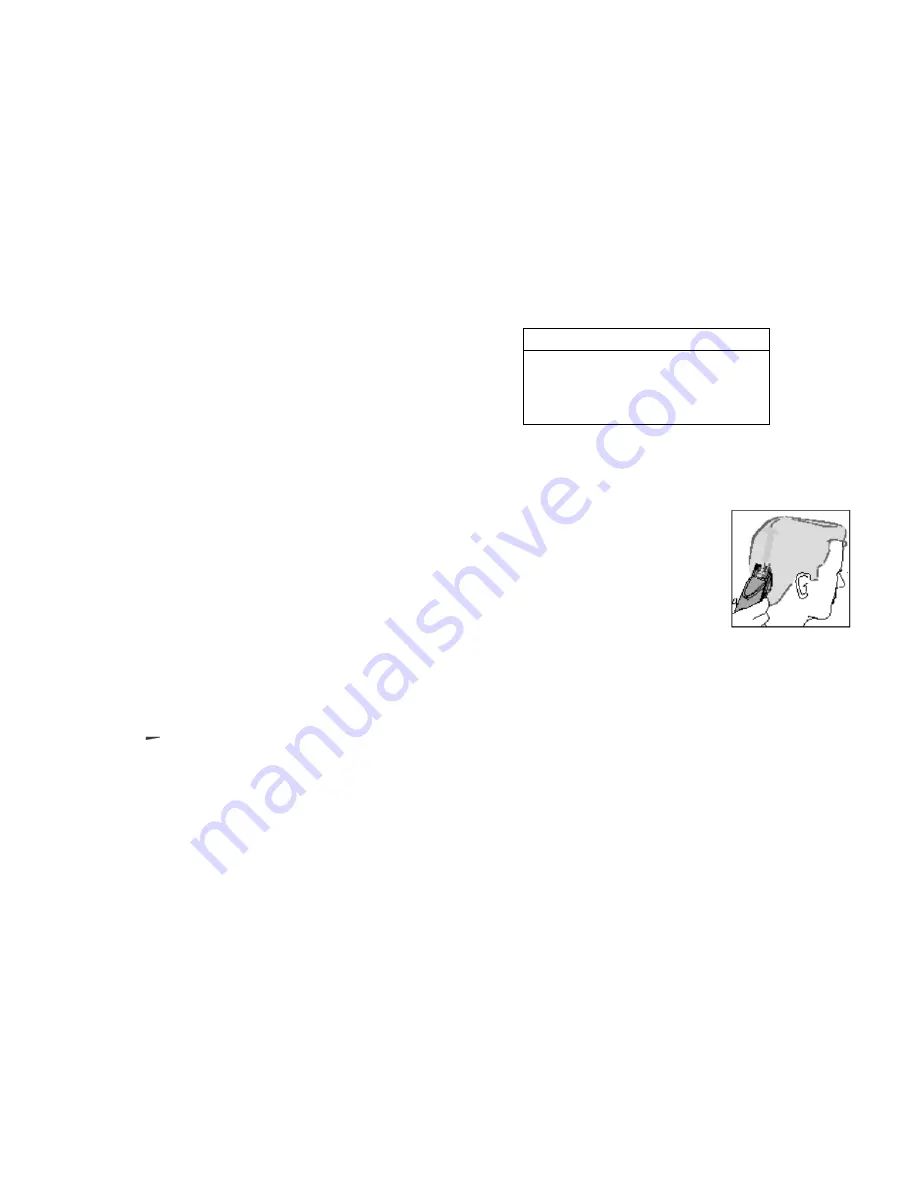
2. Osobu, kterou střiháte, posa te tak,
aby měla hlavu ve výši vašich očí.
3. Vlasy by měly být čisté, dobře učesané,
rozmotané a suché.
4. Použijte zastřihovač s nasazeným
nástavcem úrovně zastřižení.
5. Zastřihovač držte pevně, ale pohodlně.
6. Nejste-li zvyklí střihat vlasy, začněte s
nastavením větší délky a pak nastavení
snižte, abyste se vyhnuli ostříhání větší délky než je požadováno.
7. Začněte na bočních stranách hlavy. Pohybujte zastřihovačem pomalu proti směru
vlasů, zvedejte je a posunujte zastřihovač směrem ven, přičemž ustřihněte najednou
malé množství vlasů.
8. Mezitím vytřepáním nebo vyfoukáním odstraňujte vlasy ze zastřihovače. Zachytí-li
se v nástavci úrovně zastřižení velké množství vlasů odstraňte je.
9. Pravidelně pročesávejte vlasy ve stylu požadovaném během stříhání.
Stříhání bez nástavce úrovně zastřižení
Při používání zastřihovače bez nástavce úrovně zastřižení, používejte pomalé, jemné
pohyby, abyste předešli ostříhání většího množství vlasů než požadujete.
Stříhání s hřebenem
Při stříhání dlouhých vlasů je podržte hřebenem a odstřihněte nůžkami nebo
zastřihovačem (nástavec úrovně zastřižení musí být ze zastřihovače sejmut).


