background image

11

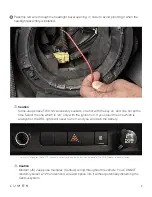
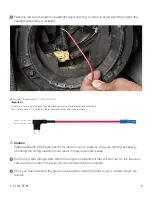
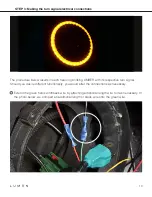
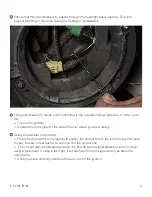
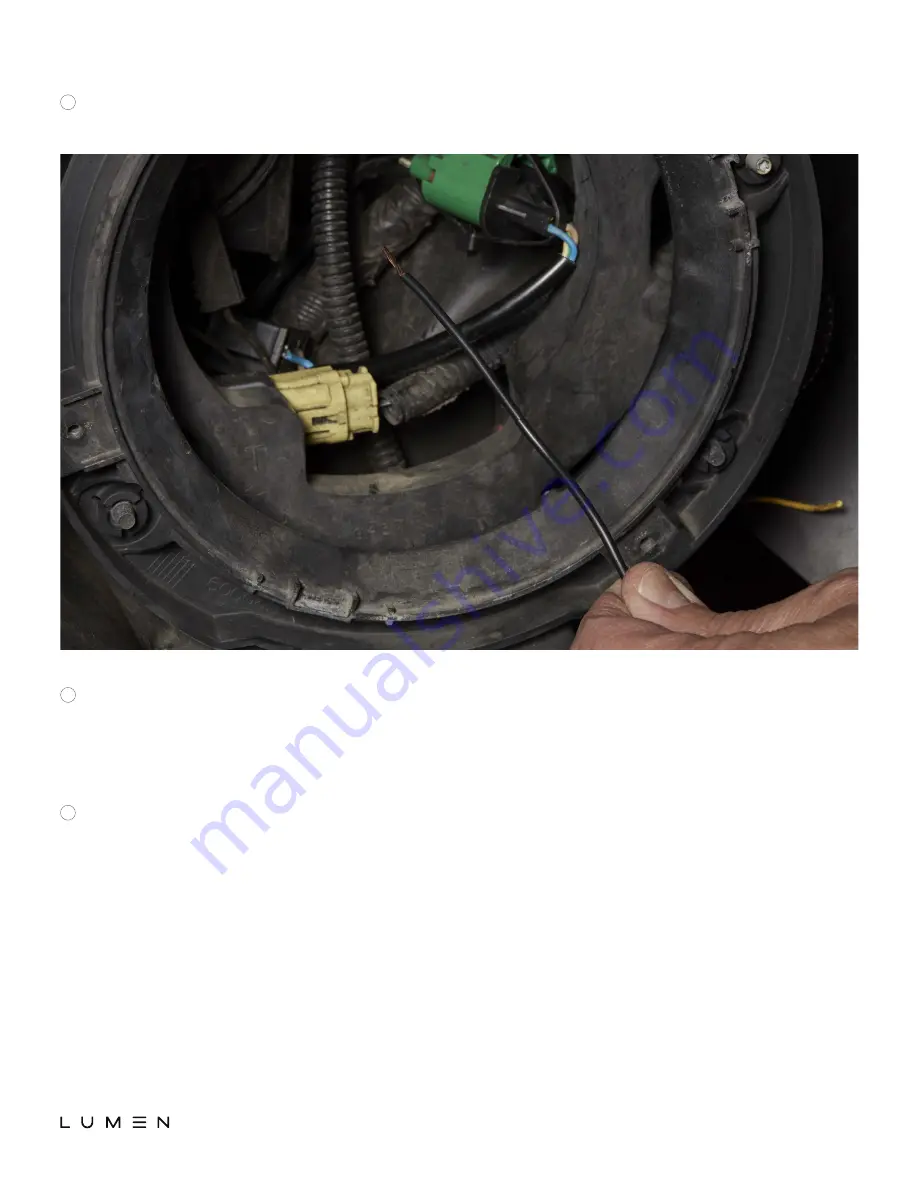
Ensure that this green/black wire passes through the headlight bezel opening. This is to 
prevent pinching of the wires during the headlight reinstallation.

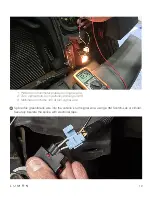
This green/black wire needs to be connected to the corresponding signal wire. In order to do 
this:

B

C

Using a multimeter or test lamp:

D

a.

 Turn on the ignition;

b. 

Operate the turn signal for the side of the car where you are working.

a. 

Probe the wires at the turn signal bulb socket; the correct wire to tap into will vary from year 

to year, be sure to test each wire until you find the correct one.

b.  

The correct wire will alternate between 12V and 0V as the signal flashes on and off when 

using a multimeter. If using a test light, it will flash with the turn signal when you have the 
correct wire.

c.

 Once you have correctly identified the wire, turn off the ignition.

Summary of Contents for SB7050BA-BLK

Page 1: ...INSTALLATION INSTRUCTIONS For 2007 and newer Jeep Wrangler JK SB7250XX BLK SB7250XX CHR SB7050BA BLK SB7060XX BLK SB7060XX CHR SB7160XX CHR SB7160XX BLK SB7150FA BLK SB7150FA CHR SB7823XX BLK SB7822XX...

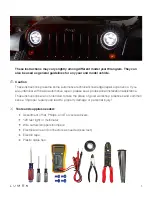
Page 2: ...g different model year Wranglers They can also be used as general guidelines for any year and model vehicle Caution These instructions presume some automotive technical knowledge repair experience If...

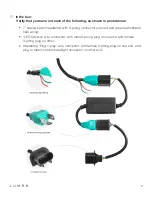
Page 3: ...lus red and green switchback halo wiring LED Canbus wire connector with male 3 prong plug on one end and female 3 prong plug on other Headlamp Plug n play wire connector with female 3 prong plug on on...

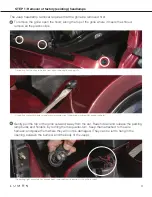
Page 4: ...cled The Jeep headlamp removal requires that the grille be removed first 3 To remove the grille open the hood along the top of the grille where it meets the shroud remove all the plastic clips Gently...

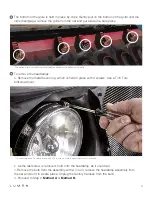
Page 5: ...zel is held in place with 4 Torx screws Note the parking lamp still attached To remove the headlamps a Remove the metal bezel ring which is held in place with 4 screws Use a T 15 Torx bit screwdriver...

Page 6: ...socket Method B Making the DRL connection at the fuse box with an Add a fuse connector Method A You may begin this step at either the driver or passenger side of the vehicle we recommend the driver si...

Page 7: ...only with the ignition on If you select the one which is always hot the DRL lights will never turn off and you will drain the battery In our 2007 Wrangler the LEFT 12 socket is hot only with key on s...

Page 8: ...ve for the other side of the vehicle NOTE however that the 2nd red wire does not need to be routed into the interior instead route this red wire across the engine compartment and connect it to the 1st...

Page 9: ...the Add a circuit If no fuse is there add one to the lower fuse location Caution Please research which fuse position to use in order to properly wire your lighting accessory Choosing the wrong locatio...

Page 10: ...unctionality has been confirmed create a channel for the wire to pass through the fuse box wall without being pinched or the fuse box being compromised The picture below shows the completed wire passi...

Page 11: ...re different functionality you would alter the connections as necessary 10 Extend the green halo switchback wire by attaching additional length wire to it as necessary In the photo below we crimped an...

Page 12: ...nition b Operate the turn signal for the side of the car where you are working a Probe the wires at the turn signal bulb socket the correct wire to tap into will vary from year to year be sure to test...

Page 13: ...s turn signal wire using a 3M Scotch Lok or similar Securely insulate the splice with electrical tape 1 Probe from multimeter probes turn signal wire 2 Turn signal bulb is on actually blinking on off...

Page 14: ...Canbus wiring connector and plug its male end into the female end of the headlamp plug n play connector NOTE During Steps C and D below take care to ensure that the headlamp does not drop Plug the fe...

Page 15: ...D headlamp in place by reatiaching the bezel ring Repeat Steps A D above for the other side Test all lights low beam high beam DRL turn signals If you used Method B in Step 2 go back and make final cr...

Reviews: