3.3. PUTTING PRINT FILES ON THE SD CARD
3.3
Putting Print Files on the SD Card
To print from the Graphic LCD, you will need to transfer .gcode print
files onto the SD card. Follow the normal steps, as explained in the Slic3r
chapter, to create .gcode print files on your computer. Insert the SD card
into your computer using a SD reader slot or USB SD card reader. Open a
file browser- / -manager and locate the created .gcode files; drag and drop
or paste the .gcode files to the SD card. Once the files have transferred,
eject the SD card from your computer and insert it back into the SD card
slot on the left side of the Graphic LCD case.
3.4
Printing With the Graphic LCD
The Graphic LCD Status Screen
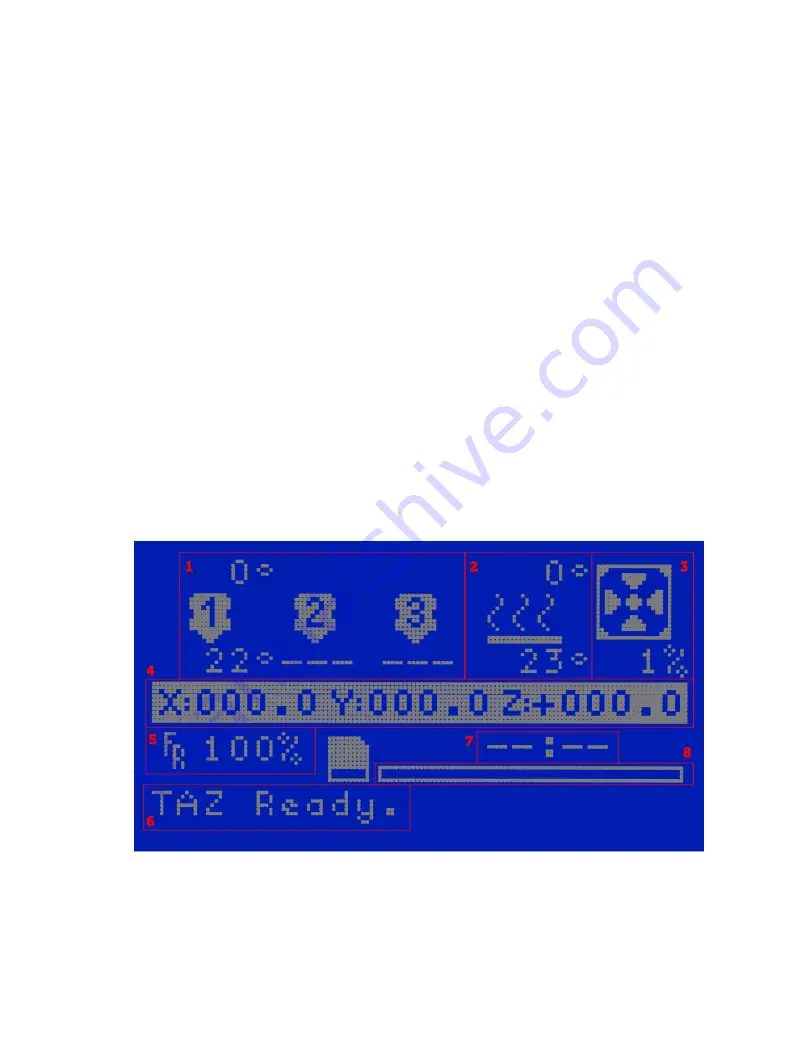
The GLCD screen will turn on you power up your TAZ 3D printer. The
start-up screen will display the Status screen (fig. 3.1, page 99). The Status
screen is the default screen for the GLCD, presenting the current status of
the printer. There are a number of live statuses shown on the Status
Figure 3.1: GLCD Info Screen
99
PROOF
Summary of Contents for TAZ 4
Page 1: ...Content Type Standard Color Paper Type STCO19 Page Count 130 File type Internal PROOF...
Page 2: ...P R O O F...
Page 3: ...TAZ 4 User Manual Aleph Objects Inc P R O O F...
Page 10: ...P R O O F...
Page 11: ...WARNINGS Safety Information P R O O F...
Page 14: ...P R O O F...
Page 15: ...3D Printer Software P R O O F...
Page 25: ...Slic3r P R O O F...
Page 98: ...P R O O F...
Page 99: ...Printing with the Graphic LCD P R O O F...
Page 107: ...Maintaining Your 3D Printer P R O O F...
Page 111: ...Advanced Usage P R O O F...
Page 116: ...P R O O F...
Page 117: ...Hardware and Software Source Code P R O O F...
Page 119: ...3D Printer Support P R O O F...
Page 121: ...Contact Information P R O O F...
Page 129: ...P R O O F...
Page 130: ...Colophon Created with 100 Free Libre Software GNU Linux L A TEX Memoir P R O O F...
Page 131: ...P R O O F...
Page 132: ...7IA9I9 dhiefb P R O O F...
Page 133: ...P R O O F...


