Using PMVision
6-5
Selecting PMVision Functions
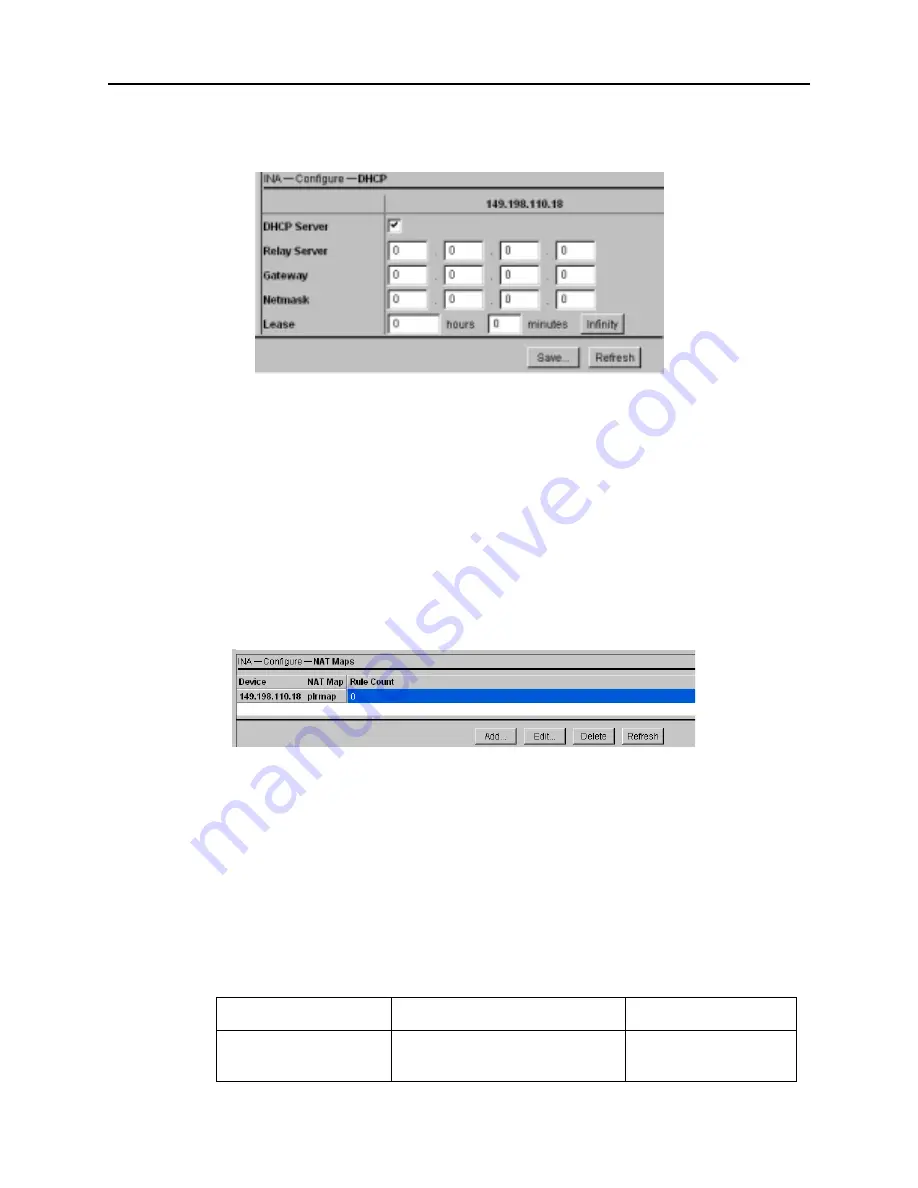
Figure 6-4
Configuration Panel Example
Working with Configuration Displays
Displays (Figure 6-5) have two or more control buttons at the bottom. Click the Add
button to add a new entry and display a configuration panel. Enter the data and click
Save.
You can edit or delete a setting by first selecting the setting to be changed. Clicking Edit
displays a configuration panel. Modify the displayed data and click Save. Clicking
Delete erases the selected settings. Use the Refresh button to refresh the displayed data
and confirm that settings have been updated.
Figure 6-5
Configuration Display Example
Enter Basic Settings
Enter configuration settings by selecting the appropriate functions.
Table 6-1 shows the PMVision functions you would use to enter basic configuration
information. Consult the PMVision User’s Guide or use PMVision online help if more
information is needed.
Table 6-1
Basic INA Module Configuration Using PMVision
Setting
Select PMVision Function:
Entry
Ether0 address
INA
→
Configure
→
Ethernets,
Edit
IP address
Summary of Contents for Network Access Module
Page 4: ......
Page 32: ......
Page 40: ...Configure the WAN Port 5 8 INA Module Installation and Configuration Guide ...
Page 56: ...Using the DS 1 Test Jacks A 8 INA Module Installation and Configuration Guide ...
Page 60: ...Crossover Cable B 4 INA Module Installation and Configuration Guide ...
Page 70: ...INA Module System Interactions C 10 INA Module Installation and Configuration Guide ...


