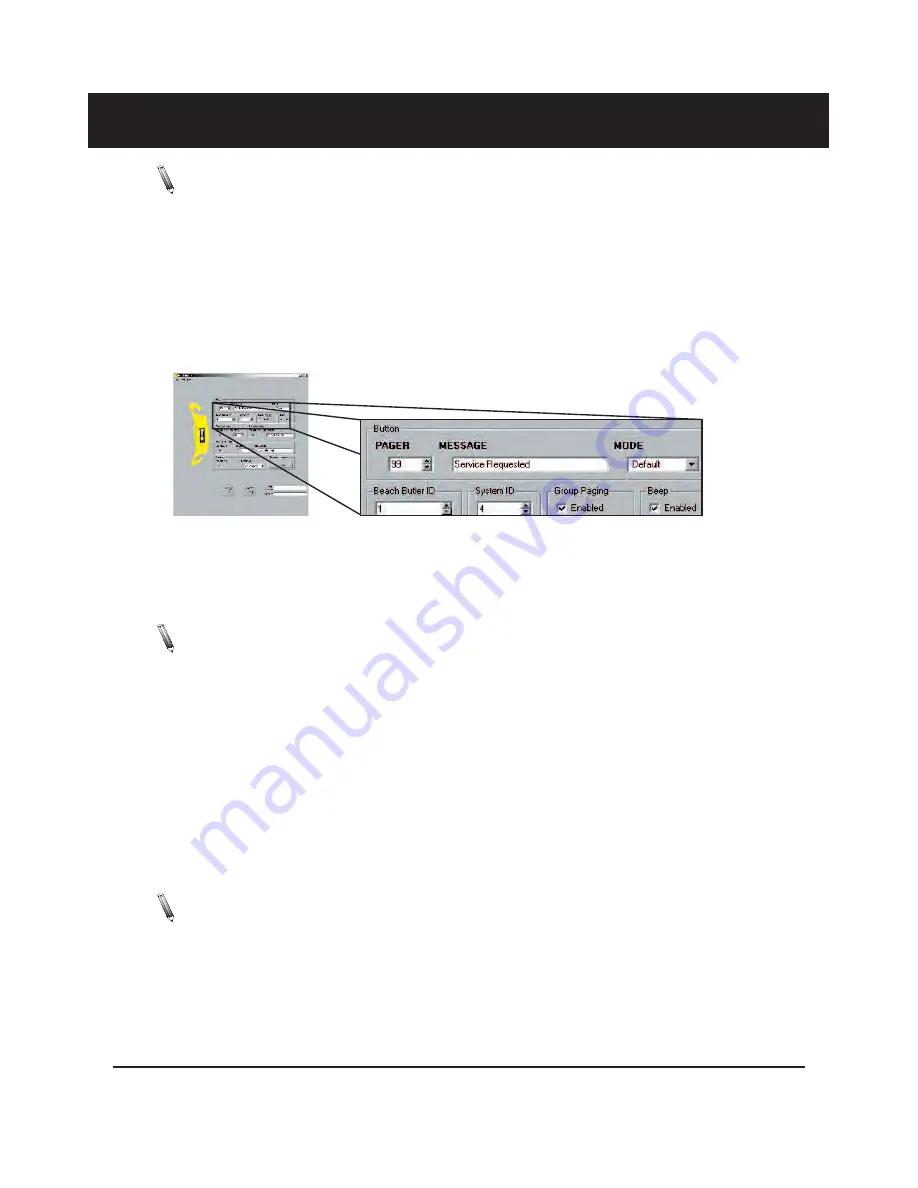
Configuring a Button Butler
Note:
The Butler XP must be connected to the PC using the USB cable before configuration. .
• A configuration can be modified from a previously saved file, or manually created on screen.
• For any changes to take affect press the Update
• The Update Butler button must be pressed for changes to be applied.
Button Setup
The Button section is used to set the message sent to the pager when the “Service” button on the Butler XP
is pressed.
To set a Message:
1. Under PAGER, enter the pager number that the “Service” button will page.
2. Under MESSAGE, enter the message to be sent to the pager.
3. From the MODE drop down box, select an alert mode.
Note:
Firmware versions prior to 1.11 will only support “Mode” set to DEFAULT
Butler ID
The Butler ID is used to identify which Butler unit the service request came from.
Example:
If the Butler ID is “5”, and the message is set to “Service”, then the pager message will dis-
play
“Service 5”
.
To set the Butler ID:
1. Enter the Butler ID number 1 to 9999.
System ID
Note:
The System ID should be changed ONLY when interference occurs because of other LRS systems in nearby areas.
Default System ID is 0.
In the event that more than one LRS system is in close geographical proximity, the system ID can be changed
to avoid interference. If the System ID is changed, the System IDs of all pagers also need to be changed (up-
dated) to the same System ID. (See Programming Pagers pg. 11)
Long Range Systems
4
Button Butler Program Guide


