


L-Proxy User Manual
14
LOYTEC
Version 3.1
LOYTEC electronics GmbH
databases and different domains. Then NVs are connected on L-Proxy by creating internal
connections.
First, install the L-Proxy Configurator Software from the “setup.exe”. This file can be
downloaded from
www.loytec.com
. In your LNS-based tool, register the L-Proxy
Configurator as LNS plug-in.
Open an LNS database and add an L-Proxy device for Port 1 (FT) using the device
template, which has been created for the L-Proxy (e.g., L-Proxy_V3_0_FT-10.xif). Then
create dynamic NVs on that L-Proxy port, e.g., “nviTemp” and “nvoSwitch”. Close the
LNS database. For detailed information on how to create dynamic NVs in LNS-based tools
refer to Section 7.7.
Open another LNS database and add an L-Proxy device for Port 2 (FT) using the device
template, which has been created for the L-Proxy (e.g., L-Proxy_V3_0_FT-10.xif). Then
create dynamic NVs on that L-Proxy port, which are opposite to the NVs on port 1, e.g.,
“nvoTemp” and “nviSwitch”.
To Create the Internal Connections
1.
Open one of the two databases.
2.
In LonMaker right-click on the L-Proxy device and select
Configure …
to launch the
L-Proxy Configurator as plug-in.
3.
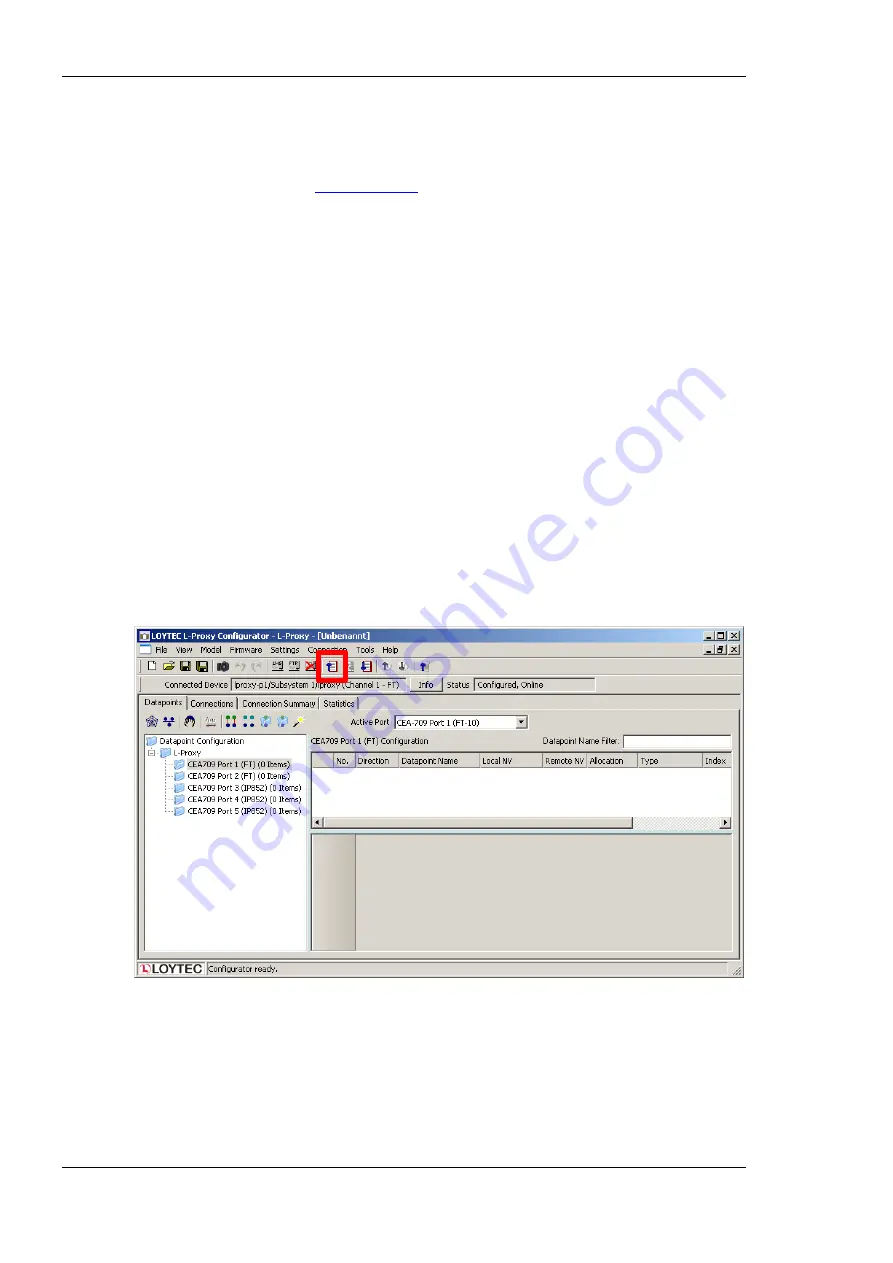
This opens the data point manager screen of the software as shown in Figure 2. Note
that the device status is displayed as “Configured” on the right-hand side below the
speed button bar.
Figure 2: L-Proxy Configurator plug-in main screen.
4.
Click on the
Upload Configuration
speed button as marked by the red rectangle in
Figure 2.
5.
This uploads all dynamic NVs from all ports of the L-Proxy. Figure 3 shows an
example result of the upload.
Summary of Contents for L-Proxy
Page 1: ...L Proxy CEA 709 Gateway User Manual LOYTEC electronics GmbH ...
Page 10: ......


