8
Navigating the Map
Center Map
To center the map, click on the crosshair button at the top left of
the screen. Now click on the part of the map that you want cen-
tered in the map window.
Zoom
You can zoom on any portion of the map using the crosshair button. To do
this, place the crosshair cursor on the map near the location that you
want zoomed. Now click and drag the cursor. A box appears on the map.
Drag the box until it covers the desired zoom area. Now release the mouse
key. The program will zoom in on the selected area.
The zoom-in and zoom-out buttons are located at
the bottom right corner of the map. Click on the
zoom-in button to enlarge the centered area of the map; the zoom-out
buttom works the opposite. The current scale shows in the window next to
the zoom-in button. You can change the scale two ways. The first is to
click on the down arrow at the right of the box, then select a preset scale.
The other method is to click inside the box, then enter the desired scale.
Creating a Map
To create a map to download to an MMC cartridge, first center the
map on the desired area, then adjust the zoom so that you can
see the entire area that you wish to cut the map from. Next, select
the "Create Border" button.
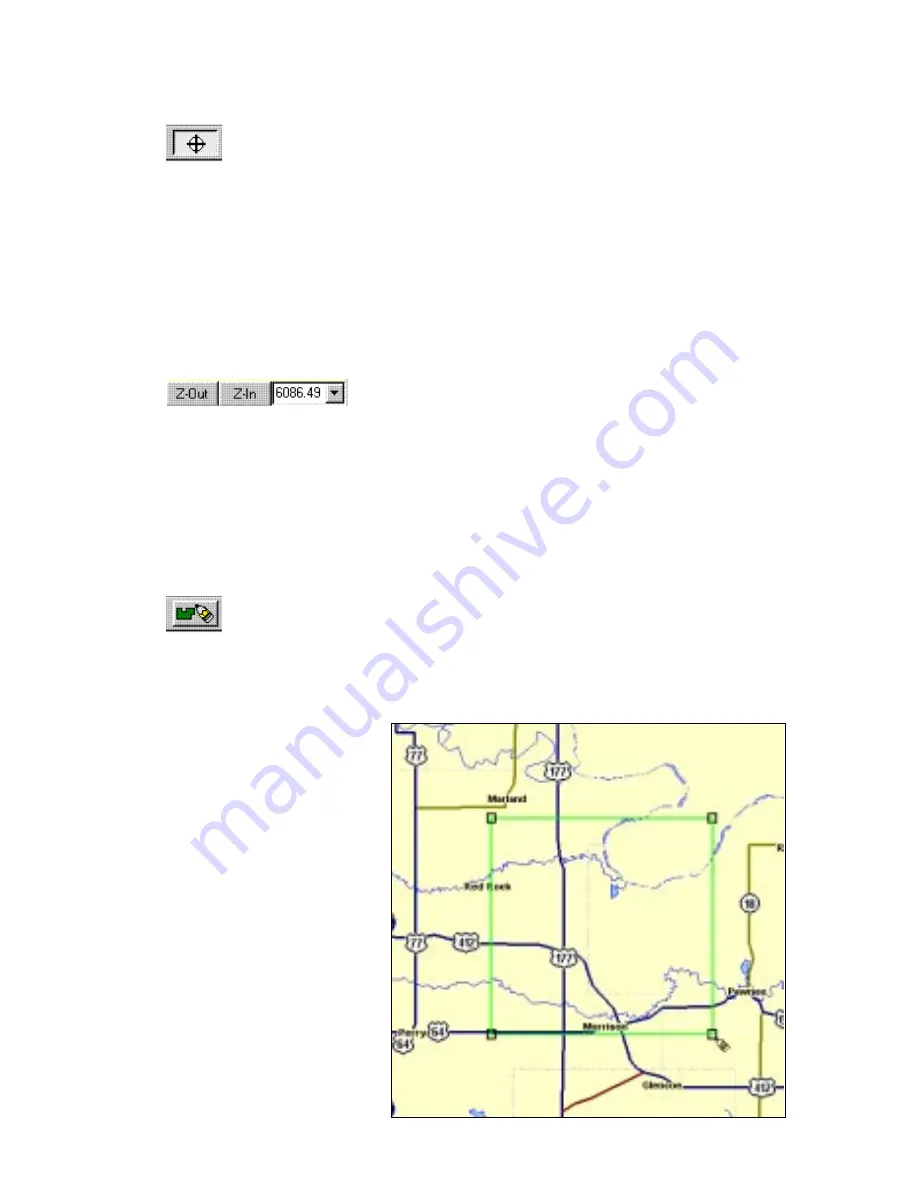
Click and Drag
There are two methods
of selecting a map. The
first is to click and drag
the Create Border tool as
shown at right. This cre-
ates a box. Release the
mouse button when the
box is at the desired size.
The selected map is in-
side the green box. This
is the area that will be
transferred to the MMC.
To erase the box and
start over, simply hold
Summary of Contents for LGC-12S
Page 1: ...1 OWNER S MANUAL ...


