background image

PB

43

AIS | 

Elite series

AIS | 

Elite  series     

AIS

The marine Automatic Identification System (AIS) is 

a location and vessel information reporting system. 

It allows vessels equipped with AIS to automatically 

receive position, speed, course and vessel identity 

information from other AIS-equipped vessels. 
If an AIS device is connected, all targets detected 

by the device can be displayed. 

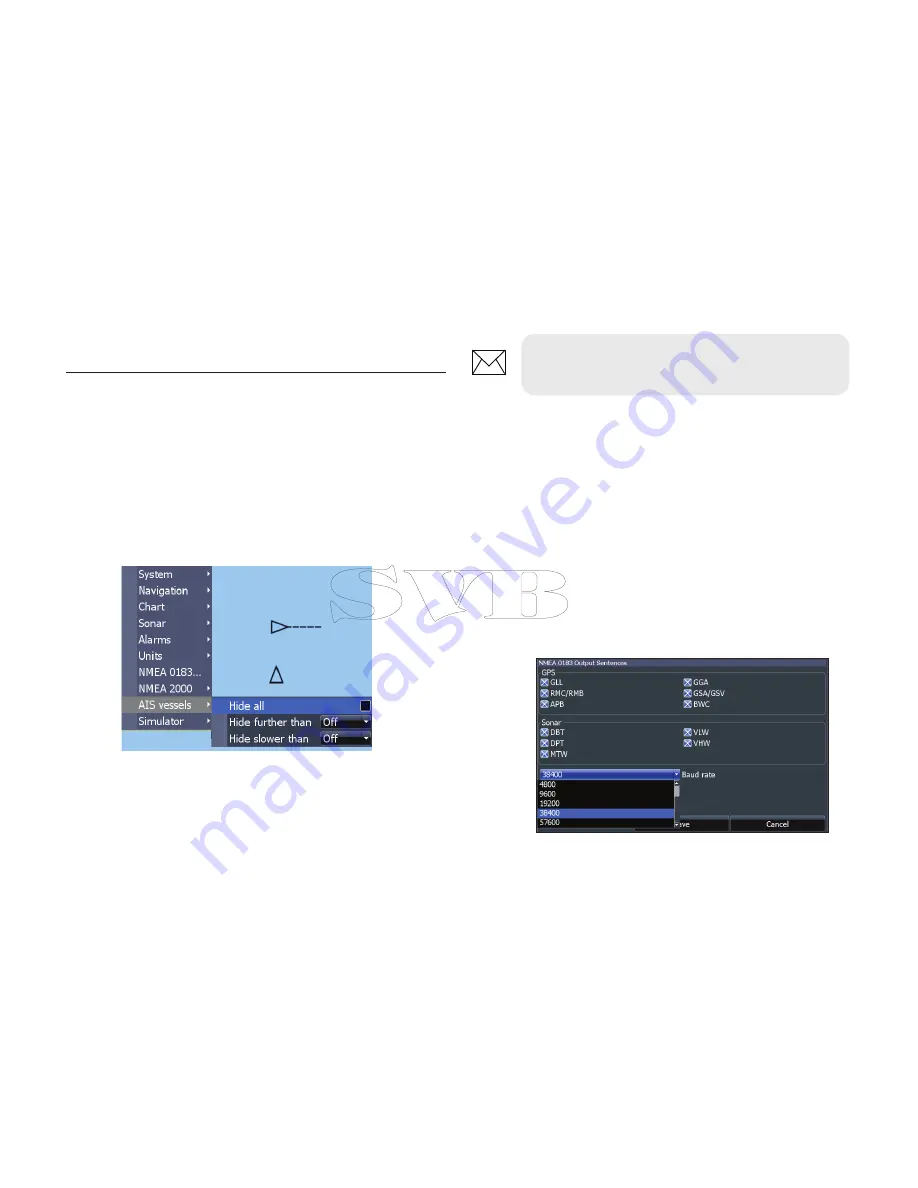
AIS Setup

Before using AIS, your unit must be set to the same 

Baud rate as your AIS device. 

To select a Baud rate:

1.  Access the settings menu.
2.  Select 

NMEA 0183

3.   Access the Baud rate dropdown menu 

on the NMEA 0183 settings dialog. 

4.   Select the same Baud rate used by 

your AIS device.

5.  Select 

Save

.

NOTE:


Your unit must be set to Advanced 

mode to access NMEA 0183 settings.

Summary of Contents for Elite-5 DSI

Page 1: ...Installation Operation manual Mark 4 Elite 4 Elite 5 Elite 7 Elite 9 Operation manual...
Page 2: ...at any time We reserve the right to do so without notice All features and specifications subject to change without notice Compliance Statements Lowrance Mark 4 Elite 4 Elite 5 Elite 7 and Elite 9 mee...

Page 3: ...d to provide reasonable protection against harmful interference in a residential installation This equipment generates uses and can radiate radio frequency energy and if not installed and used in acco...

Page 4: ...ing pages 5 Page menus 5 Working with menus 7 Dialogs 7 Entering text 8 Fishing modes 8 Cursor 9 Goto cursor 9 Advanced mode 10 Standby mode 10 Restore defaults 10 Pages 11 Steer page 11 Sonar page 11...

Page 5: ...ckback 26 DSI menu 26 Ping Speed 28 Downscan options 28 Chart Operation 31 Waypoints Routes Trails 32 Routes screen 33 Trails screen 37 Orientation 39 Chart settings 40 Navigation settings 41 AIS 43 A...

Page 6: ...s Muting Audio Select Mute Audio from the System menu and press ENTER Selecting a GPS Source Select GPS from the System settings menu Highlight GPS source and press ENTER Select the desired source Uni...

Page 7: ...e series Inserting microSD cards Carefully slide the microSD card into the slot until it clicks into place To remove carefully push in the card until it clicks out of place Elite 5 Elite 7 and Elite 9...

Page 8: ...ve menus that can only be accessed when those pages are displayed Setup wizard The Setup wizard will appear when the unit is turned on for the first time To choose your own settings do not run the set...

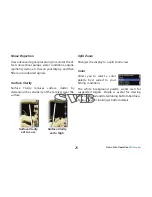
Page 9: ...menu for active page will be displayed when the MENU key is pressed The active panel is denoted by an orange border Accessing the Settings menu Chart page Chart menu Downscan page Downscan menu Sonar...

Page 10: ...the type of entry different methods are used to confirm cancel or close the dialog Accessing menu items The keypad and ENTER key are used to select menu items and open submenus Use the keypad to high...

Page 11: ...ific fishing conditions Switches keyboard between Alpha and QWERTY layout Switches letters to uppercase lowercase Entering text Some functions like naming a waypoint route or trail will require you to...

Page 12: ...lect Goto cursor and press ENTER Fishing Mode Options General Use 1000ft or less Coastal Shallow Water 60ft or less Shallow weedy bottoms Fresh Water 400ft or less Inland Near coastal Deep Water 1000f...

Page 13: ...nced mode is turned on Navigation Enables arrival radius off course distance and Bearings setting Alarms Enables arrival off course and anchor alarm options NMEA 0183 Output NMEA 2000 Elite 7 and Elit...

Page 14: ...ck the direction to your destination and a digital data navigation panel Your location Direction to cursor Compass Current Track Navigation information Sonar Page Displays the water column moving from...

Page 15: ...r page by selecting Downscan Overlay on the Sonar settings menu Chart Page Consists of map that moves in real time as you move By default the map is shown from a birds eye view with North at the top o...

Page 16: ...ve panels Customizing combo pages You can adjust the panel size of combo pages and control how the pages will be arranged on the screen vertically side or horizontally over To make adjustments to comb...

Page 17: ...elect the desired data and press ENTER 7 Press MENU and select Return to Overlays Press ENTER 8 Press MENU select Done Configuring and press ENTER Overlay Data Used to select data shown on the Sonar S...

Page 18: ...ata from the Configure Item Locations and Sizes dialog and press MENU The configuration menu will appear Data sources Used to select the network device that will supply source data for a selected data...

Page 19: ...ducers 50 200 kHz Low High CHIRP 83 200 kHz Medium High CHIRP To use CHIRP select the desired CHIRP frequency from the Frequency menu This unit supports two types of sonar Conventional and Downscan Th...

Page 20: ...eft until the screen starts to move in reverse Move the sonar history bar all the way to the right to resume normal sonar scrolling or press MENU and select Exit cursor mode Sonar Menu Press MENU from...

Page 21: ...he level of detail shown on the display Too much detail will clutter the screen If Sensitivity is set too low desired echoes may not be displayed Colorline Helps distinguish fish or structure from the...

Page 22: ...n of the water column that does not include the water surface or the bottom Upper and lower limits must be at least 6 5 ft 2 m apart NOTE You can make minor 40 changes to sensitivity with Auto Sensiti...

Page 23: ...HIRPwithminimal loss of target separation High CHIRP Better resolution in shallow water than Medium CHIRP Custom high Selects a custom single frequency from within High or Low frequency ranges to help...

Page 24: ...lay from full screen sonar to a split screen view Color Allows you to change the look of the display using palettes with varying degrees of color brightness Sonar Options Split Zoom Split Flasher Nois...

Page 25: ...isplay Downscan options You can make adjustments to Downscan overlay settings from the sonar page Downscan options are covered in more detail in the DSI section Stop Sonar Prevents the transducer from...

Page 26: ...made to conventional sonar settings will be visible on the sonar page View previously saved sonar logs Controls the quality of sonar logs Higher quality logs will use more memory Logging Sonar You ca...

Page 27: ...tion section Reset Fishing Mode Resets selected fishing mode to default settings That is useful when you want to clear settings adjustments made while using a fishing mode WARNING Manual mode should o...

Page 28: ...cer to the lowest part of the keel If for example the keel is 3 5 feet below the transducer it will be input as 3 5 feet Water speed calibration Calibrates a paddlewheel speed sensor with speed data f...

Page 29: ...pressing the keypad to the left until the screen starts to move in reverse and the sonar history bar appears at the bottom of the screen Move the sonar history bar all the way to the right to resume...

Page 30: ...rast settings New Waypoint Places a waypoint at your current position or at the cursor position From the new waypoint menu you can input a waypoint name select an icon and in put a desired latitude lo...

Page 31: ...of the water column That allows you to view a section of the water column that does not include the water surface Upper and lower limits must be at least 6 5 ft 2m apart NOTE When using a custom range...

Page 32: ...h Noise Rejection Uses advanced signal processing to monitor the ef fects noise boat pumps water conditions engine ignition systems etc has on your display and then filters out undesired signals Color...

Page 33: ...data Logging Sonar You can record sonar data and save the file on a microSD card inserted into the unit s card reader View previously saved sonar logs Controls the quality of sonar logs Higher qualit...

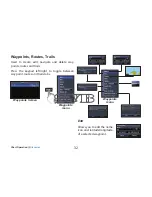
Page 34: ...the cursor position When the cursor is on the screen waypoints will be saved at the cursor position conversely if the cursor is not displayed onscreen waypoints will be saved at your current position...

Page 35: ...ate edit navigate and delete way points routes and trails Press the keypad left right to toggle between waypoint routes and trails tabs Edit Allows you to edit the name icon and latitude longitude of...

Page 36: ...te a selected waypoint Delete All deletes all waypoints Sort Controls how the waypoints list will be sorted by name or by nearest Routes Screen Used to create edit navigate and delete routes Use the k...

Page 37: ...ENTER 5 Highlight Waypoint from list and press ENTER 6 Select the desired waypoint and press ENTER 7 Press MENU and select Add to end to add another waypoint to the route 8 When the route is complete...

Page 38: ...ting a route from waypoint list 2 Select Points from chart and press ENTER The chart page will appear 3 Move the cursor to the desired location Press ENTER to set a waypoint 4 Repeat Step 3 to add mor...

Page 39: ...cluttered by too many routes Delete and Delete All Delete is used to delete individual routes Delete All removes all routes Edit and New Route menus Used to edit create routes route names and to turn...

Page 40: ...d to highlight the Trails tab to access the Trails screen Creating trails When creating a trail you can customize the trail name and color from the New Trail To create a trail 1 Select New and press E...

Page 41: ...save a trail as a route 1 Highlight the desired trail on the Trails screen and press ENTER The Edit Trail menu will appear 2 Highlight Create Route and press ENTER The Edit Route menu will appear 3 Hi...

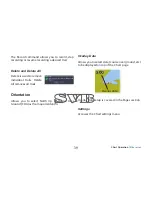
Page 42: ...to remove individual trails Delete All removes all trails Orientation Allows you to select North Up or Course Over Ground COG as the map orientation Overlay Data Allows you to select data course over...

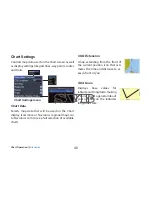
Page 43: ...art display Lowrance or Navionics regional map Go to Navionics com to see a full selection of available charts Chart Settings menu COG Extension A line extending from the front of the current position...

Page 44: ...you to get a better view of the map if the screen becomes cluttered with waypoints routes and or trails Waypoints Routes Trails Accesses the Waypoints Routes Trails screen Waypoints Routes and Trails...

Page 45: ...the alarm is enabled Bearings Controls whether bearing will be calculated using True North or Magnetic North Magnetic North should be used when navigating with a compass course or heading otherwise u...

Page 46: ...ped vessels If an AIS device is connected all targets detected by the device can be displayed AIS Setup Before using AIS your unit must be set to the same Baud rate as your AIS device To select a Baud...

Page 47: ...target will be defined as lost The target symbol represents the last valid position of the target before the reception of data was lost Filtering the targets All targets by default are shown on the d...

Page 48: ...rmation When you place the cursor on an AIS icon the MMSI number or vessel name if available will be displayed You can view detailed information about a target by selecting the target and pressing ENT...

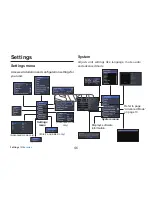
Page 49: ...guration settings for your unit System Adjusts unit settings like language mute audio and advanced mode Settings menu Advanced mode only Advanced mode only Refer to page Advanced Mode on page 10 Displ...

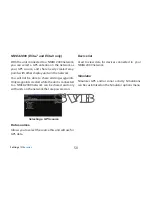
Page 50: ...nit GPS Monitors the location of satellites in view and the quality of the unit s satellite lock on Trip Calculator Tracks trip time speed and distance when you are moving faster than the selected thr...

Page 51: ...u can check the version of software your unit is using by accessing the About screen Lowrance periodically updates unit software to add features and improve functionality To see the latest available s...

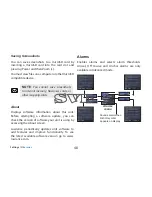
Page 52: ...ation Advanced Mode only Off Course sounds alarm when course exceeds a selected off course threshold Advanced Mode only Anchor sounds alarm when vessel moves a selected distance Advanced Mode only Sha...

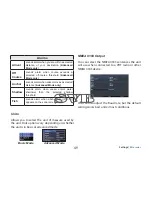
Page 53: ...able to share existing waypoints Only waypoints created while the unit is connected to a NMEA 2000 network can be shared and only with units on the network that are powered on Data sources Allows you...

Page 54: ...x depth 300ft 91 m 455 800Khz 1000ft 305 m 83 200kHz 2500ft 762 m 50 200kHz Transducer Frequency 455 800 kHz 83 200 kHz Medium High CHIRP Max speed 70mph Transducer HDI 50 200kHz Low High CHIRP HDI 83...

Page 55: ...00ft 305 m 83 200kHz 2500ft 762 m 50 200kHz Transducer Frequency 455 800 kHz 83 200 kHz Medium High CHIRP Max speed 70mph Transducer HDI 50 200kHz Low High CHIRP HDI 83 200kHz Medium High CHIRP 83 200...

Page 56: ...Khz 1000ft 305 m 83 200kHz 2500ft 762 m 50 200kHz Transducer Frequency 455 800 kHz 83 200 kHz Medium High CHIRP Max speed 70mph Transducer HDI 50 200kHz Low High CHIRP HDI 83 200kHz Medium High CHIRP...

Page 57: ...00Khz 1000ft 305 m 83 200kHz 3000ft 914 m 50 200kHz Transducer Frequency 455 800 kHz 83 200 kHz Medium High CHIRP Max speed 70mph Transducer HDI 50 200kHz Low High CHIRP HDI 83 200kHz Medium High CHIR...

Page 58: ...0 Chart menu 40 Chart Page 12 CHIRP 16 COG Extension 40 Color 21 29 Colorline 18 Contrast 27 Creating a route 33 Creating trails 37 Cursor 9 Custom Range 19 28 D Data Port 47 Depth Range 27 Dialogs 7...

Page 59: ...g Speed 20 R Range 27 Reset Fishing Mode 24 Reset water distance 25 Route display 41 Routes Screen 33 S Saving Screenshots 48 Scrollbars 7 Sensitivity 18 Setup wizard 5 Shallow alarm 49 Software Updat...

Page 60: ...first person who purchases the product as a consumer item for personal family or household use The Databases Limited Warranty applies to the one or more databases that your product may contain We refe...

Page 61: ......

Page 62: ......

Page 63: ...er Service 1 800 628 4487 8 a m to 5 p m Central Standard Time M F Canada 1 855 361 1564 canada navico com 8 a m to 5 p m Eastern Standard Time M F Ordering Accessories http store navico com Visit our...

Page 64: ...988 10812 002 Visit our website www lowrance com 0980...

Reviews: