background image

TROUBLESHOOTING

I.

  Overload Indicator

a.

  When the Overload Indicator


is illuminated, it is an indication that there is a short in wiring connections to the 

microphone.  Check the following:

1)

 Check that each wire is connected to their proper terminals See steps 1 and 2 of  connections 

page 5.

2)

 Check that there are no reversed or crossed wire connections.

3)

 Check that none of the wires are touching each other or shorted to ground.

b.

  Turn ON power back to the unit after checking all wiring connections.  If the Overload Indicator

[5]

 no longer 

lights, proceed to step 2 of the operation.  If the Overload Indicator


remains illuminated, remove the 

microphone connections (power still ON) one at a time until the Overload Indicator turns OFF.  After removing 
a wire, wait a few seconds before removing the next wire.  This will give the overload protection circuit time to 
reset itself.  The last wire disconnected that turned OFF the Overload Indicator


is the one that has a short.  

Check for shorts on the wire and remote microphone.

II.

  No audio present.

a. 

 Using a DC Voltmeter, check the voltage across terminal “A” and “C” (”A” positive; “C” ground) of the Mic 3-Pin 

Terminal Block

[12]

.  It should read 12V.  The microphone requires 12Vdc to work.

1)

  Check connections to the microphone.

b.

  Remove the wire connected to the “B” terminal of the Mic 3-Pin Terminal Block.  Using an AC meter (set to 

lowest voltage range), check the presence of audio from the microphone.  Place the meter leads between wire 
removed (positive) and terminal “C” (ground).  Generate some loud noise close to the remote microphone 
while observing the meter reading.  If audio is present, the meter reading will start to fluctuate.  If there is no 
movement, the remote microphone is defective.  Call factory for assistance.

Factory assistance is available between 8:30 AM to 4:00 PM Pacific time.  Call (818) 994-6498.

[5]

 illuminated.

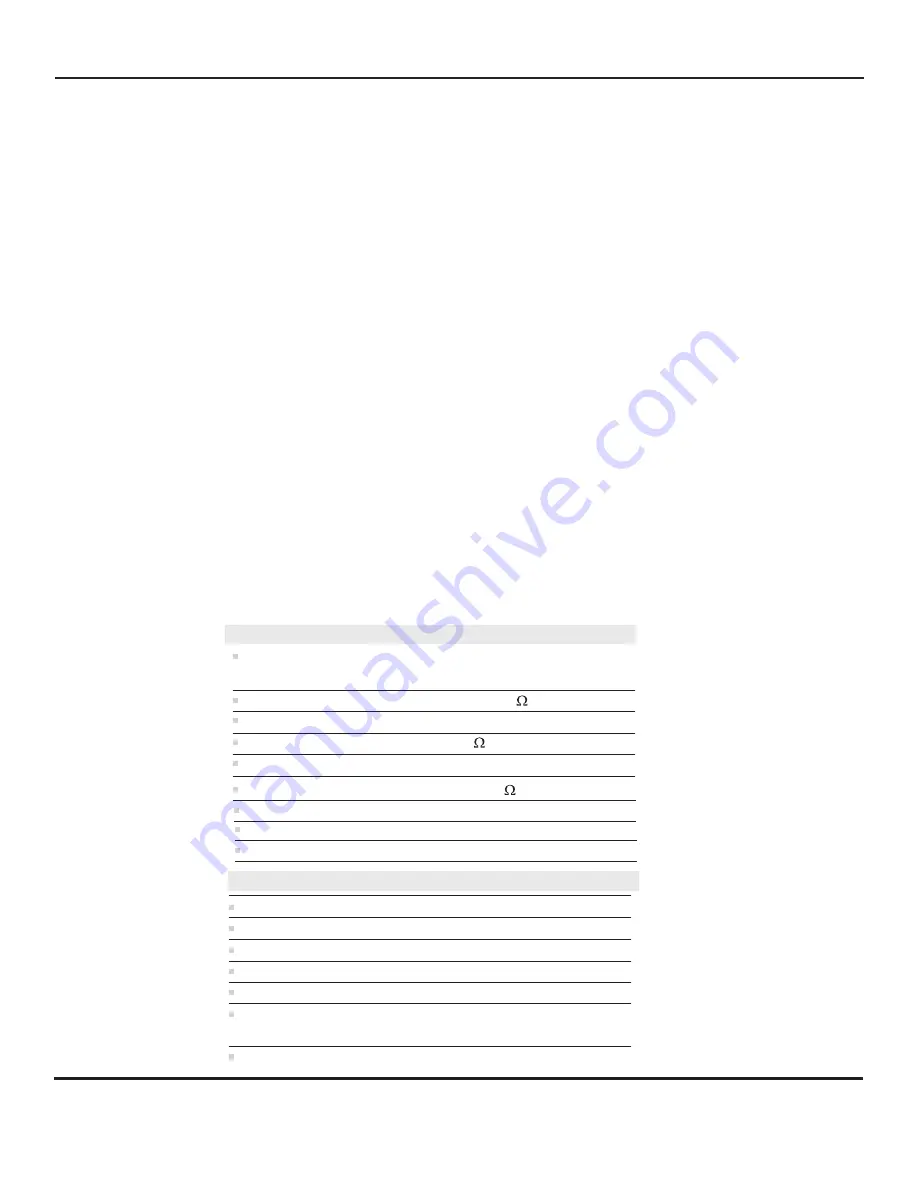
SPECIFICATIONS - AP-4

Input sensitivity 
(from remote mic)

0.78Vrms

Monitor power output

1.5W @ 8

Audio input impedance

10k

Freq. response (flat)

100 Hz to 10kHz

Power input

12 Vdc, 500mA

Dimensions

8 ½"W x 9 

 x 2 1/8"H

½"L

Headphone impedance

8 to 600 

Weight

3.5 lbs (1.6 kg)

Audio line output impedance

600

W

 or higher

INSTALLATION AND OPERATING INSTRUCTIONS

Page 7 of 8

LOUROE  ELECTRONICS    6 9 5 5   VA L J E A N   AVENUE,  VAN  NUYS,  CA  91406

TEL  (818)  994-6498

FAX 

994-6458

website: www.louroe.com                          e-mail: [email protected]


(818)

®

SPECIFICATIONS - Verifact™ A 

Frequency response

Output

Current drain

40 Hz to 15 kHz ± 1 dB

4 mA

Supply voltage

12 Vdc

Microphone housing

High impact ABS

Dimensions                   US

Weight

4”

"

 dia  x  1 ½  H 

(10cm dia x 3.8cm H)

0.5 Lb (0.2 Kg)

Line Level (0 dB @ 1000

W

)

                    metric 

ask4_104_inst_12/11

Summary of Contents for ASK-4 104

Page 1: ...one that produces line level audio output AUDIO MONITORING SYSTEM INSTALLATION AND OPERATING INSTRUCTIONS 6955 VALJEAN AVE VAN NUYS CA 91406 PH 818 994 6498 FAX 818 994 6458 www louroe com techsupport louroe com Page 1 of 8 LOUROE ELECTRONICS 6 9 5 5 VA L J E A N AVENUE VAN NUYS CA 91406 TEL 818 994 6498 FAX 994 6458 website www louroe com e mail sales louroe com 818 ask4_104_inst_12 11 ASK 4 104 ...

Page 2: ...ed zone to listen to live audio Pressing more that one switch is possible when it is necessary to monitor more than one zone at a time but audio may be difficult to understand if there is audio activity at several zones 2 Filter OUT Indicator Lights green when audio filter is not in use Indicates power is ON 3 Filter IN Indicator Lights red when Filter Switch 6 is pushed in to ON position 4 DVR VC...

Page 3: ...epting line level input 14 Audio In Jack RCA Receives audio playback from DVR VCR etc and is broadcast through the built in speaker 10 15 Mic Output Jack Used for connection to a DVR with multiple audio inputs or to a soundcard module for audio recording May also be used for paralleling to a second Louroe audio base station INSTALLATION AND OPERATING INSTRUCTIONS Page 3 of 8 LOUROE ELECTRONICS 6 9...

Page 4: ... a VCR or to a DVR with one audio input 1 Connect an RCA cable to the Audio Out jack 13 of AP 2 and connect other end to Audio In or line in of VCR DVR 2 To record press the Zone Selector Switch 1 located on front panel of base station for the audio zone to be recorded 3 For audio playback connect another RCA cable from Audio Out or line out of VCR DVR to Audio In 14 of AP 4 4 Press in the VCR But...

Page 5: ...ge with a 24 gauge drain wire West Penn 452 Belden 8451 or equivalent WIRING REQUIREMENTS 12 Vdc Power Supply ZONES SELECTABLE AUDIO OUTPUT Used only if recording device has only one Audio Input Used for Audio Playback from recorder Red A Black B Bare C Bare C Black B Red A Red A Black B Bare C INSTALLATION AND OPERATING INSTRUCTIONS Page 5 of 8 LOUROE ELECTRONICS 6 9 5 5 VA L J E A N AVENUE VAN N...

Page 6: ... connected to Mic Input 3 Pin Terminal Block 12 for zone 1 at the rear of the unit With a DC voltmeter check that 12 Vdc is present at terminals A and C If voltage is not present unit has defective regulator If voltage is present check to assure that wires are connected properly to the right terminals Otherwise microphone is defective Call factory for assistance 3 Repeat step 2 for the remainder o...

Page 7: ...to work 1 Check connections to the microphone b Remove the wire connected to the B terminal of the Mic 3 Pin Terminal Block Using an AC meter set to lowest voltage range check the presence of audio from the microphone Place the meter leads between wire removed positive and terminal C ground Generate some loud noise close to the remote microphone while observing the meter reading If audio is presen...

Page 8: ...ent products manufactured by LOUROE ELECTRONICS to be free of defects in material and workmanship Should a defect appear within one year 12 months from date of shipment LOUROE ELECTRONICS will at its sole discretion repair or replace the defective equipment This equipment shall not be accepted for repair or return without prior notification by LOUROE ELECTRONICS This warranty does not extend to an...

Reviews: