65
User Manual
4.2.1 MARKS
You may tag a location on the chart with a Mark symbol and number, which
you can record for later use. Every time you place the cursor on a Mark the follow-
ing functions are available.
4.2.1.1Adding Mark
Select Advanced Mode + 'ENTER' + "MARK" + 'ENTER'
The new Mark appears on your cursor position. An info window containing
Mark name, symbol and Latitude/Longitude is shown.
4.2.1.2
Deleting Mark
Select Advanced Mode + Place cursor on Mark
Press 'ENTER'. Select "DELETE" and press 'ENTER': the Mark remains
on the screen shaded until the next screen is redrawn.
Note
If you try to delete a Mark that belongs to many routes, the chart plotter emits three beeps and on
the screen a Warning message appears. If you want to delete the Mark, press 'ENTER'.
4.2.1.3
Goto
Place cursor on Mark
Press 'GO-TO': a circle encloses the Mark symbol. A straight line is shown
on the screen connecting the Target with the ship's position. When the Target is
placed, all navigation data are referred to this Target.
4.2.1.4
Moving Mark
Select Advanced Mode + Place cursor on Mark
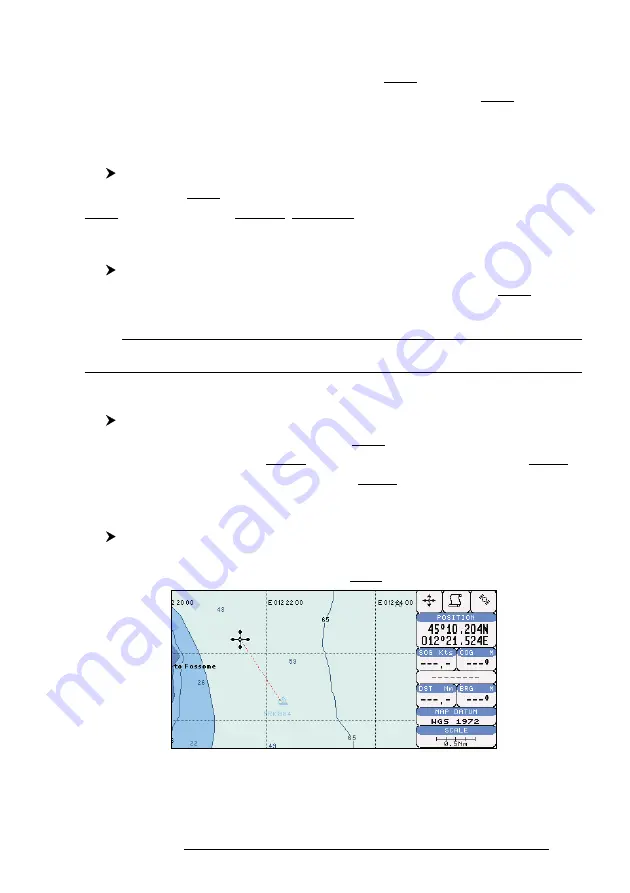
Press 'ENTER'. Select "MOVE" and press 'ENTER'. Move the cursor by
the cursor key, a dotted line connecting the Mark with the new position is shown:
Fig. 4.2.1.4 - Moving Mark function (I)
Summary of Contents for COMPACT 8 SUN
Page 14: ...16 User Manual...
Page 24: ...26 User Manual...
Page 93: ...95 User Manual 6 For the Technician 6 1 DIMENSIONS Fig 6 1 PANORAMIC 8 Sun Dimensions...
Page 102: ...104 User Manual...


