21
Recording
Recording on a CD-R/CD-RW disc
Before to start recording
This unit records video in either VCD / SVCD or audio CD format on
CD-R/RW discs. Please use qualified recordable disc to ensure the
best recording quality. Check our Web site for the qualified discs
list.
Selecting a disc format
1. Place an empty CD-R or CD-RW disc on the
tray.
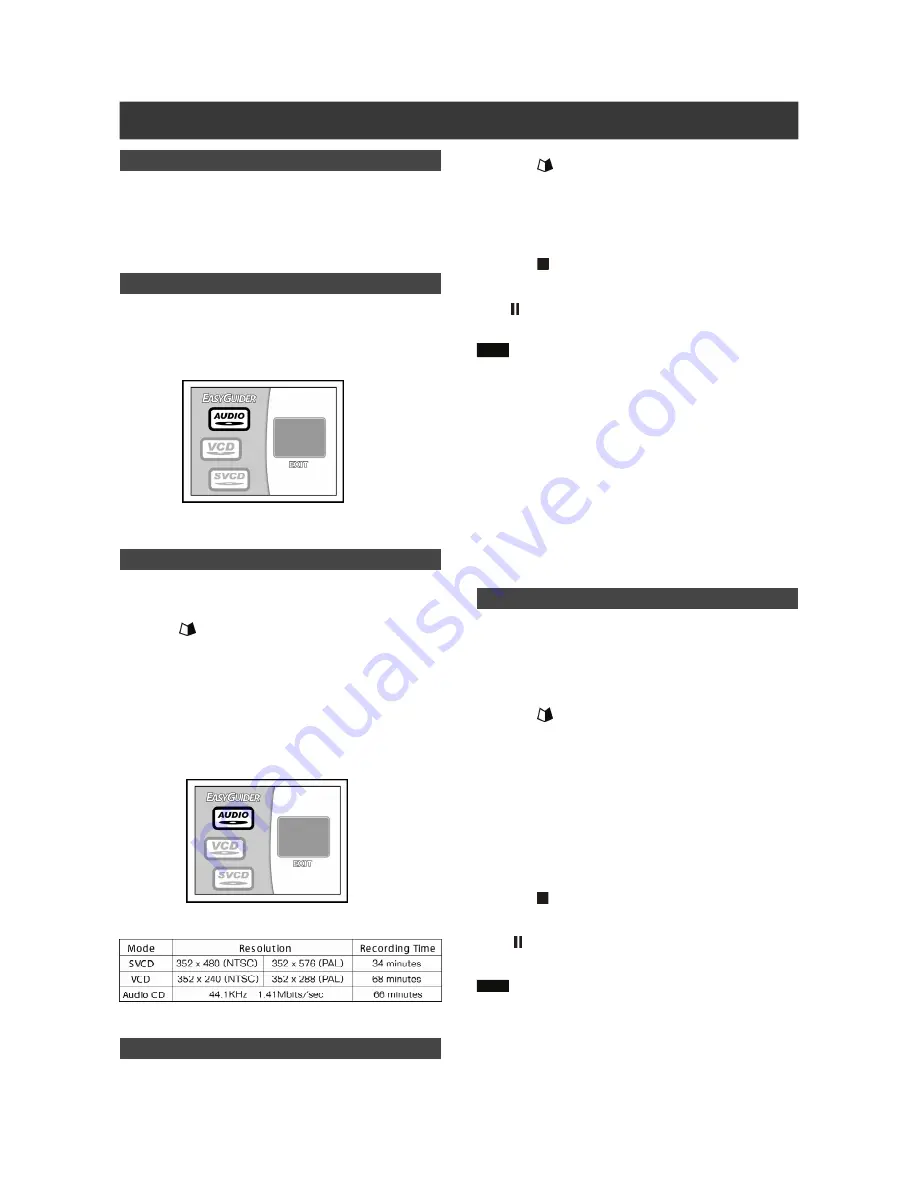
When a new CD-R or an blank CD-RW disc is inserted, select a
disc format for the unit to prepare the disc as by selecting on of the
on-screen icons: Audio CD, VCD and SVCD.
2. When finished, the disc is well prepared.
Creating a new disc format
1. Place a CD-RW disc with contents recorded on
the tray.
2.Press [
GUIDER ] to bring up the “Easy
Guider” menu and select [Erase].
The erasing process begins and all contents on
the disc will be deleted.
3. When the erasing process is completed, the
menu for you to select a new disc format is
displayed. Press
[
] [
] [
] [
] to select a new disc
format and press [ENTER].
The disc preparation takes place. When finished, the disc is
prepared in a new format.
Recording mode (
an empty 700MB disc
)
VCD/SVCD recording
1.Place a well-prepared CD-R or CD-RW disc
onto the disc tray with the disc’s label facing up.
2.Press [
GUIDER ] to display the “Easy
Guider” menu, press [
] [
] to select the
“Record” and then press [ENTER].
3.Press [
] [
] to select the signal-input and
press [ENTER].
4.Press [ STOP] to stop recording.
To pause recording
Press [ PAUSE] to pause recording. If you want to restart
recording, press the button or [RECORD] again.
Notes:
1.You cannot record any sessions before the CD-R/CD-RW disc is
prepared.
2.Only single format is allowed on a single disc.
3.You can’t change the format of CD-R disc after the disc prepara-
tion process.
4.To change the format of a CD-RW disc, you must use the “erase”
function to create a new format.
5.All contents on the disc will be erased after the disc preparation
process
Audio CD recording
To start audio track recording
1.Place a CD-R / CD-RW disc prepared as an
Audio CD onto the tray with the disc’s label facing
up.
2.Press [
GUIDER ] to display the “Easy
Guider” menu, press [
] [
] to select the
“Record” and then press [ENTER].
3.Press [
] [
] to select the audio signal input
and press [ENTER].
4.Press [RECORD] to record your audio signal
onto a recordable CD disc.
5.Press [EDIT] to create a new audio track into
disc during recording.
6.Press [ STOP] to stop audio recording.
To pause recording
Press [ PAUSE] to pause recording. If you want to restart
recording, press the button or [RECORD] again.
Notes:
1.Press the [Edit] button one, a new audio track will be automati-
cally created by 2-sec interval.
2.Audio source input during the 2-sec interval will be recorded as
the beginning of the new track.


