

A Division of Cisco Systems, Inc.
®
Model No.
Quick Installation
Model No.
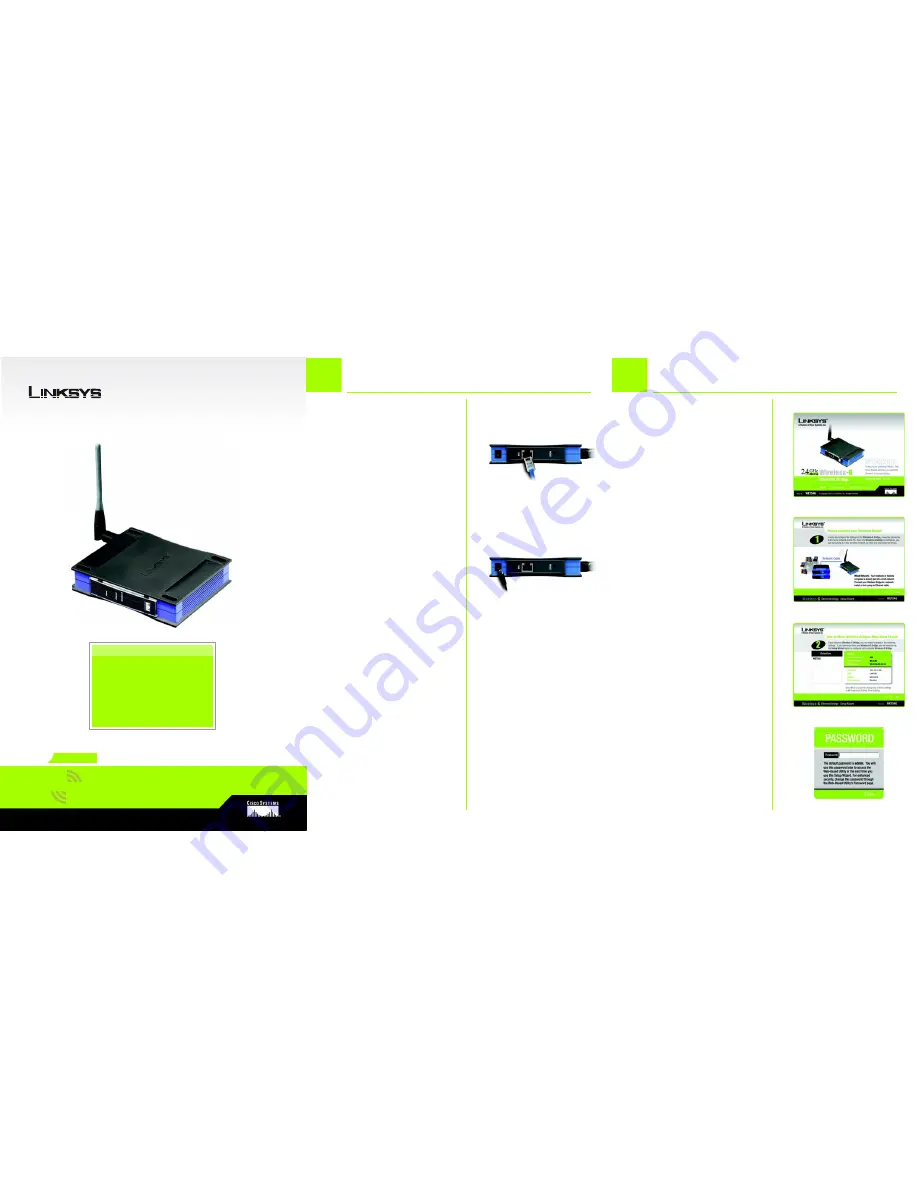
Wireless
WET54G v3
Ethernet Bridge
Wireless-
G
1
2
A
Attach the detachable
antenna.
B
Plug the included Ethernet
network cable into the LAN port
on the back panel of the
Bridge.
C
Plug the other end of the
Ethernet network cable into the
RJ-45 port of the hub, switch,
or PC you wish to use to
configure the Bridge.
D
Plug the supplied power
adapter into the Power port on
the back panel of the Bridge.
Then plug the other end into
an electrical outlet.
A
A
Insert the Setup CD-ROM into
your PC’s CD-ROM drive. The
Setup Utility should run
automatically, and the
Welcome
screen should
appear. If it does not appear,
click the
Start
button and
choose
Run
. In the field that
appears, enter
D:\setup.exe
(if
“D” is the letter of your CD-ROM
drive).
B
Click
Setup
to begin the setup
process.
C
Make sure the Bridge is
correctly connected to your
wired network. Click
Next
.
D
The screen displays a list of
Wireless-G Ethernet Bridges on
your network, along with their
status information. Select the
Bridge you are currently
installing by clicking its name in
the
Selection
box. Click
Yes
.
E
A
Password
screen will appear.
In lowercase letters, enter
admin
in the
Password
field.
Then click
Enter
.
Package Contents
• Wireless-G Ethernet Bridge
• Setup CD-ROM
• User’s Guide on CD
• Quick Installation Guide
• Detachable Antenna
• RJ-45 Network Cable
• One Pair of Bridge Stands
• Power Adapter
• Registration Card
B
D
C
D
Connect the Wireless-G Ethernet
Bridge for Setup
Set up the Wireless-G
Ethernet Bridge
GHz
2.4
802.11g
E


