Compact USB 2.0 10/100 Network Adapter
Chapter 6: Windows Millennium
Installation and Setup
After physically connecting the Adapter to your computer’s USB port or hub,
follow these instructions to install the hardware device driver. The installation
procedure for the hardware device driver may vary slightly depending on your
current system configuration. If at any time during the installation you
encounter problems, consult “Appendix A: Troubleshooting.”
1. If you haven’t already, start your computer.
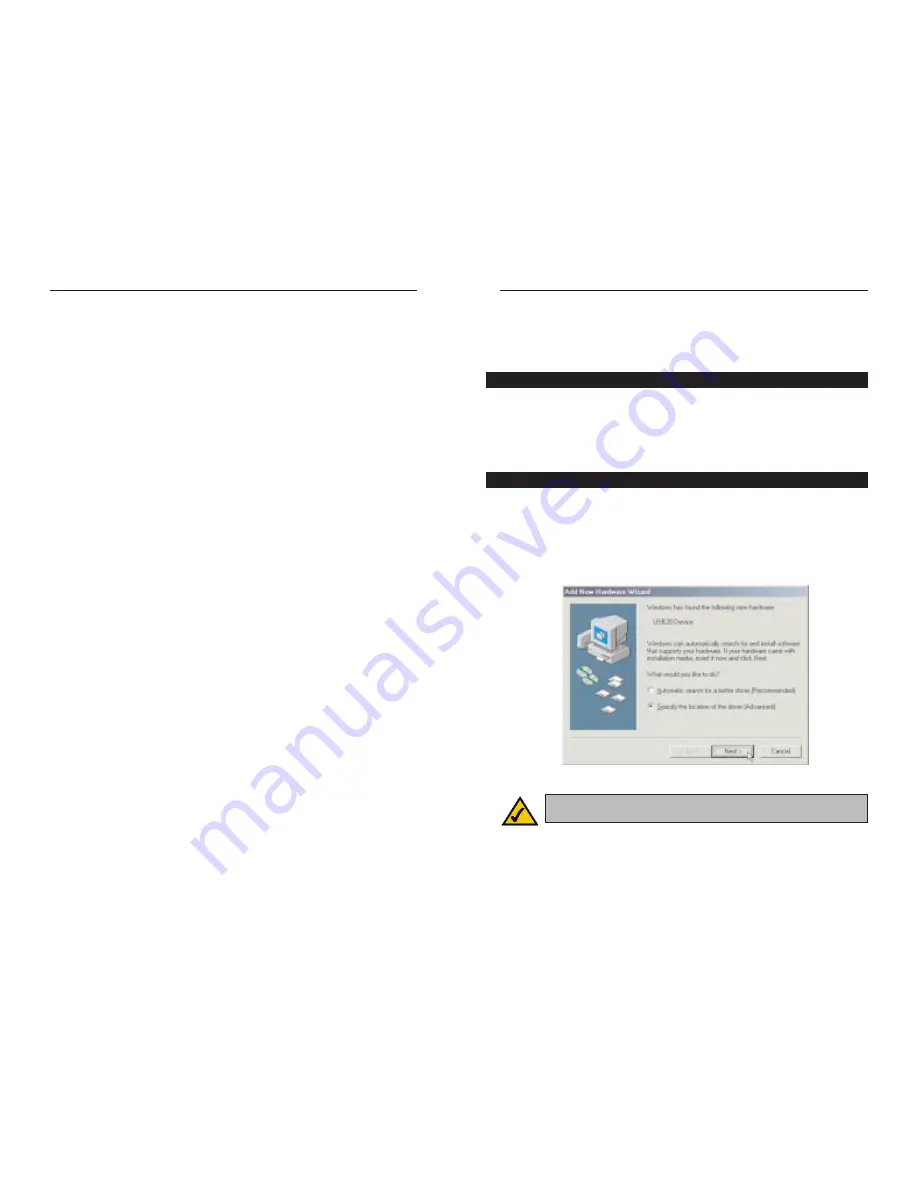
2. Windows Millennium will automatically detect the Adapter connected to
your PC. When the Add New Hardware Wizard screen appears, insert the
Driver CD into your CD-ROM drive, and select Specify the location of the
driver (Advanced). Click the Next button.
15
Instant EtherFast
®
Series
13. A Logon screen will appear and require you to enter a User Name and
Password. Make up a user name and password (if you haven’t already), and
click the OK button. Do not click the Cancel button or press the Escape
[ESC] key as this will prevent you from logging into the network. If the
logon does not appear or if it does not allow you to log on, refer to
“Appendix A: Troubleshooting.”
14. When you are at the Windows 98 desktop, double-click the Network
Neighborhood icon. You should see one icon for the entire network and the
names of the other PCs on the network.
• If you can see your computer along with all the other computers on the
network in Network Neighborhood, then the Windows 98 network con-
figuration is complete.
Refer to “Appendix A: Troubleshooting” if you run into any problems, such as:
• If you don’t see anything at all in Network Neighborhood after pressing
the F5 key on your keyboard a few times to refresh the screen;
• If you only see your own computer in Network Neighborhood;
• If you see all computers on the network except yours after pressing the
F5 key a few times; or
• If you only see computers that are running the same operating system as
you and you don’t see any other computers.
14
Windows Millennium Driver Installation
Note: Throughout this guide, it is assumed that “D” is the letter of
your CD-ROM drive.
Overview
Figure 6-1


