


33
Chapter 6: Configuring the PrintServer Using the Web-based Utility
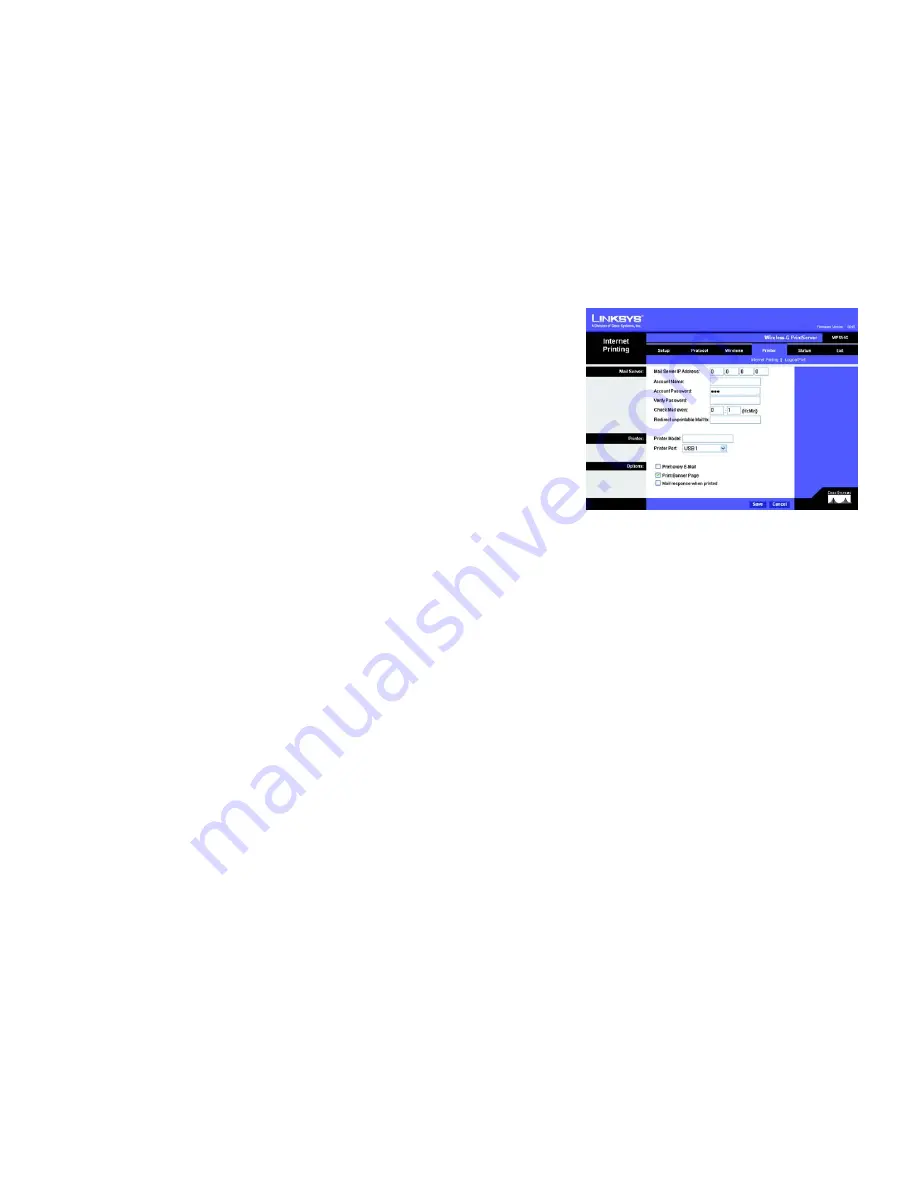
The Printer Tab - Internet Printing
Wireless-G PrintServer with Multifunction Printer Support
The Printer Tab - Internet Printing
Internet Printing allows you to automatically print any e-mails that are sent to a specific e-mail account on your
network. This is especially useful for printing information when you are not connected to the network. You can
print from any location where you can access e-mail.
Mail Server
Mail Server IP Address
. Enter the address of your mail server. (This value must be a fixed IP address.)
Account Name and Password
. Enter the Account Name and Account Password.
Verify Password
. Enter the password again in the
Verify Password
field.
Check Mail every
. Specify how often you want the PrintServer to check for e-mail to be printed.
Redirect unprintable Mail to
. Specify an e-mail address to which e-mails that cannot be printed are routed; this
is useful for both graphic-intensive e-mails and for troubleshooting purposes.
Printer
Printer Model
. Enter the Printer Model in the field provided. You can find this in the Device Manager.
Printer Port
. Choose the appropriate Printer Port from the drop-down menu: USB, the PrintServer’s USB port, or
Logical Printer 1-3
. The PrintServer has three logical or virtual printer ports. For example, you can have three
different configurations for your USB printer: Logical Printer 1 for landscape orientation, Logical Printer 2 for
double-sided copies, and Logical Printer 3 for manual feed. Then configure the Logical Printers on the Logical
Port tab, so Logical Printers 1, 2, and 3 will be mapped to the physical printer on the PrintServer’s USB port.
Options
Print every E-Mail
. Click this checkbox if you want to print every e-mail message.
Print Banner Page
. Enabled by default, this feature tells the PrintServer to print a banner page for every print job
(the banner page describes the print job). Click the checkbox to remove the checkmark and disable this feature.
Mail response when printed
. Click this checkbox if you want an e-mail sent when a print job is complete.
Click the
Save
button to apply your changes, or click
Cancel
to cancel your changes.
Figure 6-9: Printer - Internet Printing


