9
dc1605bf
DEMO MANUAL DC1605B
Quick start proceDure
4. Launch the LTpowerPlay GUI.
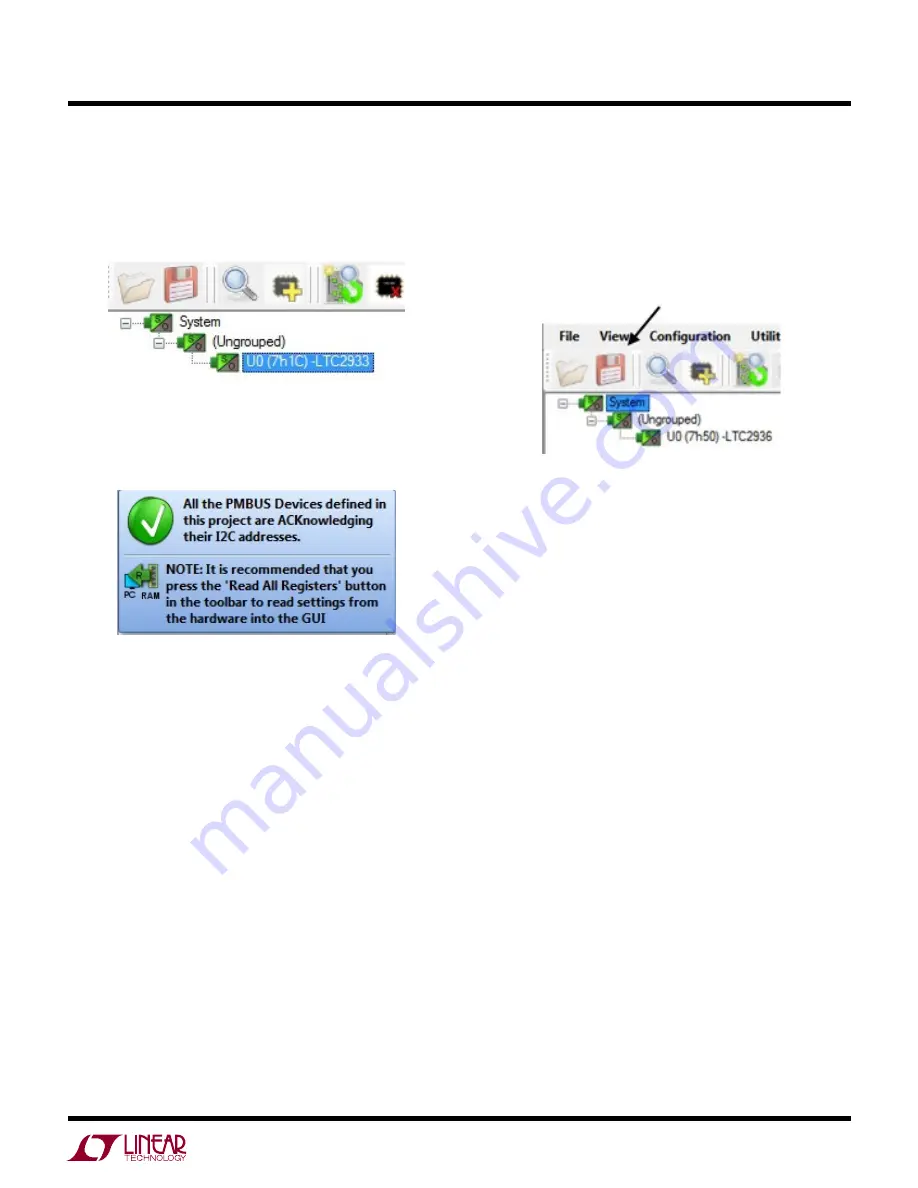
a. The GUI automatically identifies the DC1605B and
builds a system tree for each I
2
C device. The system
tree on the left hand side will look like this:
b. A green message box will be displayed momentarily
in the lower left hand corner confirming that the
DC1605B is communicating. The board at this point
is fully operational.
5. Load the Demo Configuration.
In the upper left hand corner of the GUI, select File >
Initialize DC1605B Demo > Demo Config (or Factory
Defaults). This will load the configuration settings into
the working RAM of the LTC2936, set the DAC outputs,
clear the status registers, and store the settings into
NVM (EEPROM). The ‘Demo Config’ file is the starting
point for the use cases. The ‘Factory Defaults’ file sets
the V
n
thresholds that accommodate the initial powerup
state of the DAC outputs (2.048V).
SAVING A CONFIGURATION
You can make changes to the LTC2936 register values
and DAC settings. Save the demo board configuration to
a (*.proj) file by clicking the "Save" icon. This creates a
backup file. Name it whatever you like. Note that the DAC
settings are saved in the project file.
QUICk START VIDEO
There is a Quick Start Video that covers the basic features
of the LTC2936 chip and DC1605B demo board. The video
can be accessed via LTpowerPlay by navigating to the Help
menu > DC1605B Content.
LOADING A DC1605B CONFIGURATION (*.proj) FILE
WITH THE GUI
1. In the upper left hand corner of the GUI, File > Open
> browse to your *.proj file. This will load the file into
the GUI.
2. Click on the “Go Online” icon, then click on the “PC
→
RAM” icon to write all registers. This loads the configu-
ration into the working RAM of the LTC2936. The DAC
settings are stored and retrieved from the .proj file.
3. To store the configuration to NVM (EEPROM), click on
the “RAM
→
NVM” icon


