Français: remarques générales
Merci d’avoir acheté le kit tiroir rack mobile LINDY. Sa haute qualité et ses
tiroirs fiables sont idéals à utiliser dans des petites installations (petites
entreprises, domicile). Il offre aussi un ventilateur intégré ainsi qu’un
système de verrouillage à clef.
•
Disponible en couleur noir ou blanc
•
Versions IDE et SATA disponibles
•
Flux d’air amélioré via l’utilisation d’un ventilateur dans le boîtier/tiroir
•
Protection par clef empêche une extraction non autorisée
•
Le tiroir est facilement extrait en déverrouillant par clef, puis en tirant
sur la poignée repliable
•
NE JAMAIS extraire un disque de votre système pendant que les
données sont en cours de transfert. Désactivez (unmount en
anglais) le disque de votre système avant de déconnecter le
lecteur!
ITALIANO: Informazioni Generali
Grazie per aver acquistato il Mobile Rack LINDY. Questi pratici moduli
estraibili sono particolarmente adatti per installazioni SOHO (small office,
home office) e includono ventola e lucchetto a chiave.
•
Disponibili nei colori Nero e Bianco
•
Versioni IDE e SATA
•
Ottima dissipazione del calore
•
Lucchetto a chiave per assicurare il cassetto
•
Il cassetto si estrae semplicemente sbloccando la serratura e tirando
verso di sé la maniglia
•
Non rimuovere MAI il cassetto se è in corso un trasferimento di
dati dall’Hard Disk installato. Occorre sempre disattivare il
volume tramite il Software del Controller prima della rimozione!
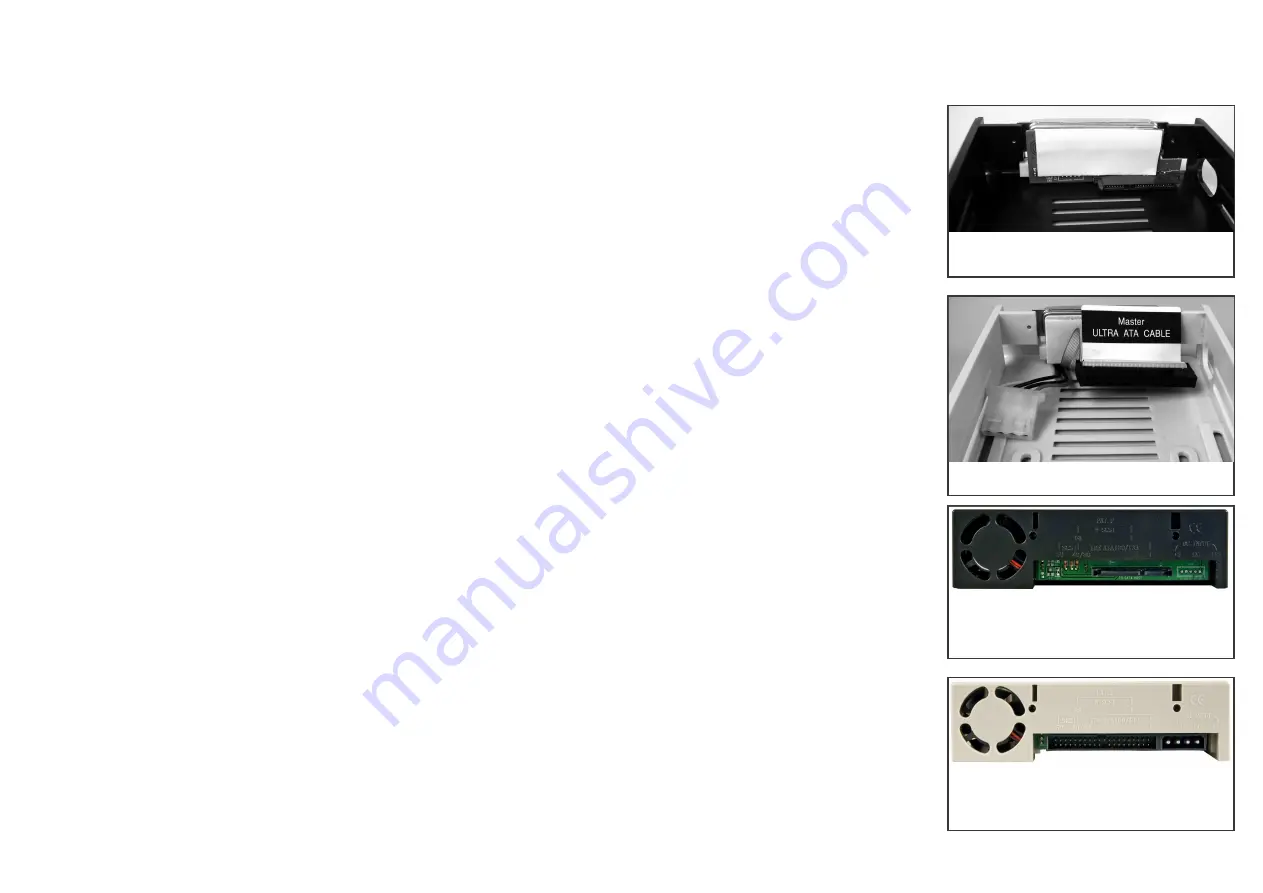
IDE / pATA
SATA
SATA Back
IDE / pATA Back
English: Installation
Remove the inner tray from the
mobile rack. Carefully slide the top
cover to the rear and install the
HDD:
SATA-Version: Slide the 3.5”
SATA HDD carefully into the SATA
backplane connector firmly.
IDE/pATA Version: Set your HDD
jumper to the MASTER position.
Connect the 40 way IDE and
power connector to your HDD.
Attach your hard disk to the inner
frame using the screws supplied.
For the SATA models check that
the hard disk is properly attached
to the backplane. If it needs to be
readjusted unlock and tighten the
screws once again. Reinstall the
top cover.
Mount the outer frame to a free
5.25” bay of your system and
connect the data and power
cables. Your system is now ready
for operation!
The airflow direction can be
changed
according
to
your
requirement by rotating the fan by
180°.


