


Input/Output Device
51
Fn + F4
Windows Executes the mode defined in the Power Save Mode. (Example:
Standby Mode, Maximum Power Saving Mode)
Fn + F5
When the user presses Fn + F5 keys, the touchpad mode toggles from Tou-
chpad Disable, to Touchpad Auto-Disable (upon connection of external
USB mouse), to Touchpad Enable in order. (Initialization takes 1 - 2 secon-
ds. It is recommended to use after the initialization.)
Fn + F6
Turns the wireless devices (incl. Wireless LAN and Bluetooth) on and off
(
Bluetooth is optional, and so it may not be installed in some mo-
dels.)
Through hot key settings in the OSD Tray menu, the user can customize
[Fn]+[F6] features. Default setting is, for all wireless devices (incl. Wireless
LAN and Bluetooth), ON/Off.
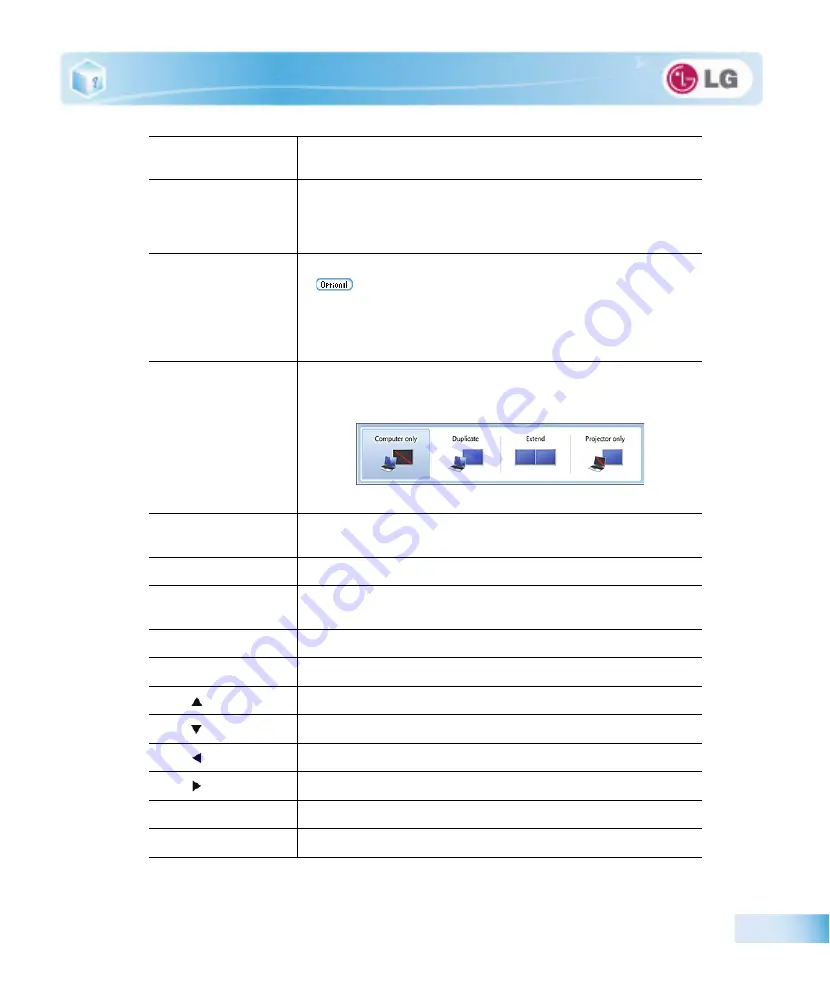
Fn + F7
The following screen appears when you press Fn + F7 keys. (Windows 7
Starter does not support the Monitor Extension mode)
Select the mode you want to use and press [Enter] to switch the monitor.
Fn + F8
Switches between the SRS Off, SRS WOW HD, SRS TruSurround HD mo-
des for each pressing the Fn + F8 keys.
Fn + F9
Mute (Sound ON / Sound OFF)
Fn + F10
indicating the embedded numeric keys are available. If you press [Fn] +
[Num Lk] again, you can enter text characters.
Fn + F11
Works as [Scroll Lock].
Fn + F12
Hibernate mode (When OSD is installed)
Fn +
Increases LCD brightness, which can have eight different levels.
Fn +
Decreases LCD brightness, which can have eight different levels.
Fn +
Turns down the volume.
Fn +
Turns up the volume.
Fn + PgUp
Works as Home.
Fn + PgDn
Works as End.
Summary of Contents for P430 Series
Page 1: ...User Guide Config Name P430 Series Some of the components may look different from the picture ...
Page 2: ...1 Important notice for user ...
Page 24: ...2 Notebook PC Tour ...
Page 27: ...28 Notebook PC Tour ...
Page 28: ...3 Using the system ...
Page 46: ...4 Input Output Device ...
Page 51: ...52 Input Output Device Fn Prt Sc Works as Pause Fn Delete Works as Insert ...
Page 56: ...Input Output Device 57 Scroll area may differ by model type ...
Page 61: ...62 Input Output Device ...
Page 62: ...5 Connecting Peripherals ...
Page 67: ...68 Connecting Peripherals ...
Page 68: ...6 System Setup ...
Page 80: ...7 Using LG Smart Recovery ...
Page 89: ...90 Using LG Smart Recovery ...
Page 90: ...8 Using LG Smart Recovery Center ...
Page 93: ...94 Using LG Smart Recovery Center ...
Page 94: ...9 Reinstalling the Driver ...
Page 97: ...98 Reinstalling the Driver ...
Page 98: ...10 Using the Internet ...
Page 105: ...106 Using the Internet ...
Page 106: ...11 Secondary Storage Device and Memory ...
Page 114: ...12 Appendix ...


