background image

ENG

ENGLISH

3

LOCATION AND FUNCTION OF CONTROLS

LOCATION AND FUNCTION OF CONTROLS

Parts and Button

Screen

Remote control and Intelligent

1

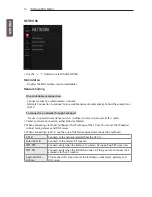
 sensors

Power Indicator

Button

2

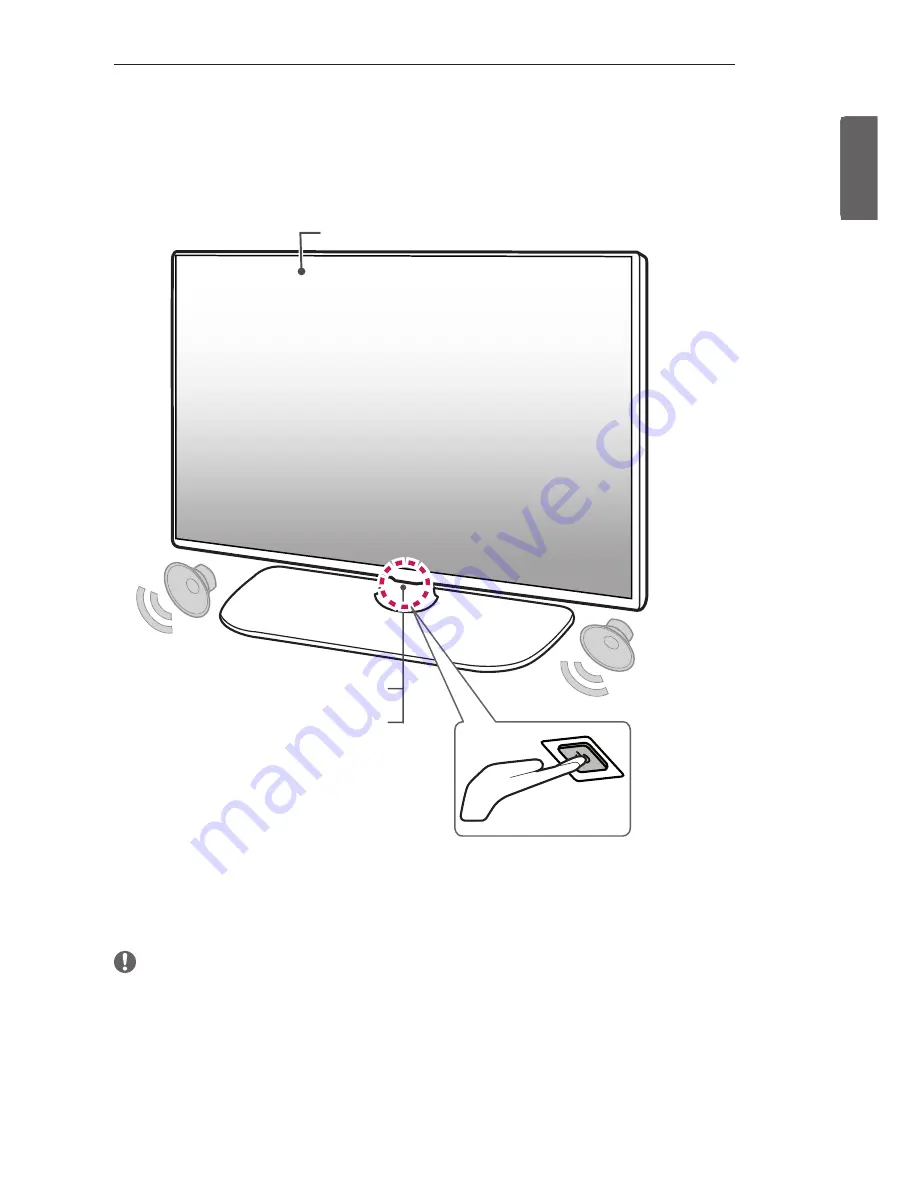
1  Intelligent sensor - Adjusts the image quality and brightness based on the surrounding 

environment.

2  Button - This button is located below the TV screen.

 NOTE


You can set the power indicator light to on or off by selecting 

General

 in the main menus.

Summary of Contents for LV640S

Page 1: ...INSTALLATION MANUAL LED TV Please read this manual carefully before operating your set and retain it for future reference LV640S www lg com ...

Page 2: ...rver Settings 12 GENERAL 12 Configuration Setup 14 External Speaker 14 Set ID Setup 14 Power Saving 15 Password Change 15 PreLoaded App 15 Lock Mode 15 Crestron 16 MEDIA SHARE 16 Screen Share 16 DIAL 16 TV Name 16 SoftAP 18 TV MANAGER 18 USB Download Menu 26 KEY CODES 27 EXTERNAL CONTROL DEVICE SETUP 27 USB to Serial converter with USB Cable 27 RS 232C with RS 232C Cable 27 DE9 D Sub 9 pin Type 27...

Page 3: ...emote control and Intelligent1 sensors Power Indicator Button2 1 Intelligent sensor Adjusts the image quality and brightness based on the surrounding environment 2 Button This button is located below the TV screen NOTE You can set the power indicator light to on or off by selecting General in the main menus ...

Page 4: ...ENG ENGLISH 4 EZMANAGER EZMANAGER Image shown may differ from your TV LANGUAGE COUNTRY SELECTION Please select the Language and Country Some countries need to select the Time Zone ...

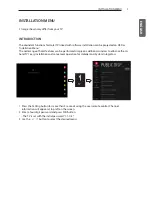
Page 5: ...tures can be performed simply on additional window to enhance the LG hotel TV s easy installation and convenient operation for Hotelier and System Integrators TV 1 Press the Setting button for more than 5 seconds using the user remote control Channel information will appear at top left on the screen 2 Enter a four digit password and press OK button The TV is set with the initial password 1 1 0 5 3...

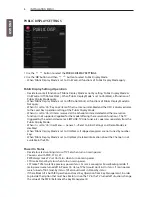
Page 6: ... function The TV triggered by the external device ex SIMPLINK TVLink Tuner etc operates separately from the Public Display Mode When it is set to On User Menu General Reset to Initial Settings and Demo Mode are disabled When Public Display Mode is set to On Work all skipped programs are not tuned by number keys When Public Display Mode is set to On Work Detailed Information about the Channel is no...

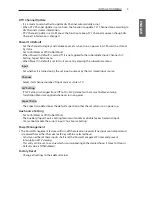
Page 7: ...lume up to higher than maximum volume is received that should be ignored The default value is 100 Minimum Volume This entry sets the minimum volume level the set will produce The level is specified as a number between 0 to Maximum Volume 0 Min Max If the command volume down to lower than minimum volume is received that should be ignored The default value is 0 Key Management Manage key usability of...

Page 8: ...too of control key On Enter possible or not Off Enter Impossible Although select Off Enter impossible the action that press a Menu button for 5 seconds to enter Installation Menu is available When select On Enter possible Menu works OSD Display Decide to display OSD or not by setting OSD Display as On Display or Off Do not Display When OSD Display is set to Off Do not Display all OSD is not displa...

Page 9: ...ut source Channel Select start channel number if Input source s value is TV A V Setting If A V Setting is changed from Off to On A V parameters that are set before entering Installation Menu are applied whenever turn on power Aspect Ratio The aspect ratio determines the default aspect ratio that the set returns to on power up Aux Source Setting Set to On Work or Off Do Not Work The Auxiliary Input...

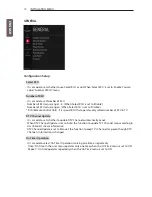
Page 10: ...k connection either Wired or Wireless 2 When connecting via Wired Configures the IP settings of the TV set You can set the IP address subnet mask gateway and DNS server 3 When connecting via Wi Fi use the one of the following network connection methods AP List Connects to the network selected from the AP List Enter the SSID Connects to the wireless AP typed in WPS PBC Connects easily when the butt...

Page 11: ...es and or be powered ON upon receipt of Wake Up Frame packets and or Magic Packet data via the wired LAN To facilitate use of this feature note that the appropriate wired connection must be made Wake up Frame is not supported depending on model Server Settings Sets the information to connect to the external server Supersign Premium Server Supersign Link Server ...

Page 12: ...s only setted number of RCU in TV DTV Channel Update It is a mode to set whether to update DTV Channel automatically or not When DTV Channel Update is set to Auto the function to update TV s Channel map according to dtv Channel s stream information DTV Channel Update is set to Manual the function to keep TV s Channel map even though DTV Channel s information is changed On Timer Operation It is a m...

Page 13: ...ignal is removed while Auto Sensing automatic input switch is enabled the input returns to the previous setting If the several input are connected by enabling Auto Sensing and the automatic input returns to the previous setting If the several inputs are connected by enabling Auto Sensing and the automatic input switch is performed several times the input returns to the previous setting only for th...

Page 14: ... not Set to On Work or Off Do Not Work Set ID Set the Set ID of TV Set with 1 99 Power Saving Static Saving It is the item for setting the level to reduce the backlight control from the items for saving the consuming power which is increased or decreased by 10 steps from 0 to 100 100 makes the consuming power set to the same one from the TV 0 reduces the consuming power to the minimum The default ...

Page 15: ...the following features will be unavailable USB If it is set to Enable USB devices do not work in relative features Exclude S W update Factory Reset If it is set to Enable User Menu General Reset to Initial Settings is disabled Crestron This function enables synchronization with applications provided by Crestron Server This menu sets the server s IP address for the network connection with the serve...

Page 16: ...ervice you can launch the target app at Smart Home Launcher bar without select the target app by remote controller The target app should be already selected at Installer Menu General Preloaded App TV Name When other media device ex smart phone desktop laptop searching TV this string was displayed SoftAP If you want to use SoftAp menu on MEDIA SHARE menu you must select On in this item A SoftAP is ...

Page 17: ...want to change this default password you need to Change Use Default value into Disable Wi Fi Signal Strength You can control wireless signal strength on SoftAP mode This is controlled by 5 step If you select Not Used wireless signal strength will be set to Max value Wi Fi Channel You can control wireless channel on SoftAP mode This is controlled from 1 to 11 channel If you select Auto wireless cha...

Page 18: ...tability and etc we would like to announce the cloning process via USB port named as USB Cloning USB cloning process is divided into 2 main processes One is writing the previously saved TV data into the TV and one another is reading of current TV data into USB memory card To avoid any confusion due to the words it is clearly specified as Import Clone File and Export Clone File in the whole process...

Page 19: ...u press EZ Download menu EZ Download is launched If DZM file exist file will be selected previously download file NOTE If the DZM file is still in the USB after the download is complete An Ez Download pop up window will appear and list the file types such as TLL Logo Image Background Images EPK or Micom with the previously downloaded lists checked automatically If the global TLL and model TLL file...

Page 20: ...NOTE Splash Image update function supports only JEPG BMP format file of less than 8 MB filesize We recommend you that splash image resolution match the TV s panel resolution Max resolution of splash image Full HD 1920 x 1080 HD 1360 x 768 Min resolution of splash image Full HD 64 x 64 HD 64 x 64 TV keep splash image until you change a new splash image The target file is located in LG_DTV folder ...

Page 21: ...re 12 If you updates the images original images will be removed Insert Background Image update function supports only JEPG BMP format file of less than 10 MB filesize Max resolution of splash image Full HD 1920 x 1080 HD 1360 x 768 Min resolution of splash image Full HD 64 x 64 HD 64 x 64 If you want to use inserted image in Bluetooth Sound Sync app and Live TV s Radio Channel please change the va...

Page 22: ...are This feature update EPK of TV through the hex file in USB The target file is located in LG_DTV folder If there are more than two USB memory Device It is possible to select the USB The download sequence is Update TV Software Select file EPK UPDATE ...

Page 23: ...e This feature update MICOM of TV through the txt file in USB The target file is located in LG_DTV folder If there are more than two USB memory Device It is possible to select the USB The download sequence is Update Micom Software Select file Micom UPDATE ...

Page 24: ...ritten to the USB memory card the user can start Import Clone File process with the data file generated and stored in USB memory card As previously warned in Export Clone File process the user should not turn TV off nor unplug the USB memory card The following images might be slightly different than the OSD image ...

Page 25: ...le must be done first before Import Clone File process as it generate the file to be used in Export Clone File While writing is in process the user must not turn TV off nor unplug the USB memory card The following images might be slightly different than the OSD image ...

Page 26: ...utton 41 R C Button 4C R C Button 5B R C Button 1A R C Button 91 R C Button 02 R C Button 0E R C Button B5 R C Button B1 R C Button 00 R C Button B0 R C Button 0A R C Button BA R C Button 03 R C Button 8F R C Button 09 Mute R C Button 8E R C Button 01 R C Button 72 R C Button 4D R C Button 71 R C Button AA R C Button 63 R C Button 52 R C Button 61 R C Button 43 Q Settings R C Button Key code 4C 0 ...

Page 27: ...r provided by LG It can be purchased from computer stores that carry accessories for IT support professionals RS 232C with RS 232C Cable DE9 D Sub 9 pin Type You need to purchase the RS 232C DE9 D Sub 9 pin female to female type to RS 232C cable required for the connection between the PC and the TV which is specified in the manual The connection interface may differ from your TV USB IN TV PC PC RS...

Page 28: ...nt range is 1 99 5 When you are finished press Customer Computer No Pin name 1 3 5 V 2 RXD Receive data 3 TXD Transmit data 4 IR OUT from TV 5 GND 6 No connection 7 No connection 8 No connection 9 No connection 1 6 5 9 RS 232C Serial port RS 232C Configurations 7 Wire Configurations Standard RS 232C cable 3 Wire Configurations Not standard PC TV RXD 2 3 TXD TXD 3 2 RXD GND 5 5 GND DTR 4 6 DTR DSR ...

Page 29: ...l k f 00 to 64 17 Equalizer j v page 33 06 Contrast k g 00 to 64 18 Energy Saving j q 00 to 05 07 Brightness k h 00 to 64 19 Tune Command m a page 33 08 Color Colour k i 00 to 64 20 Channel Programme Add Del Skip m b 00 to 01 09 Tint k j 00 to 64 21 Key m c Key Codes 10 Sharpness k k 00 to 32 22 Control Backlight Control Panel Light m g 00 to 64 11 OSD Select k l 00 to 01 23 Input select Main x b ...

Page 30: ...et ID OK Data x The set transmits ACK acknowledgement based on this format when receiving normal data At this time if the data is data read mode it indicates present status data If the data is data write mode it returns the data of the PC computer Error Acknowledgement Command2 Set ID NG Data x The set transmits ACK acknowledgement based on this format when receiving abnormal data from non viable ...

Page 31: ...rope Colombia Mid East Asia except South Korea and Japan 10 to 1F Cinema Zoom 1 to 16 0C 21 9 Depending upon model Ack c Set ID OK NG Data x Using the PC input you select either 16 9 or 4 3 screen aspect ratio In DTV HDMI Component mode high definition Just Scan is available Full wide mode may work differently based on model and is supported for DTV fully and ATV AV partially 03 Screen Mute Comman...

Page 32: ... k To adjust the screen sharpness You can also adjust sharpness in the Picture menu Transmission k k Set ID Data Cr Data Min 00 to Max 32 Ack k Set ID OK NG Data x 11 OSD Select Command k l To select OSD On Screen Display on off when controlling remotely Transmission k l Set ID Data Cr Data 00 OSD off 01 OSD on Ack l Set ID OK NG Data x 12 Remote Control Lock Mode Command k m To lock the front pan...

Page 33: ...a Cr 0 0 0 0 0 0 0 0 MSB Frequency Data LSB 7 6 5 Frequency 4 3 2 1 0 Step 0 0 0 1st Band 0 0 0 0 0 0 decimal 0 0 1 2nd Band 0 0 0 0 1 1 decimal 0 1 0 3rd Band 0 1 1 4th Band 1 0 0 1 1 19 decimal 1 0 0 5th Band 1 0 1 0 0 20 decimal Ack v Set ID OK NG Data x It depends upon model and can adjust when sound mode is EQ adjustable value 18 Energy Saving Command j q To reduce the power consumption of th...

Page 34: ...Data05 Cr Digital channels have a Physical Major and Minor channel number The Physical number is the actual digital channel number the Major is the number that the channel should be mapped to and the Minor is the sub channel Since the ATSC tuner automatically maps the channel from the Major Minor number the Physical number is not required when sending a command in Digital Analog Antenna Cable Data...

Page 35: ...00 Data01 Data02 Data03 Data04 Data05 Cr 20 Channel Programme Add Del Skip Command m b To skip current channel programme for next time Transmission m b Set ID Data Cr Data 00 Del ATSC ISDB Skip DVB 01 Add Ack b Set ID OK NG Data x Set the saved channel status to del ATSC ISDB skip DVB or add 21 Key Command m c To send IR remote key code Transmission m c Set ID Data Cr Data Key code page 16 Ack c S...

Page 36: ...AL CONTROL DEVICE SETUP 24 Auto Configure Command j u To adjust picture position and minimize image shaking automatically It works only in RGB PC mode Transmission j u Set ID Data Cr Data 01 To set Ack u Set ID OK NG Data x ...

Page 37: ......

Reviews: