3-9
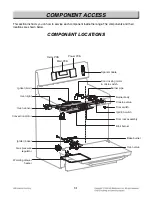
COMPONENT ACCESS
REMO
REMO
VING THE BR
VING THE BR
OIL B
OIL B
URNER ASSEMBL
URNER ASSEMBL
Y
Y
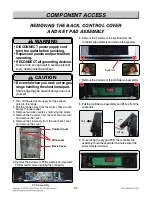
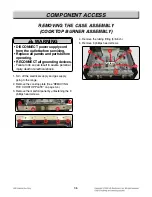
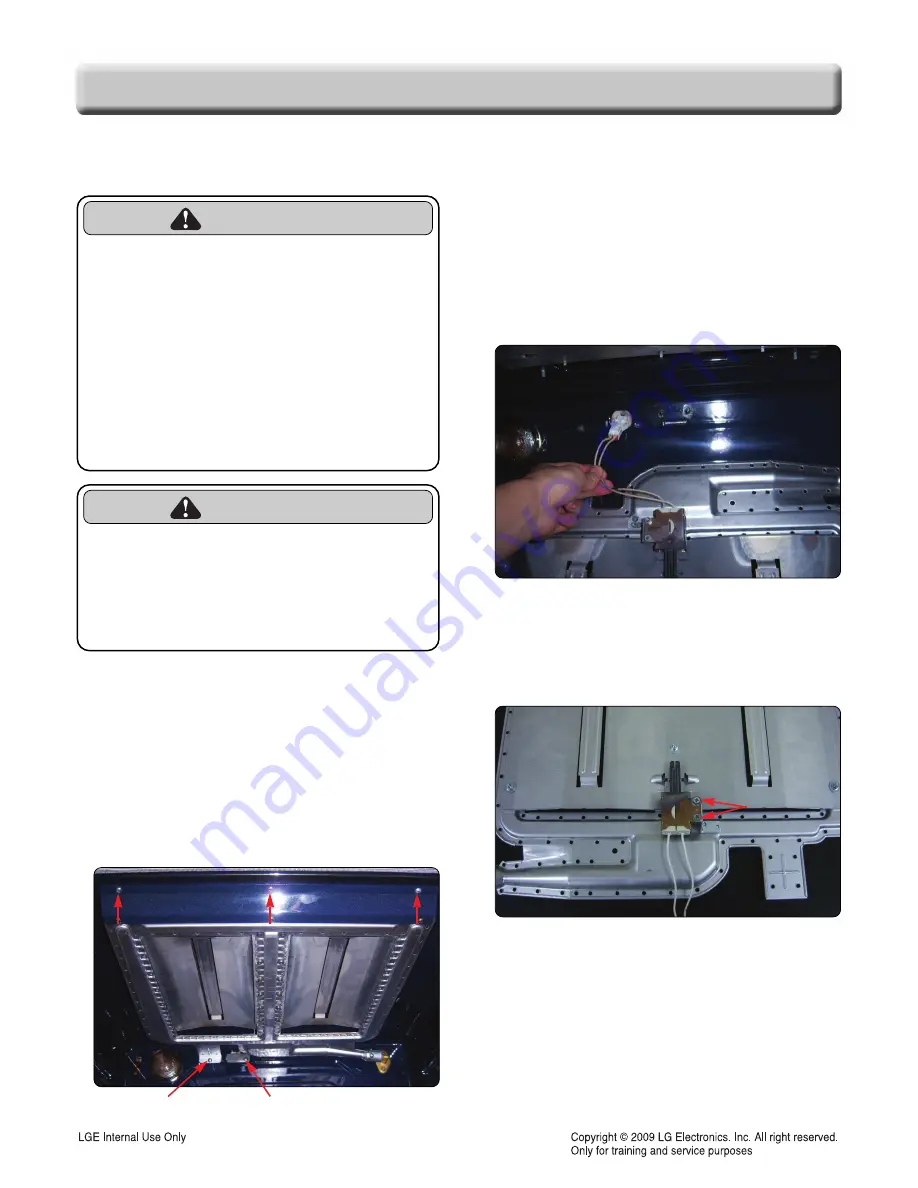
1. Turn off the electrical supply and gas supply
going to the range.
2. Remove the oven door and remove the racks
from inside the oven.
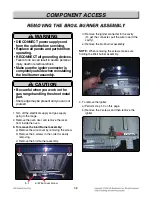
3. To remove the broil Burner assembly:
a) Remove the wire cover by removing the screw.
b) Remove the 4 screws in the order for easily
removing.
c) Remove the broil burner assembly.
d) Remove the igniter connecter in the cavity
(To get the connecter, pull the wire toward the
cavity).
e) Remove the broil burner assembly.
NOTE :
When removing the screws, make sure
holding the Broil burner assembly.
4. To remove the igniter:
a) Perform step 1-3 on this page.
b) Remove the 2 screws and then remove the
igniter.
b-1
b-2
b-2
b-2
b-2
b-2
b-2
b-2
b-2
b-2
b-2
b-2
b-2
b-2
b-2
b-2
b-2
b-2
b-2
b-4
b-4
b-4
b-4
b-4
b-4
b-4
b-4
b-4
b-4
b-4
b-4
b-4
b-4
b-4
b-4
b-4
b-4
b-3
b-3
b-3
b-3
b-3
b-3
b-3
b-3
b-3
b-3
b-3
b-3
b-3
b-3
b-3
b-3
b-3
b-3
WARNING
• DISCONNECT power supply cord
from the outlet before servicing.
• Replace all panels and parts before
operating.
• RECONNECT all grounding devices.
- Failure to do so can result in severe personal
injury, death or electrical shock.
• Make sure the igniter connecter is
completely outside when reinstalling
the broil burner assembly.
CAUTION
• Be careful when you work on the
gas range handling the sheet metal
part.
- Sharp edge may be present and you can cut
yourself.
a) Wire cover screw
2 screws
2 screws
2 screws
2 screws
2 screws
2 screws
2 screws
2 screws
2 screws
2 screws
2 screws
2 screws
2 screws
2 screws
2 screws
2 screws
2 screws
2 screws
Summary of Contents for LSRG309ST
Page 77: ......

