LG LDP-7004D User Manual Download Page 22

General Functions

7004N/D User Guide | General Functions 21

Answering a Message Wait Notification

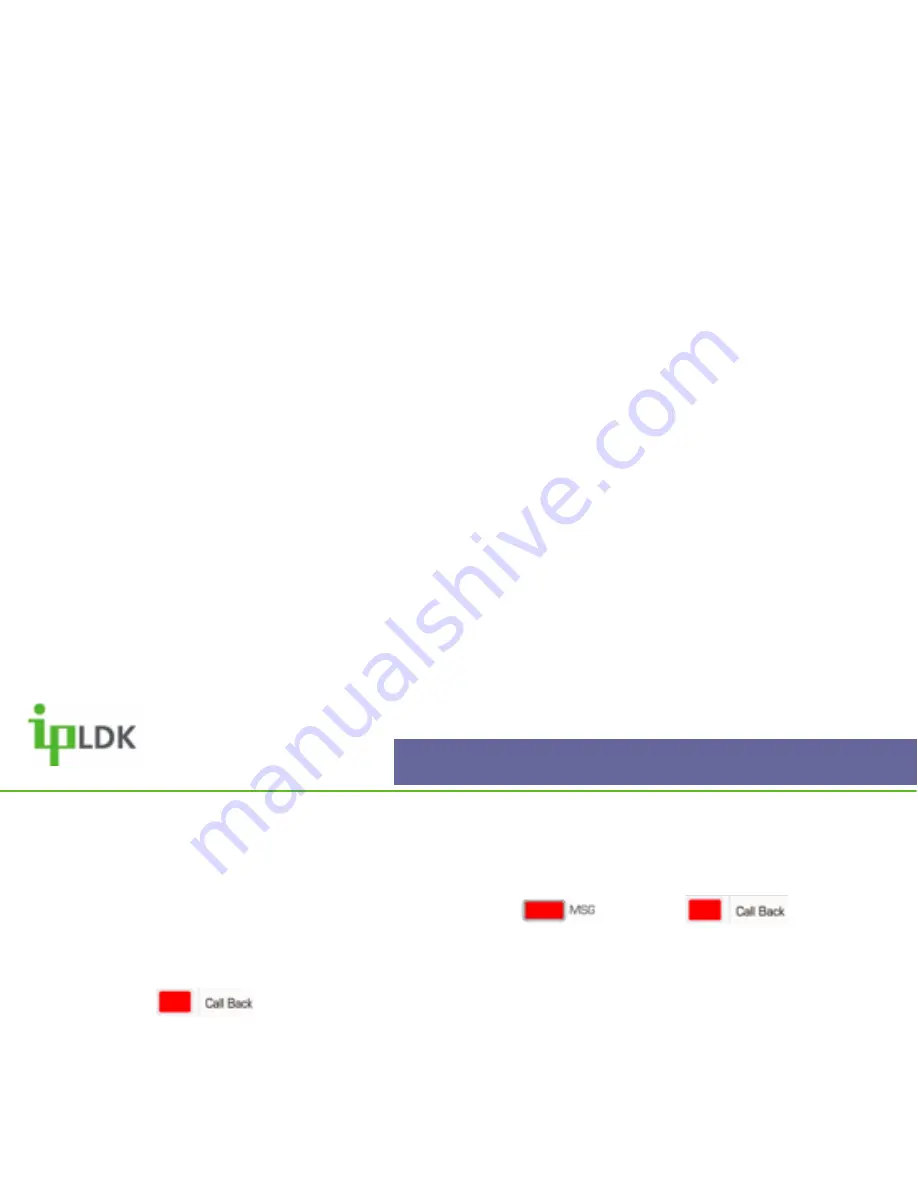
If a message wait has been left at your extension the           

light and                    button 

will be flashing.

1. Press the                    button. (If you do not have a 

[CALL BACK] 

button dial 

557

.

2. If an extension has left a message wait and not left a voice message you will call them 
back.
3. If a voice message has been left you will be taken to your voice messages.

Summary of Contents for LDP-7004D

Page 1: ...LDP7004N D Digital Telephone User Guide ...

Page 2: ...all on hold 8 Retrieving and external internal call on hold 8 Parking a call 9 Retrieving a parked call 9 Call Forward 10 DDI Call Waiting 11 Call Wait Camp On 12 Last Number Redial 18 Saved Number Redial 18 Do Not Disturb DND 19 Messaging 20 Leaving a Message Wait Notification 20 Answering a Message Wait Notification 21 User Programming 22 Saving your name to your phone 23 Storing personal speed ...

Page 3: ...hese could damage the phone Retain the cardboard packaging supplied with this handset It should be used if the phone has to be returned for service The packaging can be recycled when no longer required Do not place the phone in direct sunlight for prolonged periods Disclaimer Crane Telecommunications Ltd and LG Electronics Inc cannot be held responsible for any damage caused to your system through...

Page 4: ...tains a microphone and speaker to allow the user to speak to another party Flexible Buttons Used for storing speed dials and features as well as accessing lines Transfer Pgm Used for performing a transfer or user programming Dial Pad Alpha numeric keypad used to dial numbers and when storing speed dial numbers and names to memory Familiarise yourself with its features ...

Page 5: ...ful when using a headset or if you wish to speak hands free Red LED illuminated if off hook without lifting the receiver 2 Hold Save Key Dual purpose key When in a call it is used to place a caller on hold When programming it is for permanently updating changes to the system memory 3 Volume Key Used for adjusting speaker ringing and in call volume 4 Speed Key ...

Page 6: ...nswering External Calls Making and Answering Internal Calls Placing an Internal External Call on Hold Retrieving an Internal External Call on Hold Parking a Call Retrieving a Parked Call Call Forward DDI Call Wait Call Wait Camp On ...

Page 7: ...s ensure that external parties are informed if you intend to record a call Making and Answering an external call You can make an external call in the following ways 1 Lift the receiver and dial 9 2 Dial 9 3 Press the button and dial 9 01234567890 Fig 1 ...

Page 8: ...l in the following ways 1 Lift the receiver and dial an extension number 2 Dial an extension number 3 Press the button an extension number If using a 7004D your screen will look like Fig 3 after you have dialled a number To answer a call press the button or lift the receiver Fig 3 105 ...

Page 9: ...or external press the button Fig 5 shows that the relevant line on your 7004N D digital telephone will be flashing to indicate that a caller is on hold Retrieving an External Internal Call on hold If you are Off Hook holding the handset simply hang up replace the handset press the relevant flashing Fig 5 ...

Page 10: ...ess a flexible button labelled as Park and hang up 2 Once you have parked the caller you can contact another party to inform them that they have a caller waiting Alternatively make a page See page 18 later in the user guide for information on paging Retrieving a Parked Call 1 If retrieving a call that you have parked dial the relevant digits for the parking bay used 601 619 ...

Page 11: ...rary location 1 Unconditional This option allows you to forward all calls immediately to a Station Hunt Group or the integral Voice Messaging card 2 Busy Destination options are as per option 2 Calls will only forward when you are busy on the phone 3 No Answer Destination options as per option 1 Calls will only forward when a No Answer timer expires The length of the time is determined by a qualif...

Page 12: ... per page 9 Example Select option 4 Busy No Answer 3 Select a destination such as for the integral messaging card or an extension hunt group or Speed Dial 4 If you have selected a valid option you will here confirmation tone 5 To cancel the call forward button or dial 554 DDI Call Waiting ...

Page 13: ...l number 2 You will receive busy tone 3 Press the button 4 If the called party answers you can speak with them or simply transfer a call to them Answer a Call Wait Camp On 1 After hearing Call Wait Camp On tone finish you existing call or press the button ...

Page 14: ...ected 1 Lift your handset 2 Dial 7 followed by the extension number of the station that is ringing 3 You will then be connected to the calling party Call Pickup Group 1 Lift your handset 2 Dial 566 3 You will be connected to the caller ...

Page 15: ...M button 2 Dial the appropriate extension number or press a flexible button that has been assigned with a station number 3 Wait for the called party to answer announce the call and Hang Up Transfer Unscreened 1 Repeat steps 1 to 3 as described above 2 Hang up without announcing the call ...

Page 16: ...te Speed Dial Personal or Speed 4 A call will be activated Tip You will need a printed list of all Speed Dial Numbers 000 099 for Personal 2000 3499 IPLDK 50 100 2000 7999 IPLDK 300 300E Queuing for an Outside Line 1 If no external lines are available when you attempt to make an outside line you will receive ...

Page 17: ... of codes on page 55 2 Your display will look as in Fig 21 3 Hang up once you have finished the page TIP It is possible to assign a flexible button as a PAGE Key Note You must have permission to make a page that must be set up in programming by a qualified system administrator ...

Page 18: ...button assigned as CONFERENCE 1 Press the CONFERENCE button whilst in a call 2 Dial another extension or external number 3 When the party answers press the CONFERENCE button once to enable you to add another party or twice to set up the conference and allow all parties to converse Note You must have a flexible key set up as a conference button ...

Page 19: ... 2 Use the button to find the number you require The first in the list is the last dialled number a You can access up to 10 previously dialled numbers 3 Press the button and the number you selected will be dialled 4 To access the redial list you can alternatively assign a flexible button as REDIAL Saved Number Redial Fig 6 01234567890 ...

Page 20: ...General Functions Do Not Disturb DND 1 Dial 553 from your telephone to activate DND 2 Dial 553 from your handset to deactivate DND ...

Page 21: ...flexible button assigned as CALL BACK Calling a Busy Station 1 You will receive busy tone 2 Press the CALL BACK button 3 When the busy part hangs up you will be notified with intermittent bursts of tone a flashing CALL BACK button and a flashing light Calling an Unanswered Station Simply press your CALL BACK button and hang up when you call a station that does not ...

Page 22: ...t your extension the light and button will be flashing 1 Press the button If you do not have a CALL BACK button dial 557 2 If an extension has left a message wait and not left a voice message you will call them back 3 If a voice message has been left you will be taken to your voice messages ...

Page 23: ...USER PROGRAMMING SAVING YOUR NAME TO YOU PHONE STORING PERSONAL SPEED DIALS CHARACTER ENTRY CHART ...

Page 24: ...ows 1 Press the TRANS PGM button and dial 74 2 Enter your name See the character entry chart on page 24 3 Press the button to save your name to the system memory Note This may be easier to from a station set up as an attendant that has a display Storing Personal Speed Dials It is possible for you to store numbers that you use regularly to your personal speed dial ...

Page 25: ...User Programming Character Entry Chart Please follow the chart below when entering characters 13 1 10 A 21 B 22 C 23 2 20 D 31 E 32 F 33 3 30 G 41 H 42 I 43 4 40 J 51 K 52 L 53 5 50 M 61 N 62 O 63 6 60 ...

Page 26: ...ssign a feature to a flexible button follow the instructions below 1 Press the TRANS PGM button and select the flexible button you wish to assign 2 You may then assign the button in on of the following ways a Press the TRANS PGM button again followed by a user programming code b Press the SPEED button followed a speed dial number c Enter the relevant extension number ...

Page 27: ... EXTN 3 1 AUTH REGISTER 3 2 AUTH CHANGE 3 3 REG MOBILE EXT 3 4 ACTIVE MOBILE EXT 4 TIME CONF ROOM 4 1 SET WAKE UP TIME 4 2 WAKE UP DISABLE 4 3 ACTIVE CONF ROOM 4 4 DEACTIVE CONF ROOM 6 ANNOUNCEMENT 6 1 REC USER GREETING 6 2 LISTEN TIME DATE 6 3 LISTEN STA NUMBER 6 4 LISTEN STA STATUS 6 5 REC PAGE MSG 6 6 ERASE USER GREETING 6 7 ERASE PAGE MESSAGE 7 SUPPLEMENTARY 7 1 LCD DISPLAY LANGUAGE 7 2 MPB VE...

Page 28: ...1 RING 1 1 TYPE 1 2 ANSWER MODE 1 3 SMS MSG DISPLAY 1 4 ENBLOCK MODE 1 5 SMS NOTICE DISPLAY ...

Page 29: ...ive ring 3 Choose options 1 4 to change to general ring cadence for your 7004N D Digital Telephone 4 Press the button to confirm the change Answer Mode 1 Press the TRANS PGM button and select option 1 RING followed by option 2 ANSWER MODE 1 Handsfree In this mode you will receive 3 short bursts of tone from your handset for ...

Page 30: ...SG Display Not supported on 7004N D Digital Telephone Enblock Mode Reserved for future development SMS Notice Display Reserved for future development Ear Mic Headset Not supported on the 7004N D Digital Telephone ...

Page 31: ... TRANS PGM button and select option 1 RING followed by option 8 ICM RING Your display should look as per Fig 33 2 Select options 1 15 3 Press CO Ring This feature allows you to differentiate the way that your phone rings on intercom calls to the way it rings on inbound external calls 1 Press the TRANS PGM button and select option 1 RING followed by option 9 CO ...

Page 32: ...1 2 COS Class Of Service 2 1 COS DOWN 2 2 COS RESTORE 2 3 WALKING COS 2 4 COS CHANGE ...

Page 33: ...S Restore This option returns your phone to normal service taking off the lock applied above 1 Press the TRANS PGM button and select option 2 COS followed by option 2 COS RESTORE 2 Enter your password and the screen should change as per Fig 37 3 Press the button Note You will need a valid Authorisation Code to use both of these features Setting up your Authorisation Code is described on page 39 of...

Page 34: ...3 AUTH CODE MOBILE EXTENSION 3 1 AUTH CODE REGISTER 3 2 AUTH CODE CHANGE 3 3 REGISTER MOBILE EXTENSION 3 4 ACTIVATE MOBILE EXTENSION ...

Page 35: ...cess 1 Press the TRANS PGM button and select option 3 AUTH MOBILE EXT followed by option 1 AUTH REGISTER 2 Enter a 5 digit authorisation code and press the button Auth Code Change You can change your authorisation code with this option A valid authorisation code is required for many features that you may wish to access 1 Press the TRANS PGM button and select option 3 AUTH MOBILE EXT followed by ...

Page 36: ...k phone 1 Press the TRANS PGM button and select option 3 AUTH MOBILE EXT followed by option 3 REG MOBILE EXT 2 Enter your mobile number and press the button Activate Mobile Extension This allows you to activate the feature that you have set up above 1 Press the button and select option 3 AUTH MOBILE EXT followed by option 4 ACTIVE MOBILE EXT Your screen should look as per Fig 42 ...

Page 37: ...4 WAKE UP TIME CONFERENCE ROOM 4 1 SET WAKE UP TIME 4 2 WAKE UP DISABLE 4 3 ACTIVE CONF ROOM 4 4 DEACTIVE CONF ROOM ...

Page 38: ...option 4 TIME CONF ROOM followed by option 1 SET WAKE UP TIME 2 Enter the time that you wish the alarm to go off and press the button 3 To stop the alarm when it sounds simply go off hook and hang up Wake Up Disable This allows you to deactivate an alarm that has been set 1 Press the TRANS PGM button and select option 4 TIME CONF ROOM followed by option 1 SET WAKE UP TIME ...

Page 39: ...utton and select option 4 TIME CONF ROOM followed by option 3 ACTIVE CONF ROOM 2 Enter the number of the conference room you wish to activate followed by your authorisation code and press the button 3 Callers can now dial into this conference Internal or external via DDI transfer from reception or auto attendant Deactivate Conference Room A conference room as set up above will stay active until yo...

Page 40: ...5 MESSAGE 5 1 SET PRE SELECTED MESSAGE 5 2 SET CUSTOM MESSAGE ...

Page 41: ...om your desk See page 51 of this user guide for a list of the pre set messages 1 Press the TRANS PGM button and select option 5 TIME CONF ROOM followed by option 1 ACTIVE CONF ROOM Your screen should look as per Fig 46 2 Enter the relevant message number and follow any on screen prompts and press the button 3 To cancel the message dial 553 from your handset Set Custom Message ...

Page 42: ...6 ANNOUNCEMENT 6 1 RECORD USER GREETING 6 2 LISTEN TO TIME DATE 6 3 LISTEN TO STATION NUMBER 6 4 LISTEN TO STATION STATUS 6 5 RECORD PAGE MESSAGE ...

Page 43: ...ee page 9 for Call Forward Settings 1 Press the TRANS PGM button and select option 6 ANNOUNCEMENT followed by option 1 REC USER GREETING 2 You will prompted to press to start recording 3 When you have finished recording press 4 Record a message appropriate to the type of forward on your Digital Telephone Listen to Time Date To check the time and date ...

Page 44: ...n 3 LISTEN STA NUMBER 2 You will then hear a system message telling you the number of your station Listen to Station Status To listen to your current status Station Number COS Call Forwards 1 Press the TRANS PGM button and select option 6 ANNOUNCEMENT followed by option 4 LISTEN STA STATUS 2 You will then hear the current status of your extension ...

Page 45: ...and select option 6 ANNOUNCEMENT followed by option 6 ERASE USER GREETING 2 Your personal greeting will be erased Erase Page Message To erase your page message 1 Press the TRANS PGM button and select option 6 ANNOUNCEMENT followed by option 7 ERASE PAGE MESSAGE 2 Your page message will be erased ...

Page 46: ...7 SUPPLEMENTARY 7 1 LCD LANGUAGE DISPLAY 7 2 MPB VERSION DISPLAY 7 3 BGM 7 4 REGISTER STATION NAME 7 5 SPEAKER HEADSET ...

Page 47: ... 7004N D MPB Version Display Not supported on the 7004N D BGM You can chose to listen to background music through your handset There are 11 possible music sources You should check with a qualified system administrator for details of which sources are active ...

Page 48: ...llowed by option 4 REGISTER STA NAME 2 Enter your name and press the button Speaker Headset Mode If you wish to connect a headset other than to the headset jack follow the instructions below 1 Press the TRANS PGM button and select option 7 SUPPLEMENTARY followed by option 5 SPK HEADSET 2 Dial 1 for Speaker 0 for Headset 3 Press the button ...

Page 49: ...Supplementary WTU Station Number RCVR Do not use Reserved for future development Serial Number Not supported on 7004N D PC Phone Lock Key Not supported on the 7004N D ...

Page 50: ...USER PROGRAMMING CODES PRE SET MESSAGES GLOSSARY ...

Page 51: ...5 Headset Port On Off 17 ICM Ring Tone 18 CO Ring Tone 19 COS Down 21 Walking COS 23 Authorisation Code Register 31 Authorisation Code Change 32 Listen to Station Status 64 Record Paging Message 65 Erase User Greeting 66 Erase Paging Message 67 LCD Language Change 71 BGM Background Music 73 Station Name Register 74 Headset Setup 75 Headset Telephone Ring Mode 76 Account Code 80 ...

Page 52: ...TION RTN DATE MM DD This message will inform internal callers that your are on holiday and your expected return date 03 OUT OF OFFICE RTN TIME HH DD If you are out of the office for a period of the day internal callers can see your expected return time 04 OUT OF OFFICE RTN DATE MM DD As per message 03 but you should use this if you are away from the office for a day or more 05 OUT OF OFFICE RTN UN...

Page 53: ...nal callers to be routed directly to your extension bypassing reception Hunt Group Feature to allow a number of extension to be group together to answer inbound calls Used in call centres Handset The part of the phone that you pick up to answer calls Also commonly know as the receiver ...

Page 54: ...ferent music sources to play through your handset MPB Main Processor Board The brains of the phone system MPB contains all system software and controls all system functions CO Central Office American term now widely adopted in the telecommunications industry to describe the local telephone exchange ...

Page 55: ...24 Flexible Button 3 4 25 50 53 G G 24 A A 24 Announcement 41 Answer Mode 31 Answering Calls 6 7 Answering Message Wait 21 Authorisation Code 38 B B 24 BGM 46 53 Busy Station 20 C C 24 J J 24 K K 24 L L 24 LCD 46 52 M M 24 Making Calls 6 7 Menu Tree 29 Message Wait 20 Microphone 3 ...

Page 56: ...s 43 T T 24 Transfer 3 4 14 Time Date 42 U U 24 Unanswered Station 20 User Programming 22 49 User Greeting 42 44 V P P 24 Page 16 Page Message 43 44 Park 9 PC Phone 48 Pickup 13 Preset Message 39 40 51 Programme Codes 50 Q Q 24 Queuing 15 R ...

Reviews: