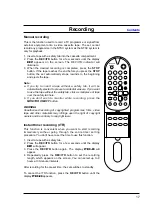
Recording
Timer programme setting
You can programme the set to start and end recording while you
are away.
Up to 5 recordings within one year can be programmed at the
same time.
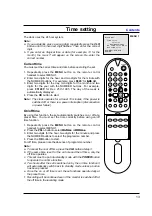
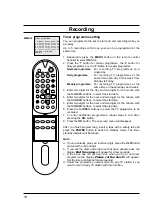
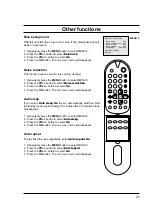
1. Repeatedly press the MENU button on the remote control
handset to select MENU 2.
2. Press the '1' button for normal programme, the '2' button for
daily programme or the '3' button for weekly programme.
Normal programme : For recording TV programmes on a
single day.
Daily programme
: For recording TV programmes at the
same time each day of the week from
Monday to Friday.
Weekly programme : For recording TV programmes at the
same time on the same day each week.
3. Enter two digits for the day and two digits for the month, with
the NUMBER buttons, to select the start date.
4. Enter two digits for the hour and two digits for the minute, with
the NUMBER buttons, to select the start time.
5. Enter two digits for the hour and two digits for the minute, with
the NUMBER buttons, to select the stop time.
6. Press the NUMBER buttons to select the TV programme to be
recorded.
7. To enter additional programmes, repeat steps 2 to 6 after
pressing the PR- button.
8. Press the OK button. The on screen menu will disappear.
After you finish programming, insert a tape with a safety tab and
press the POWER button to switch to standby mode. The timer
standby indicator will illuminate.
Note :
a. If you accidently press an incorrect digit, press the CLR button
and enter the correct digit.
b. If you set the start and stop time that have already past, the
display
Past time prog.
will appear for a few seconds.
c. If the clock has not yet been set, when you try to set timer
programme the display
Please set the clock !
will appear.
Set the time and date before proceeding.
d. Select the programme number stored a pay TV station if you
want to record a pay TV station with this function.
18
∫Timer∫programme
∫∫∫E∫Date∫∫Start∫Stop∫∫PR
∫1∫_∫__®__∫__:__∫__:__∫__
∫2∫_∫__®__∫__:__∫__:__∫__
∫3∫_∫__®__∫__:__∫__:__∫__
∫4∫_∫__®__∫__:__∫__:__∫__
∫5∫_∫__®__∫__:__∫__:__∫__
∫Use: PR+_,0_9,CLR
∫End:OK
MENU 2
1
2
3
MENU
4
5
6
7
8
9
0
POWER
N
D
W
CLR
PR
OK
Summary of Contents for KI-14U30
Page 25: ......

