35
Sorting the titles
Press OK (
) to bring up the option menu. Select [Sort] option and press OK
(
) to view the further options. Here you can choose to sort titles according to
[Date] (when they were recorded), [Title] (alphabetical order) or by [Category]
(sort by genre).
Combining titles
Use this function to merge the selected title with another title. Select a title and
press OK (
). Select [Combine] in the [Edit] option then press OK (
).
Select a title you want to combine with current title and press OK (
) to con-
firm.
Dividing a title
Use this function to split a title up into two titles. Select a title that you want to
divide and press OK (
). Select [Divide] in the [Edit] option from the menu on
the left of the screen and press OK (
) to display the [Divide] menu. Find the
point you want to divide a title using PLAY (
B
B
), SCAN (
m
/
M
), PAUSE (
X
)
buttons and press OK (
) while [Divide] option is selected. The playback
screen shows the divided point. Select [Done] option and press OK (
) to
divide. You cannot select dividing point less than 3 seconds.
Deleting a part
You can delete a part which you do not want in the title.
Select a title that you want to delete part and press OK (
). Select [Delete
Part] in the [Edit] option from the menu on the left of the screen and press OK
(
) to display the [Delete part] menu. You can find the point using PLAY (
B
B
),
SCAN (
m
/
M
), PAUSE (
X
) buttons.
[Start Point]: Select starting point of a part that you want to delete then press
OK (
).
[End Point]: Select ending point of a part that you want to delete then press
OK (
).
[Next Part]: Press OK (
) to delete the additional part.
[Cancel]: Press OK (
) to cancel the selected part.
[Done]: Press OK (
) to delete the selected part.
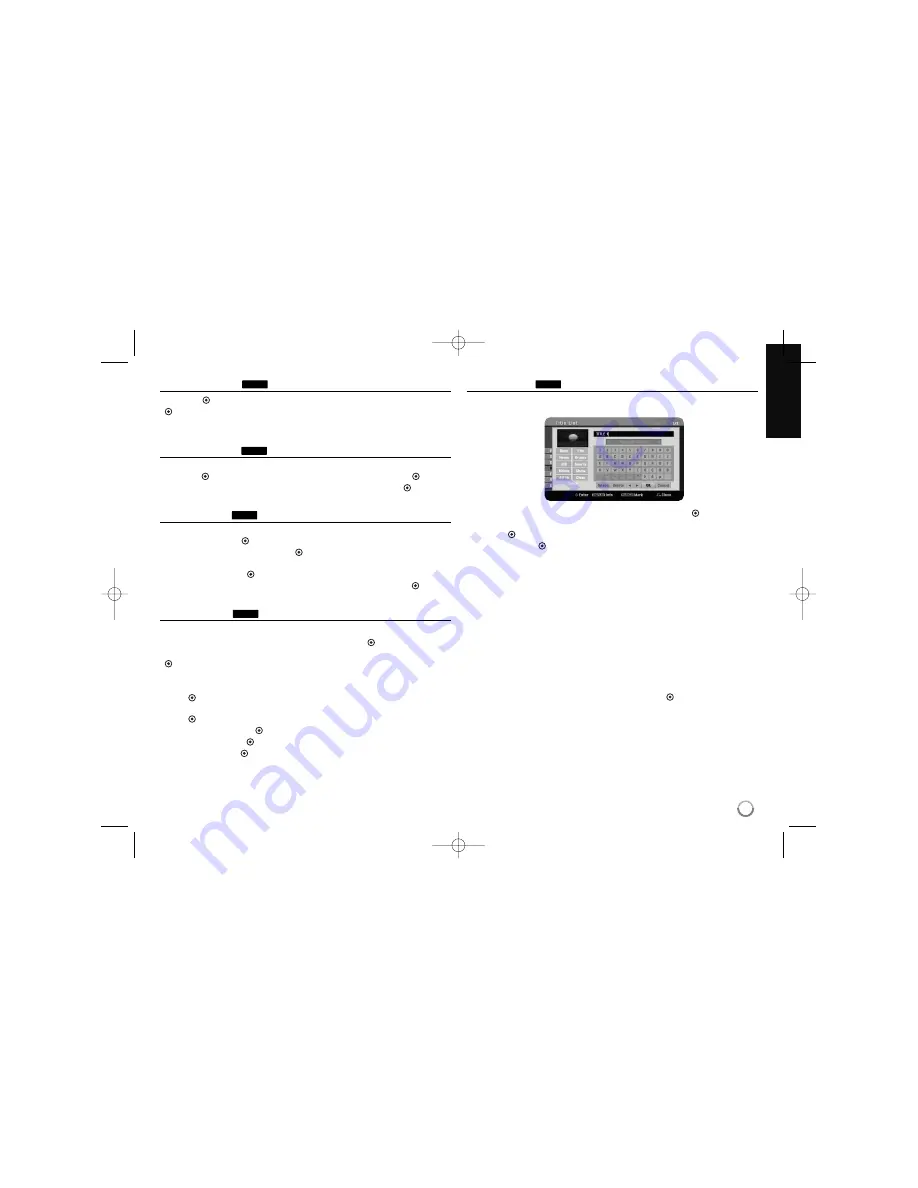
Naming a title
When a title is recorded by this unit, the title name will be named by a number
or a program title. You can change a title name by using this function.
Select a title that you want to change a name and press OK (
). Select
[Rename] or [Title Name] option from the menu on the left of the screen and
press OK (
) to display the keyboard menu. Use
v
v V
V b
b B
B
to select a charac-
ter then press OK (
) to confirm your selection on the keyboard menu.
[OK]: Finish the naming.
[Cancel]: Cancels all entered characters.
[Space]: Inserts a space at the cursor position.
[Delete]: Deletes the previous character at the cursor position.
You can use remote control buttons for entering a name
PLAY (
B
B
): Inserts a space at the cursor position.
PAUSE (
X
): Deletes the after character at the cursor position.
STOP (
x
), CLEAR: Deletes the previous character at the cursor position.
.
/
>
: Moves cursor to left or right.
MENU/LIST, INFO (i): Changes the character set on the keyboard menu.
Numbers (0-9): Enters the corresponding character at the cursor position.
You can apply a genre for a selected title on HDD. When a character is high-
lighted on the keyboard menu, keep pressing
b
b
until the curser jumps across to
the Genre field. Choose desired genre and press OK (
) to select it.
The chosen genre name will appear at the lower right corner of the title thumb-
nail.
HDD
HDD
HDD
HDD
HDD
HR407M-P_BGBRLLK_ENG 8/9/04 4:49 AM Page 35


