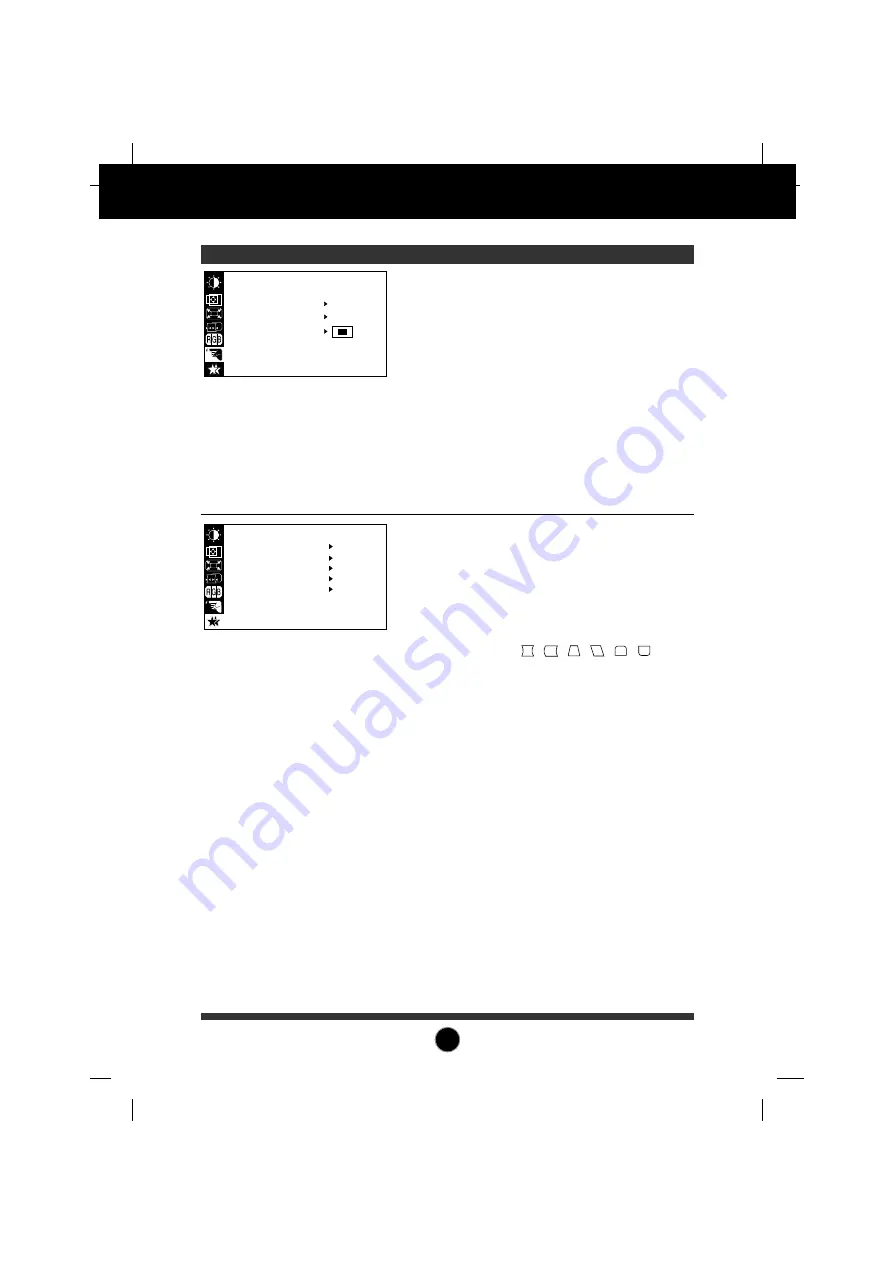
background image

DEGAUSS

RECALL

MOIRE

CONVERGENCE

PURITY

A10

SPECIAL

DEGAUSS

ON

RECALL

ON

MOIRE

H: 0/V: 0

CONVERGENCE

H:50

53.6kHz/85.0Hz
PRESET MODE

PURITY

50

On Screen Display(OSD) Selection and Adjustment 

OSD Adjust

Description

This item is used to select the monitor's input
signal level. The normal level used for most
PC's is 0.7V.
When the screen suddenly gets brightened or
blurry, please select 1.0V and try again.

To choose the language in which the control
names are displayed.
OSD Menus are available in 11 languages:
English, German, French, Spanish, Italian,
Swedish, Finnish, Portuguese, Korean,
Chinese and Russian.

To adjust position of the OSD window on the
screen.

VIDEO LEVEL

LANGUAGE

OSD POSITION

VIDEO LEVEL          0.7V

LANGUAGE             ENGLISH

OSD POSITION

SETUP

To manually demagnetize the screen which
may show some image or color incorrectly.

You can use this function when you want to
go back to the screen display of the time
you purchased the product after adjusting to
modify it in the Preset Mode.
When you are in the User mode, you can
recall 

only , , ,

, ,  and

CONVERGENCE items. After using Recall,
adjust the screen display again if necessary.
If you want more information on the Preset
Mode, refer to A11 page.

This item allows you to reduce the moire

(Moire is caused by interference Horizontal
Scan Line with the periodical dot screen). 
It is normally OFF(H:0/V:0).
The moire adjustments may affect the focus
of the screen.
The screen image may shake slightly while
the moire reduction function is on.

This item allows you to adjust the horizontal
convergence. 
The horizontal convergence control adjust
the alignment of the red and blue horizontal
fields.

Use to adjust the overall purity of the image
if the color appears uneven.

Summary of Contents for Flatron 795FT Plus

Page 1: ...trolled auto scanning is done with the micro processor for horizontal scan frequencies between 30 and 96kHz and vertical scan frequencies between 50 160Hz This monitor is capable of producing a maximum horizontal resolution of 1600 dots and a maximum vertical resolution of 1200 lines The microprocessor based digital controls allow you to adjust conveniently a variety of image controls by using the...

Page 2: ...down with the underside facing you Installation 1 Align the hooks on the tilt swivel stand with the matching slots in the base of the monitor 2 Insert the hooks into slots 3 Slide the tilt swivel stand toward the front of the monitor until the latches click into the locked position Slots Latch Latch Hooks ...

Page 3: ...5 pin 2 row connection to mate with your MAC Attach the other end of the signal cable to the side of the adapter block with 3 rows Connect the attached adapter block signal cable to the video output on your MAC One end of the AC power cord is connected into the AC power connector on the back of the monitor The other end is plugged into a properly grounded three prong AC outlet Power on the PC then...

Page 4: ...the monitor to the downstream port of the USB compliant PC or another hub using the USB cable Computer must have a USB port 2 Connect the USB compliant peripherals to the downstream ports of the monitor USB upstream Port USB downstream Ports connect the cables from USB compliant peripherals such as keyboard mouse printer scanner etc To USB downstream port of the USB compliant PC or another hub cab...

Page 5: ...Function of Controls Rear View Front View ID Label D Sub Signal Cable AC Power Socket OSD SET Power Button Power Indicator OSD Button Buttons SET Button USB upstream port USB downstream ports Applies to 795FT plus only ...

Page 6: ...monitor is in DPM Energy Saving mode stand by suspend off this indicator color changes to amber Power DPMS Indicator Use this button to turn the monitor on or off Power Button Use this button to enter a selection in the on screen display SET Button Control Function Shortcut Keys Brightness and Contrast can be adjusted directly without entering the On Screen Display OSD system Press the buttons to ...

Page 7: ...g the OSD To make adjustments in the On Screen Display follow these steps Press the OSD Button then the main menu of the OSD appears To access a control use the or Buttons When the icon you want becomes highlighted press the SET Button Use the Buttons to adjust the item to the desired level Accept the changes by pressing the SET Button Exit the OSD by pressing the OSD Button NOTE Allow the monitor...

Page 8: ...ns of the items that are shown on the Menu OSD Adjust Description BRIGHTNESS CONTRAST 100 100 POSITION 66 45 Brightness Used to adjust the brightness of the screen Contrast Adjust the display to the contrast desired Vertical Position To move image up and down Horizontal Position To move picture image left and right SIZE 49 64 Vertical Size To adjust image height Horizontal Size To adjust image wid...

Page 9: ...f the screen image Trapezoid To correct geometric distortion Top Corner To correct the irregular distortion of the displayed image Bottom Corner To correct the irregular distortion of the displayed image SHAPE COLOR PRESET TEMP RED GREEN BLUE 6500K 9300K PRESET TEMP RED GREEN BLUE 6500K 9300K To appear the displays color temperature 6500K Slightly reddish white 9300K Slightly bluish white User eas...

Page 10: ...y demagnetize the screen which may show some image or color incorrectly You can use this function when you want to go back to the screen display of the time you purchased the product after adjusting to modify it in the Preset Mode When you are in the User mode you can recall only and CONVERGENCE items After using Recall adjust the screen display again if necessary If you want more information on t...

Page 11: ... Recalling Display Modes When your monitor detects a mode it has seen before it automatically recalls the image settings you may have made the last time you used that mode You may however manually force a recall of each of the 4 preset modes by pressing the Recall button All preset modes are automatically recalled as the monitor senses the incoming signal The ability to recall the preset modes is ...

Page 12: ...for graphics board The power LED is illuminated amber Display power management mode There is no active signal coming from the PC The signal cable is not fastened securely Check the computer power and graphics adapter configuration The image on the SCREEN is not centered or too small or not a rectangle shape Image adjustment not been done yet in the current operating mode Use the OSD SET and button...

Page 13: ... 4 Downstream ports Max 110W 130W Normal 84W 104W Stand by Suspend 8W 30W Power Off 3W 20W with USB Width 41 50 cm 16 3 inches Height 43 50 cm 17 1 inches Depth 43 90 cm 17 3 inches Europe AC 200 240V 50Hz 1 0A 795FT 795FT plus Others AC100 240V 50 60Hz2 0A 795FT 795FTplus The products should be used according to the Power requirements of each ID LABEL Net 19 2 kg 42 3 lbs Operating Condition Temp...

Reviews: