W
ATCHING
TV
/
CHANNEL
CONTR
OL
34
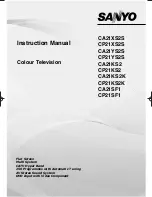
TURNING ON TV
WATCHING TV / CHANNEL CONTROL
NOTE
!
G
G
If you intend to be away on vacation, disconnect the power plug from the wall power outlet.
First, connect power cord correctly.
At this moment, the TV switches to standby mode.
■
In standby mode to turn TV on, press the
,
IIN
NPPU
UT
T
,
C
CH
H ((
D
D
or
E
E
))
button on the TV or press the
PPO
OW
WEER
R
,
IIN
NPPU
UT
T
,
T
TV
V IIN
NPPU
UT
T
,
C
CH
H((
D
D
or
E
E
))
,
N
Nuum
mb
beerr ((0
0
~
9
9))
button on the remote control.
Select the viewing source by using the
T
TV
V IIN
NPPU
UT
T
,
IIN
NPPU
UT
T
button on the
remote control.
■
This TV is programmed to remember which power state it was last set to,
even if the power cord is out.
When finished using the TV, press the
PPO
OW
WEER
R
button on the remote con-
trol. The TV reverts to standby mode.
POWER
V
DVD
TV INPUT
INPUT
ADJUST
SAP
SOUND
PICTURE
CC
1
2
3
4
5
6
7
8
0
9
BACK
VOL
CH
MUTE
FAV
1
2
3
1
2
3
4
5
6
7
8
0
9
BACK
VOL
CH
MUTE
FAV
EXIT
TIMER
RATIO
SIMPLINK
Press the
C
CH
H ((
D
D
or
E
E
))
or
N
NU
UM
MB
BEER
R
buttons to select a channel number.
1
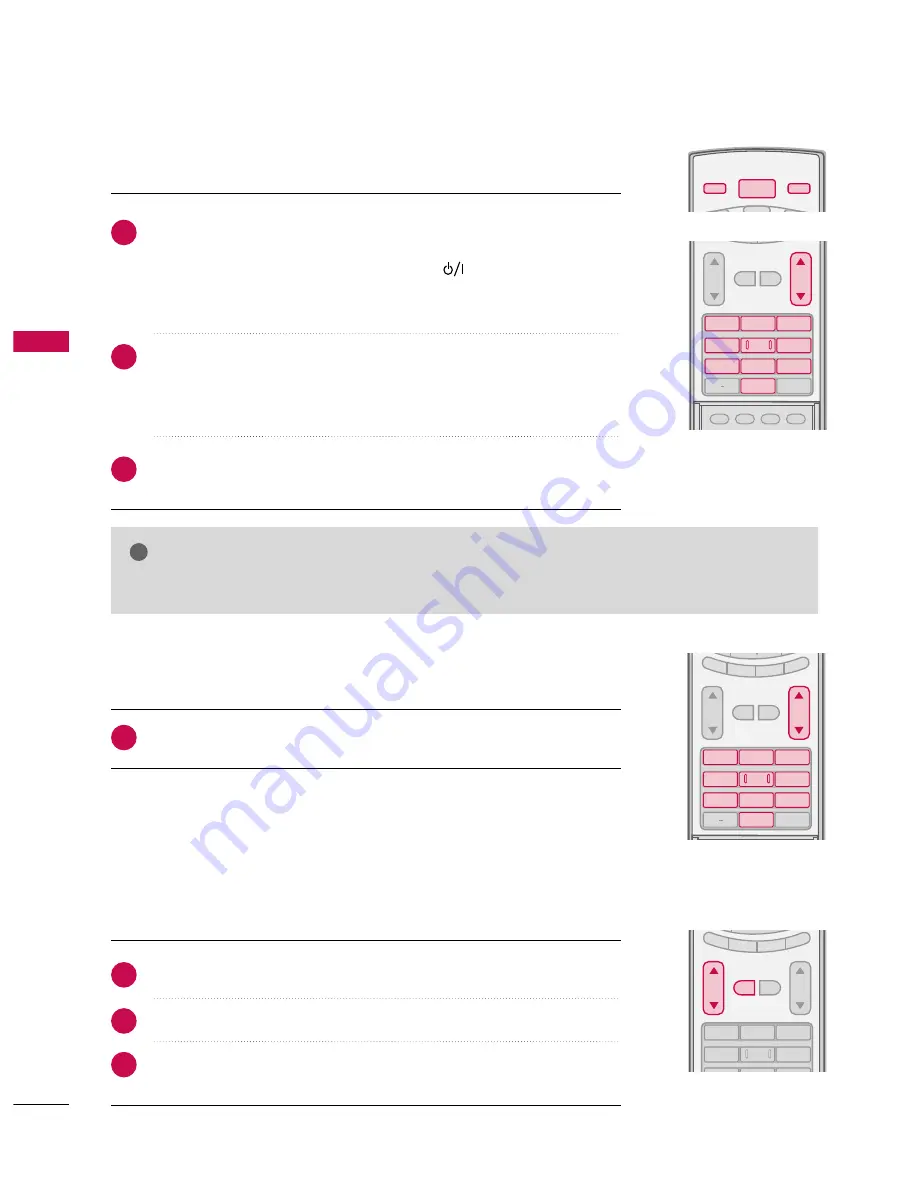
VOLUME ADJUSTMENT
CHANNEL SELECTION
Press the
V
VO
OLL ((
D
D
or
E
E
))
button to adjust the volume.
If you want to switch the sound off, press the
M
MU
UT
TEE
button.
You can cancel the Mute function by pressing the
M
MU
UT
TEE
or
V
VO
OLL ((
D
D
or
E
E
))
button.
1
2
3
4
5
6
VOL
CH
MUTE
FAV
EXIT
TIMER
RATIO
SIMPLINK
Adjust the volume to suit your personal preference.
1
2
3