


19
ENGLISH
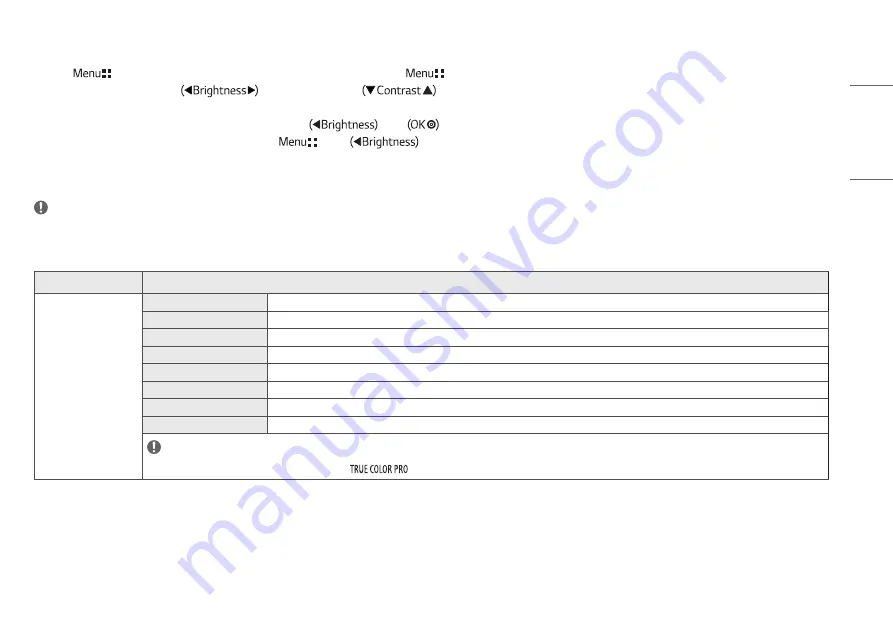
Picture
1
Press (
) to activate the LED Control Button. When the LED Control Button is activated, press (
) and select [All Settings] to show the complete OSD Menu.
2
Among the LED Control Button, press
to move to the left or right or
to move to the bottom or top to go to the [Picture].
3
Configure the options following the instructions that appear in the bottom right corner.
4
To configure an upper menu or another item, press the LED Control Button
or press
to move to the settings.
5
In order to exit from the OSD Menu, press the LED Control Button (
) or press
.
The applicable setting options are as shown below.
NOTE
•
The [Picture Mode] that can be set depends on the Input signal.
[Picture Mode] on SDR (Non HDR) signal
[All Settings] > [Picture]
Explanation
[Picture Mode]
[Custom]
Allows the user to adjust each element. The color mode of the main menu can be adjusted.
[Vivid]
Heightens contrast, brightness and sharpness to display vivid images.
[HDR Effect]
Optimizes the screen for high dynamic range.
[Mono]
Mono (black and white) color mode.
[REC2020]
Optimizes the screen for REC2020
[DICOM]
A mode that optimizes the screen settings so you can view images for medical use.
[Calibration 1]
Configures to the last calibrated (corrected) screen.
[Calibration 2]
Configures to a previously calibrated (corrected) screen.
NOTE
•
[Calibration 2]: If you use Calibration after installing the
program, the applicable menu will be activated.


