LIP-8002/8002A
iPECS
Installer
Guide
19
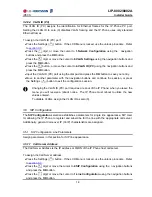
Press the
digit, or move the cursor to
1.Call Server Address
using the navigation
buttons and press the
OK
button.
Input the Call Server Address or FQDN using the dial pad and press the
OK
button to save
your entry.
Move to another parameter with the navigation buttons and continue the session or press the
Settings (
) button to exit the configuration session.
Changing the Call Server Address requires a reboot of the IP Phone; when you leave
the menu, you will receive a reboot notice. The IP Phone must reboot to utilize the new
values entered.
To enter alphanumeric characters select the
Mode
button. Refer to
Appendix E
for the
character mapping of dial pad digits.
3.5.1.2 Proxy Port
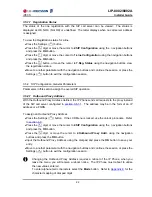
The Proxy Port defines the TCP/UDP port number employed for SIP signaling transport. In
common practice, port number ‘5060’ is used.
To change the Proxy Port number:
Press the Settings (
) button. If the LCD Menu is locked, use the unlock procedure. Refer
to
section 3.3
.
Press the
digit, or move the cursor to
2.SIP Configuration
using the
navigation buttons
and press the
OK
button.
Press the
digit, or move the cursor to
1.Line Configuration
using the navigation buttons
and press the
OK
button.
Press the
digit, or move the cursor to
2.Proxy Port
using the navigation buttons and
press the
OK
button.
Input the Proxy Port number using the dial pad and press the
OK
button to save your entry.
Move to another parameter with the navigation buttons and continue the session or press the
Settings (
) button to exit the configuration session.
Changing the Proxy Port requires a reboot of the IP Phone; when you leave the menu,
you will receive a reboot notice. The IP Phone must reboot to utilize the new values
entered.
3.5.1.3 Display Name
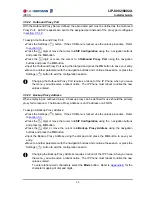
When assigned, the Display Name is used in SIP headers as the caller id name.
To enter the Display Name:
Press the Settings (
) button. If the LCD Menu is locked, use the unlock procedure. Refer
to
section 3.3
.
Press the
digit, or move the cursor to
2.SIP Configuration
using the
navigation
buttons and press the
OK
button.


