Lexmark S310 Series Quick Reference Manual Download Page 5

Printer features

Depending on the model, your printer comes with features that will help you manage and accomplish
printing and imaging tasks:

Wireless or Ethernet networking

—Print and scan from anywhere in your home or office over a secure

wireless or Ethernet network, as well as share the printer among multiple computers.

Intuitive touch screen

—Use the full

featured color touch screen for fast, easy access to all the printer

menus. The large screen also allows you to view and print photos directly from your digital camera or
memory device without using a computer.

Print

—Print documents and PDFs quickly from a computer or from a USB flash drive. Built

in two

sided

printing lets you save money and the environment.

Copy

—Copy documents and photos with one

touch, computer

free black or color copying. Enjoy 25%

to 400% reduction and enlargement capacity.

Scan

—Scan documents and photos fast and easily with the high

resolution scanner. Easily scan to a

memory device or to multiple laptops or computers over a secure wireless network with up to 1200 dpi
optical resolution.

Fax

—Do standalone black and color faxing at 33.6Kbps modem speed. Other fax features include 99

speed dials, automatic redial, junk fax blocking, and caller ID.

Photo printing

—Print high

quality, long

lasting photos directly from digital memory cards,

PictBridge

enabled digital cameras, or USB flash drives.

SmartSolutions

—Simplify printer tasks that you frequently repeat by creating and customizing your

printer solutions. Using the SmartSolutions toolkit on the Web, you can choose the printer tasks that
you often perform, apply your custom settings, and download them to your printer as shortcuts that
you can easily access anytime. You can also customize your printer with solutions that display your
online calendars, online photo albums, RSS feeds, and more.

Shortcuts

—Save a set of frequently used printer settings available for a given task and then assign a

shortcut name and shortcut number to it. When you want to perform a task with those settings, you
can simply select the shortcut number on the printer instead of going through the usual process of
adjusting the settings and options.

Eco

Mode

—Save energy by activating Eco

Mode. It automatically dims the printer display light and

puts the printer into Sleep mode after a specified period of inactivity.

Setting up the printer
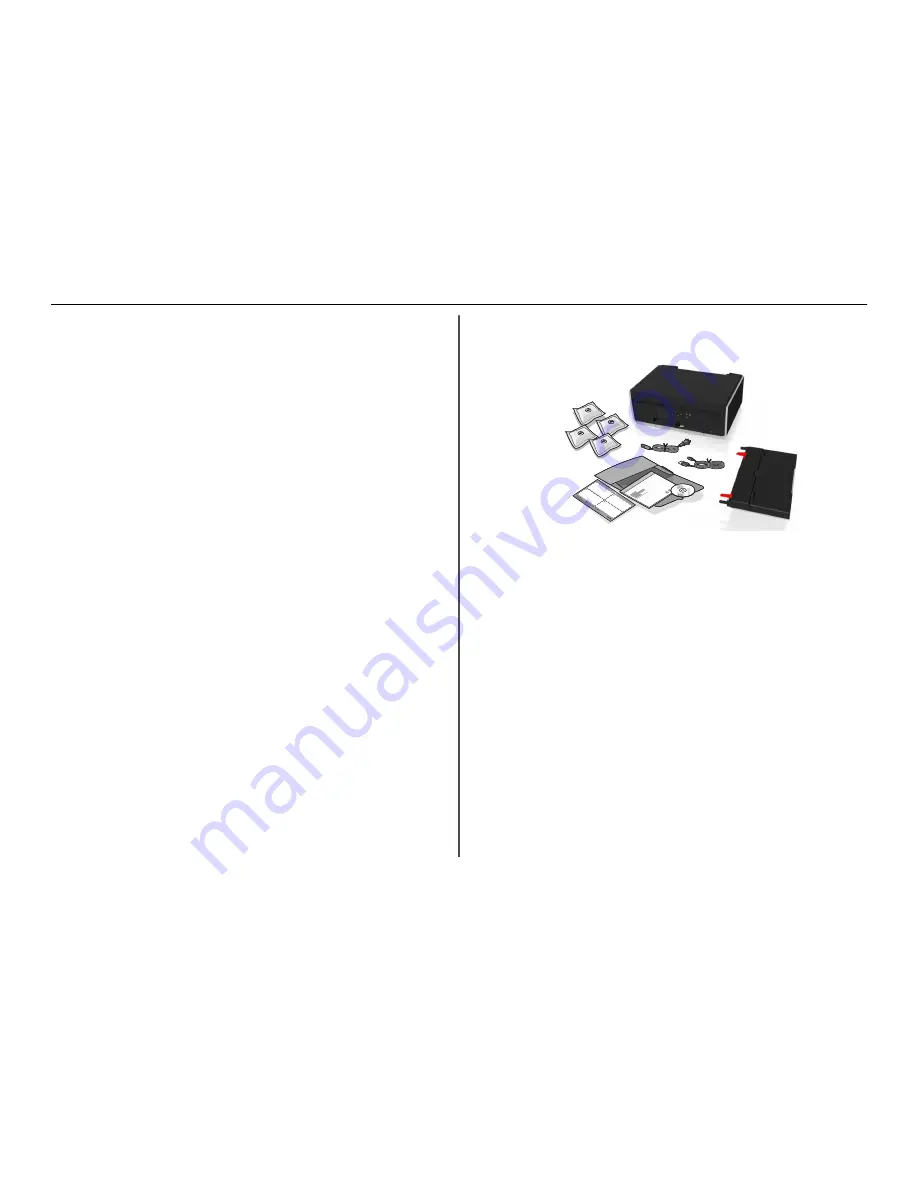
1

Unpack the printer.

PRIO

RITY

Com

es f

ree

 w

ith

 yo

ur n

ew

Lex

mark

 Pr

ofes

sio

nal 

Seri

es P

rin

ter

1.8

00.

395

.4

039

PHO

NE

SUP

POR

T

Notes:

Do 

not

 attach the USB cable until prompted to do so.

Place the printer near the computer during setup. If you are setting up on a wireless network,
then you may move the printer after setup is complete.

Contents may vary by model and region.

2

To initiate printer setup using a computer, insert the installation software CD, or download the printer
driver.

About your printer

5

Summary of Contents for S310 Series

Page 1: ...S310 Series Quick Reference Guide October 2012 www lexmark com...

Page 2: ...ss this license agreement to any subsequent user of this printer The patented Lexmark inkjet cartridges and their contents are licensed subject to a restriction that they may be used only once After t...

Page 3: ...nt 20 Printing on both sides of the paper duplexing automatically 20 Printing photos from a flash drive 21 Canceling print jobs 21 Printing from a mobile device 21 Copying 22 Tips for copying 22 Makin...

Page 4: ...llow you to share a single printer among multiple computers thus conserving energy and other resources Conserving paper Print more than one page image on one side of the paper The Pages per Sheet feat...

Page 5: ...digital cameras or USB flash drives SmartSolutions Simplify printer tasks that you frequently repeat by creating and customizing your printer solutions Using the SmartSolutions toolkit on the Web you...

Page 6: ...appear after a minute then see Installation screen did not appear during installation on page 30 Download the printer driver from www lexmark com 3 Remove tape and packing material from all areas of...

Page 7: ...r guide adjustment lever to extend the paper guides 8 Load paper 1 2 Notes Use the paper guide adjustment lever to adjust the paper guides Do not load more than 100 sheets in the paper support 9 Close...

Page 8: ...is on 13 Using the printer control panel press the up or down arrow button until the language you want is highlighted on the display and then press OK 14 Confirm the language and then press OK Langua...

Page 9: ...y and year Press OK Note The date format varies depending on the selected country or region Set Date Set Date Press OK when complete 18 01 2011 17 Set the time and then press OK Set Time Set Time Pres...

Page 10: ...dges immediately after removing the protective cap to avoid exposing the ink to air 22 Close the printer 23 Press OK to print an alignment page Notes The alignment page prints Do not remove the page u...

Page 11: ...a PictBridge enabled digital camera or a flash drive to the printer 4 Paper exit tray Hold paper as it exits 5 Tray extension Keep the paper in place as it exits 6 Printer control panel Operate the p...

Page 12: ...clear paper jams 16 Ink cartridge access area Install replace or remove ink cartridges 17 Scanner unit Access the ink cartridges and printhead Clear paper jams Using the printer control panel 9 10 11...

Page 13: ...lash drive contains files that are supported by the printer For more information see Supported file types on page 13 1 Insert a flash drive into the USB port FLASH DRIV E Notes The flash drive uses th...

Page 14: ...eld cyan color cartridge 160XL 160XLA Magenta color cartridge 160 Not available High yield magenta color cartridge 160XL 160XLA 1 Licensed for a single use only After use return this cartridge to Lexm...

Page 15: ...cap to avoid exposing the ink to air 3 Close the printer Maintaining ink cartridges In addition to the following tasks that you can perform your printer performs an automatic maintenance cycle every...

Page 16: ...ctrical outlet to allow it to perform automatic maintenance cycles Notes Cleaning the printhead nozzles uses ink so clean them only when necessary Deep cleaning uses more ink so try the Clean Printhea...

Page 17: ...1 11 Solaris SPARC 10 9 and 8 Solaris SPARC x86 10 The printer driver for this operating system is available only at http support lexmark com Note Information on additional operating system versions t...

Page 18: ...il settings of your printer Status Messenger Learn more about the printing problems encountered Status Monitor Center Check the supplies status of your printer Order supplies online Product Update Rec...

Page 19: ...inter folder 1 From the Finder navigate to Applications select your printer folder Web Links 2 Double click the Web link that you want to visit Use To Customer Support Contact customer support Lexmark...

Page 20: ...Properties Preferences Options or Setup 3 Navigate to Layout tab Print on Both Sides Duplex area Print on both sides Click Long edge for print jobs with pages that are bound along the long edge of the...

Page 21: ...Cancel the print job If you want to cancel a particular print job then right click the document name and then select Cancel If you want to cancel all print jobs in the queue then click Printer Cancel...

Page 22: ...e The selected copy settings are reset to the factory default after two minutes of printer inactivity Making a two sided duplex copy automatically The automatic duplex unit supports A4 and letter size...

Page 23: ...Canceling copy jobs To cancel a copy job press and then press OK Scanning stops and the printer returns to the previous menu Copying 23...

Page 24: ...y original image size and other scan options If necessary press OK each time you make a selection 4 Press Scanning to a flash drive or memory card Notes Some features are available only in select prin...

Page 25: ...e information 5 Set the e mail application as the scan destination and then start the scan job 6 Compose your e mail message Scanning to a PDF For Windows users 1 Load an original document faceup into...

Page 26: ...Make sure you load the original document or photo facedown on the scanner glass and at the placement corner You can load postcards photos small items transparencies photo paper or thin media such as m...

Page 27: ...Windows only The Wireless Setup Utility lets you Configure the printer to join an existing wireless network Add a printer to an existing ad hoc network Change the wireless settings after installation...

Page 28: ...i Fi Protected Setup Wi Fi Protected Setup WPS is a simple and secure configuration that allows you to establish a wireless home network and enable network security without requiring prior knowledge o...

Page 29: ...ICATION NUMBER PIN METHOD 1 From the printer control panel navigate to Setup OK Network Setup OK Wireless 802 11b g n OK Network Connection Setup OK Wireless OK Wi Fi Protected Setup OK WPS PIN Mode O...

Page 30: ...on page 32 Cannot delete documents from the print queue on page 32 Cannot print through USB on page 32 Installation screen did not appear during installation If the Before you troubleshoot checklist...

Page 31: ...re inserted correctly The cartridges should click firmly into the matching color slot of the printhead 3 Close the printer SELECT YOUR PRINTER FROM THE PRINT DIALOG BEFORE SENDING THE PRINT JOB Note T...

Page 32: ...is problem persists then check our Web site for updates for your printer software or firmware RECONNECT THE PRINTER POWER SUPPLY 1 Turn off the printer Note Make sure the printer is not in Sleep mode...

Page 33: ...eless network For most networks the printer and the computer should be within 100 feet 30 meters of the access point wireless router The Wi Fi indicator is green and successfully connected The printer...

Page 34: ...ireless network If you are using one of these boxes and need more information then see the documentation that came with your box or contact your internet service provider ISP MOVE YOUR ACCESS POINT AW...

Page 35: ...er navigate to Applications Internet Connect AirPort The SSID of the network that the computer is connected to appears in the Network menu 2 Write down the SSID For Macintosh users with an access poin...

Page 36: ...ere is a problem with your wireless network Try the following Make sure your access point wireless router is turned on and is working Remove any objects that could be blocking the signal Temporarily t...

Page 37: ...ype control printers c Press Enter or click OK 2 Right click the printer and then select Properties for Windows Vista or earlier or Printer properties for Windows 7 or later 3 Click the Ports tab 4 Cl...

Page 38: ...tion on supplies and downloads visit www lexmark com 2012 Lexmark International Inc All rights reserved GOVERNMENT END USERS The Software Program and any related documentation are Commercial Items as...

Page 39: ...tridge access area 12 ink cartridges installing 14 ordering 14 removing 14 replacing 14 inserting a flash drive 13 installation screen did not appear automatically 30 installing printer software Windo...

Page 40: ...B 32 incorrect language appears on display 30 installation screen did not appear automatically 30 page does not print 31 printer does not respond 32 printer printing blank pages 32 software did not in...

Reviews: