


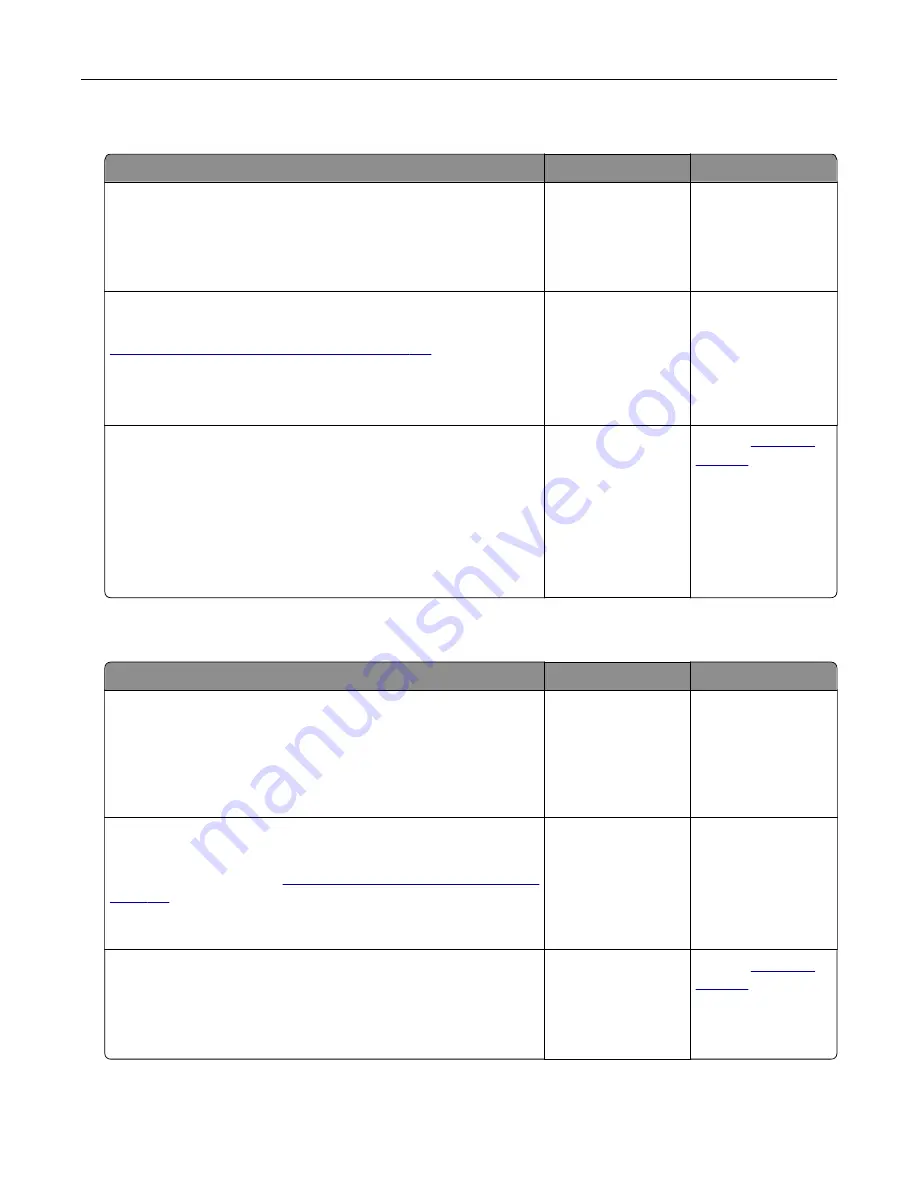
Internal solutions port does not operate correctly
Action
Yes
No
Step 1
Print a menu settings page, and then check if the internal solutions
port (ISP) appears in the Installed Features list.
Is the ISP listed in the Installed Features list?
Go to step 3.
Go to step 2.
Step 2
Remove, and then install the ISP. For more information, see
“Installing an internal solutions port” on page 167
Note:
Use a supported ISP.
Does the ISP operate correctly?
The problem is
solved.
Go to step 3.
Step 3
Check the cable and the ISP connection.
a
Use the correct cable, and then make sure that it is securely
connected to the ISP.
b
Check if the ISP solution interface cable is securely connected
into the receptacle of the controller board.
Does the ISP operate correctly?
The problem is
solved.
Contact
Parallel or serial interface card does not operate correctly
Action
Yes
No
Step 1
Print a menu settings page, and then check if the parallel or serial
interface card appears in the Installed Features list.
Is the parallel or serial interface card listed in the Installed Features
list?
Go to step 3.
Go to step 2.
Step 2
Remove, and then install the parallel or serial interface card.
For more information, see
“Installing an internal solutions port” on
Does the parallel or serial interface card operate correctly?
The problem is
solved.
Go to step 3.
Step 3
Check the connection between the cable and the parallel or serial
interface card.
Does the parallel or serial interface card operate correctly?
The problem is
solved.
Contact
Troubleshooting
133
Summary of Contents for CX820 Series
Page 1: ...XC8100 Series User s Guide March 2016 www lexmark com Machine type s 7564 Model s 596 598 ...
Page 64: ...2 Open door A 3 Remove the waste toner bottle Maintaining the printer 64 ...
Page 69: ...2 Open door A 3 Remove the waste toner bottle Maintaining the printer 69 ...
Page 72: ...2 Open door A 3 Remove the waste toner bottle Maintaining the printer 72 ...
Page 76: ...3 Remove the pick roller 4 Unpack the new pick roller Maintaining the printer 76 ...
Page 95: ...2 Open door G 3 Pull out the staple cartridge holder Maintaining the printer 95 ...
Page 119: ...2 Open door G 3 Pull out the staple cartridge holder Clearing jams 119 ...
Page 123: ... Area J1 Areas J3 and J4 Areas J5 and J6 3 Close door J Clearing jams 123 ...
Page 127: ...Staple jam in door J 1 Open door J 2 Remove the staple cartridge holder Clearing jams 127 ...
Page 129: ...5 Insert the staple cartridge holder 6 Close door J Clearing jams 129 ...


