Lexmark C543dn Manual Download Page 12


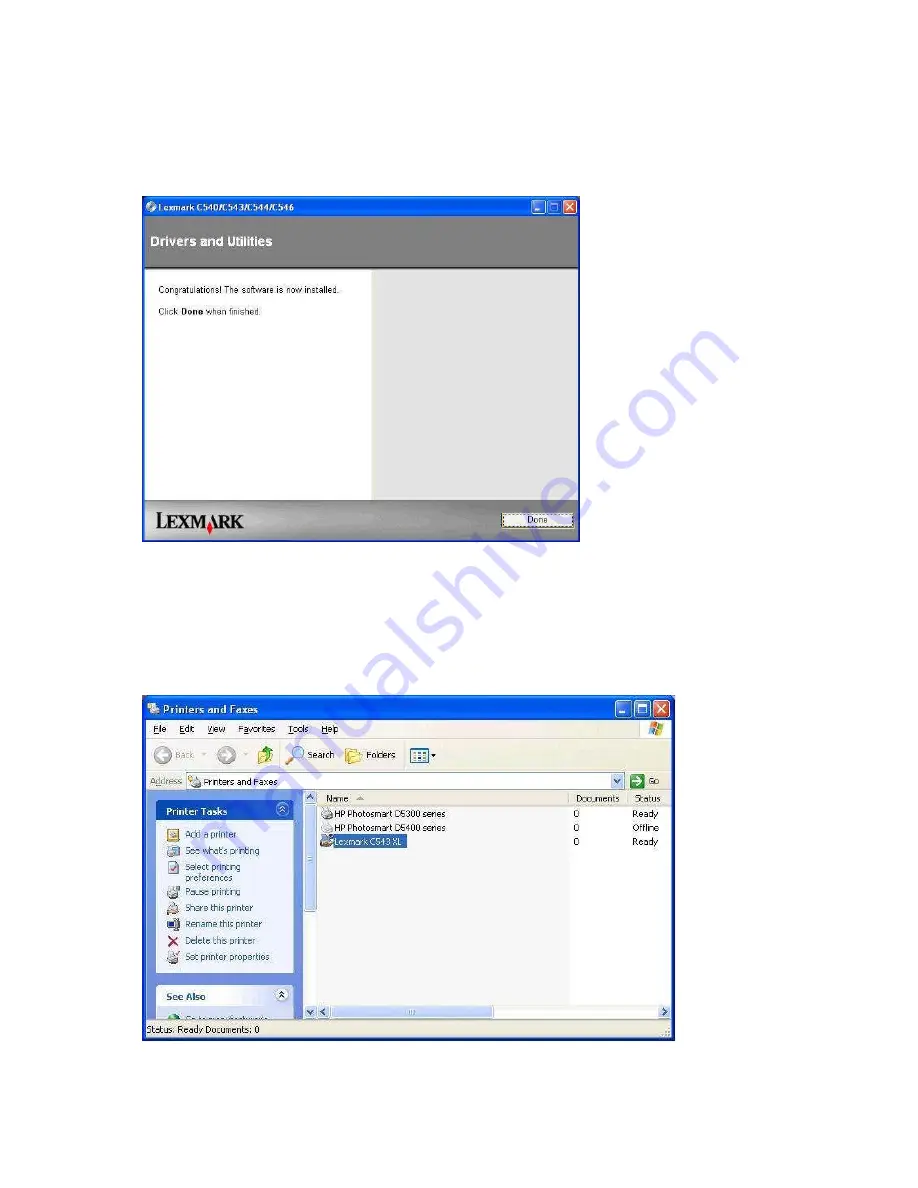
26. The following screen will be displayed when the installation is complete. 


27.  Click on the 

Start 

button in the lower left corner of your screen, place the mouse pointer over 

Settings 

and then click on 

Printers and Faxes

. The following screen will be displayed. 

The CD printer, usually an Xlnt, must be set as the default printer, not the Lexmark.


Summary of Contents for C543dn

Page 1: ...Configuring Lexmark C543DN Laser Printer for myMEDIA BurnBar Server August 19 2011...

Page 2: ...C543DN printer 2 Determine whether you wish to place your printer on your local myMEDIA BurnBar network or communicate with it locally via USB If you are unsure of your network requirements or the pre...

Page 3: ...6 Click on Agree 7 Select Suggested then click on Next...

Page 4: ...8 Select Local Attach and then click Next 9 The screen below will be shown while files are being copied to your system Do not move mouse or press any keys on keyboard during this step...

Page 5: ...e supplied USB cable as shown in fig 1 and 2 below Connect the power cord to the printer and then to a properly grounded wall outlet Turn on the printer When printer is connected and powered up choose...

Page 6: ...network Connect the network cable to the printer and then to a network wall outlet 13 Connect the power cord to the printer and then to a properly grounded wall outlet Turn on the printer 14 Press on...

Page 7: ...16 The Network setup page lists the IP address and MAC address Take note of both items 17 Place the disk that came in the Lexmark C543DN Printer box into your DVD drive...

Page 8: ...18 Click on Install Printer and Software 19 Click on Agree...

Page 9: ...20 Select Suggested then click on Next 21 Select Wired Network Attach and then click Next...

Page 10: ...22 Select Lexmark C543 and then click Next 23 Your new printer should be shown as below The IP address will match the info in the report printed in step 8 Click Finish to continue...

Page 11: ...elow will be shown while files are being copied to your system Do not move mouse or press any keys on keyboard during this step 25 You may choose at this point to Register your printer with Lexmark or...

Page 12: ...plete 27 Click on the Start button in the lower left corner of your screen place the mouse pointer over Settings and then click on Printers and Faxes The following screen will be displayed The CD prin...

Page 13: ...on Printing Preferences 29 The following screen will be displayed Select Collate Copies and Print Last Page First in the Copies Section Select 2 sided long edge in the 2 sided printing Section Ensure...

Page 14: ...30 Ensure that the remaining options match what is shown in the pictures below...

Page 15: ...d restart the MMBB program 32 The System Options screen in step 31 is also where you adjust the print to fit within the perforations on the insert paper Adjustments are done in inches so 1 is a tenth...

Reviews: