5
Press again to print the alignment page.
6
Press until
Set A
appears, and then press .
7
From the printed sheet, find the straightest of the 20 lines beside the letter A.
8
Press or until that number is displayed, and then press .
Submitting Selection
appears.
9
Repeat steps 6 through 8 to align sets A through L.
10
Press .
11
Press until
Exit Config Menu
appears, and then press .
Resetting the Printer
appears briefly, followed by a clock, and then
Ready
appears.
Cleaning the printhead lenses
Clean the printhead lenses if you encounter print quality problems.
Warning—Potential Damage: To avoid overexposing the photoconductors, do not leave the inner door open longer
than 10 minutes.
1
Open the upper and inner doors.
2
Remove all four toner cartridges, but do not remove the photoconductors for this procedure.
3
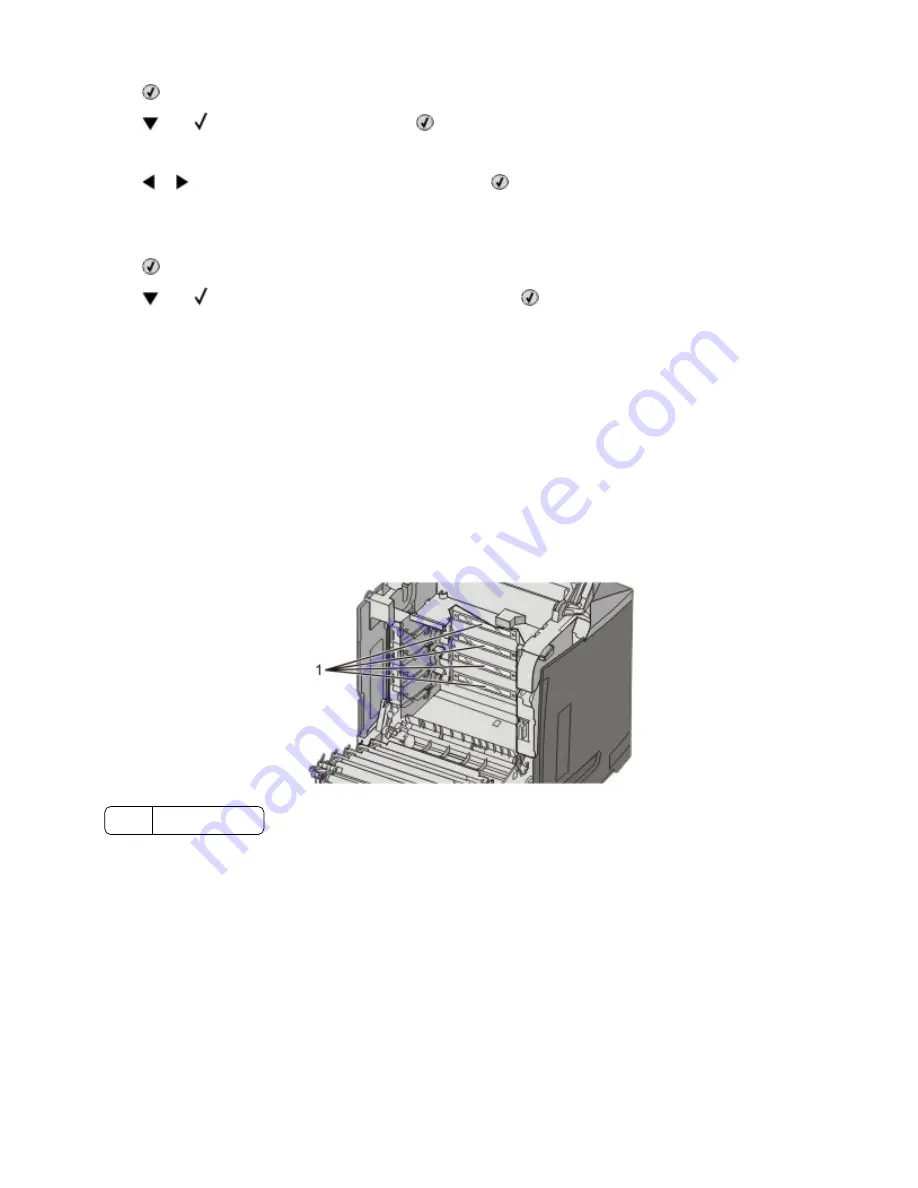
Locate the four printhead lenses.
1
Printhead lenses
4
Clean the lenses using a can of compressed air.
Warning—Potential Damage: Do not touch the printhead lenses or they may be damaged.
5
Reinstall the toner cartridges.
6
Close the doors.
Maintaining the printer
4


