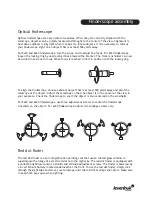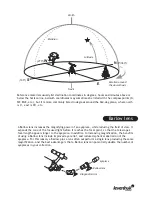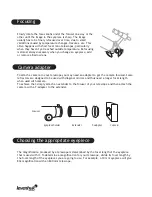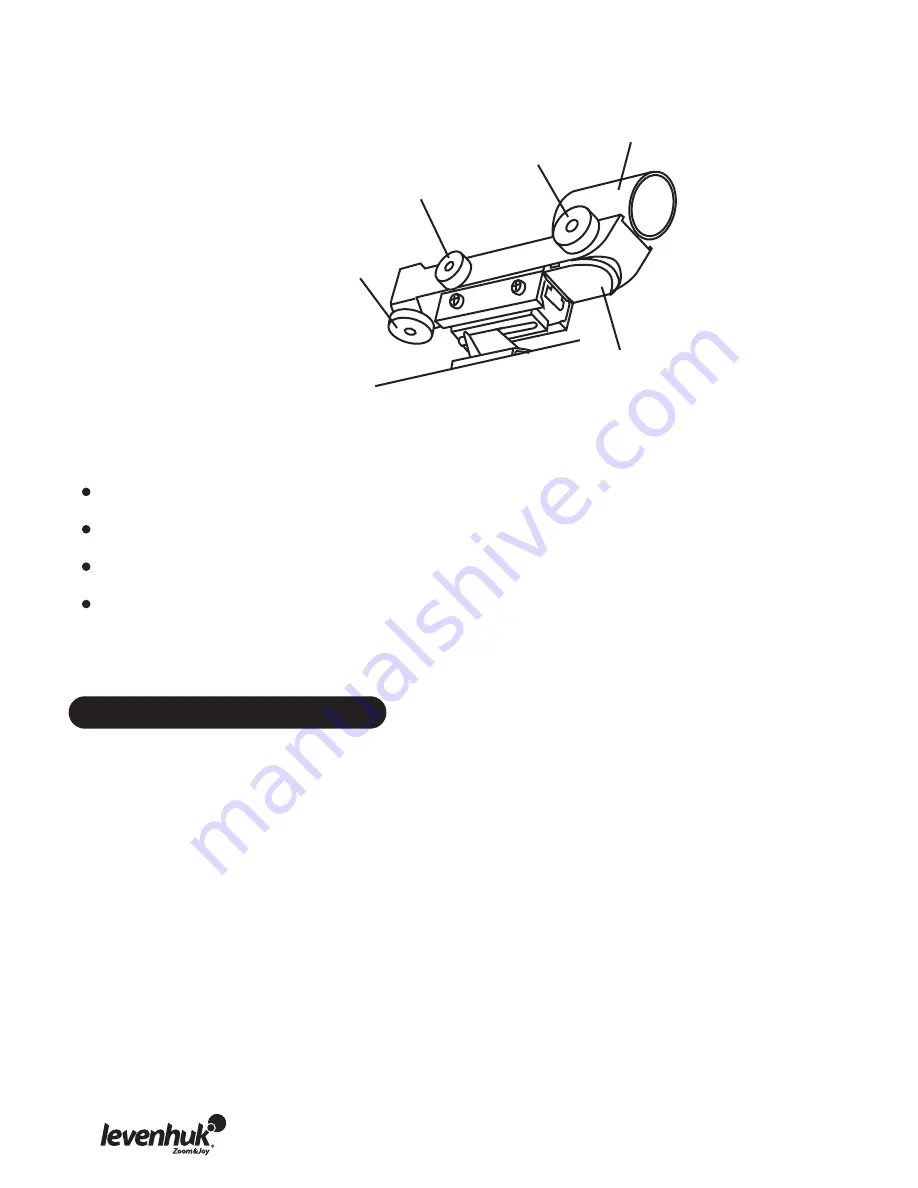
Like all finderscopes, the red dot finder must be properly aligned with the telescope before use.
This is a simple process using the azimuth and altitude adjustment screws:
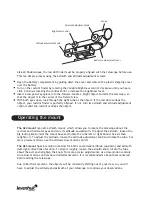
Open the battery compartment by pulling down the cover and remove the plastic shipping cover
over the battery.
Turn on the red dot finder by rotating the variable brightness control clockwise until you hear a
click. Continue rotating the control knob to increase the brightness level.
Insert a low power eyepiece into the focuser. Locate a bright object and aim the telescope, so
that the object is in the center of the field of view.
With both eyes open, look through the sight tube at the object. If the red dot overlaps the
object, your red dot finder is perfectly aligned. If not, turn its azimuth and altitude adjustment
controls until the red dot overlaps the object.
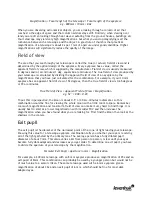
The AZ2 mount
is an alt-azimuth mount, which allows you to rotate the telescope about the
vertical and horizontal axes and vary its altitude and azimuth. To adjust the azimuth, loosen the
big locking knob under the mount base and rotate the tube left or right about the axis then
retighten it. To adjust the altitude, loosen the altitude adjustment knob and rotate the tube. For
more precise motions, use the altitude slow-motion control.
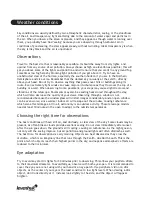
The AZ3 mount
has slow-motion controls for both conventional altitude (up-down) and azimuth
(left-right) directions of motion. To align it roughly, loosen the azimuth knob, rotate the tube
about the axis and retighten the knob. For more precise adjustments, use slow-motion controls.
Since slow-motion controls have limited movement, it is recommended to keep them centered
before aiming the telescope.
Due to Earth's movement, the objects will be constantly shifting out of your view, so you will
have to adjust the altitude and azimuth of your telescope to continue your observations.
Operating the mount
Altitude
adjustment
knob
Brightness
control
Azimuth
adjustment
knob
Scope
Battery
compartment
cover


