


22
3.
Server IP Address: the IP address of the L2TP server.
4.
L2TP Account and Password: the account and password your ISP assigned to you. If you don't
want to change the password, keep it empty.
Maximum Idle Time: the time of no activity to disconnect your L2TP session. Set it to zero or enable
Auto-reconnect to disable this feature. If Auto-reconnect is enabled, this product will automatically
connect to ISP after system is restarted or connection is dropped.
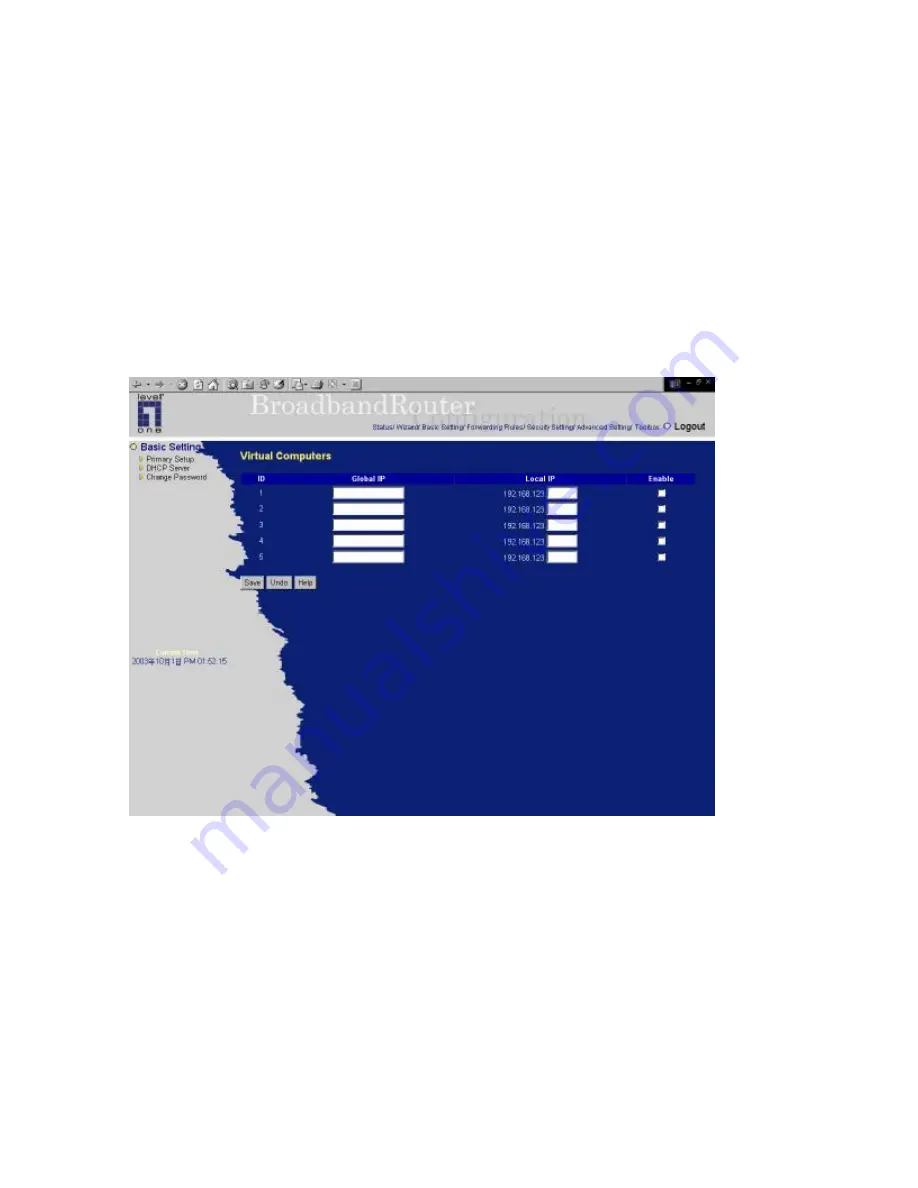
4.4.1.7 Virtual Computers
Virtual Computer enables you to use the original NAT feature, and allows you to setup the one-to-one
mapping of multiple global IP address and local IP address.
•
Global IP: Enter the global IP address assigned by your ISP.
•
Local IP: Enter the local IP address of your LAN PC corresponding to the global IP address.
•
Enable: Check this item to enable the Virtual Computer feature.
Summary of Contents for NetCon FBR-1415TX
Page 1: ...1 LevelOne FBR 1415TX Broadband Router w 1USB 1 Parallel Printer Server User s Manual...
Page 18: ...18 Setup Wizard Select WAN Type For detail settings please refer to 4 4 1 primary setup...
Page 19: ...19 4 4 Basic Setting 4 4 1 Primary Setup WAN Type Virtual Computers Press Change...
Page 25: ...25 4 5 Forwarding Rules...
Page 29: ...29 4 6 Security Settings...
Page 43: ...43 4 7 Advanced Settings...
Page 46: ...46 E mail Subject The subject of email alert This setting is optional...
Page 56: ...56...
Page 57: ...57 4 8 Toolbox 4 8 1 System Log You can View system log by clicking the View Log button...
Page 58: ...58 4 8 2 Firmware Upgrade You can upgrade firmware by clicking Firmware Upgrade button...
Page 66: ...66 2 Select Ports page Click Add Port 3 Select Standard TCP IP Port and then click New Port...
Page 68: ...68 6 Select LPR type lp lowercase letter in Queue Name And enable LPR Byte Counting Enabled...
Page 69: ...69 7 Apply your settings...
Page 71: ...71 1 Enter the Pinter Name Comments then forward 4 Select LPD protocol and then forward...
Page 72: ...72 5 Enter Router LAN IP Address and the queue name lp Then forward...


