I
NITIAL
C
ONFIGURATION
5-2
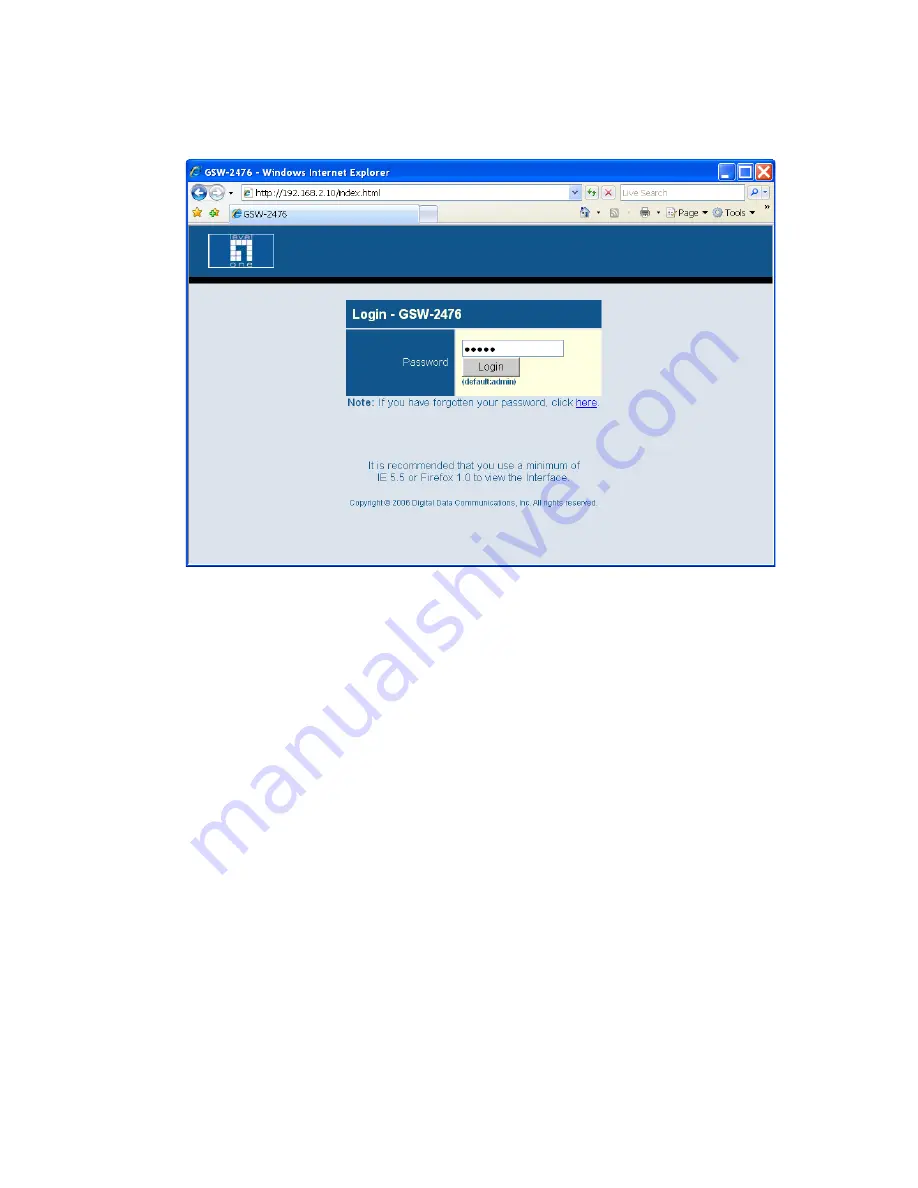
Figure 5-1 Login Page
Note:
The web interface examples in this guide are based on the
GSW-2476. Other than the number of ports, there are no other
differences between the GSW-2476 and GSW-1676.
5. Enter the default password “admin” and click on the Login button.
6. From the menu, click on SYSTEM, then click on LAN Settings. On
the LAN Settings page, enter the new IP address, Subnet Mask and
Gateway IP Address for the switch, then click on the APPLY button.
Summary of Contents for GSW-1676
Page 1: ...GSW 1676 GSW 2476 User Manual...
Page 2: ......
Page 16: ...FIGURES xvi...
Page 58: ...CONFIGURING THE SWITCH 6 10 Figure 6 3 Status Overview...
Page 62: ...CONFIGURING THE SWITCH 6 14 Web Click STATUS Statistics Figure 6 4 Port Statistics...
Page 71: ...STATIC MAC 6 23 Figure 6 13 Counter Configuration...
Page 109: ...802 1X 6 61 Figure 6 32 802 1X Configuration...
Page 113: ...802 1X 6 65 Web Click 802 1X Statistics Figure 6 33 802 1X Statistics...
Page 128: ...TROUBLESHOOTING A 4...
Page 138: ...SPECIFICATIONS C 4...
Page 144: ...GLOSSARY Glossary 6...
Page 148: ...INDEX Index 4...
Page 149: ......
Page 150: ...GSW 1676 GSW 2476 E052010 CS R02 149100011100H...


