I
NSTALLING
THE
S
WITCH
3-6
3. If installing a single switch only, turn to “Connecting to a Power
Source” at the end of this chapter.
4. If installing multiple switches, mount them in the rack, one below the
other, in any order.
Desktop or Shelf Mounting
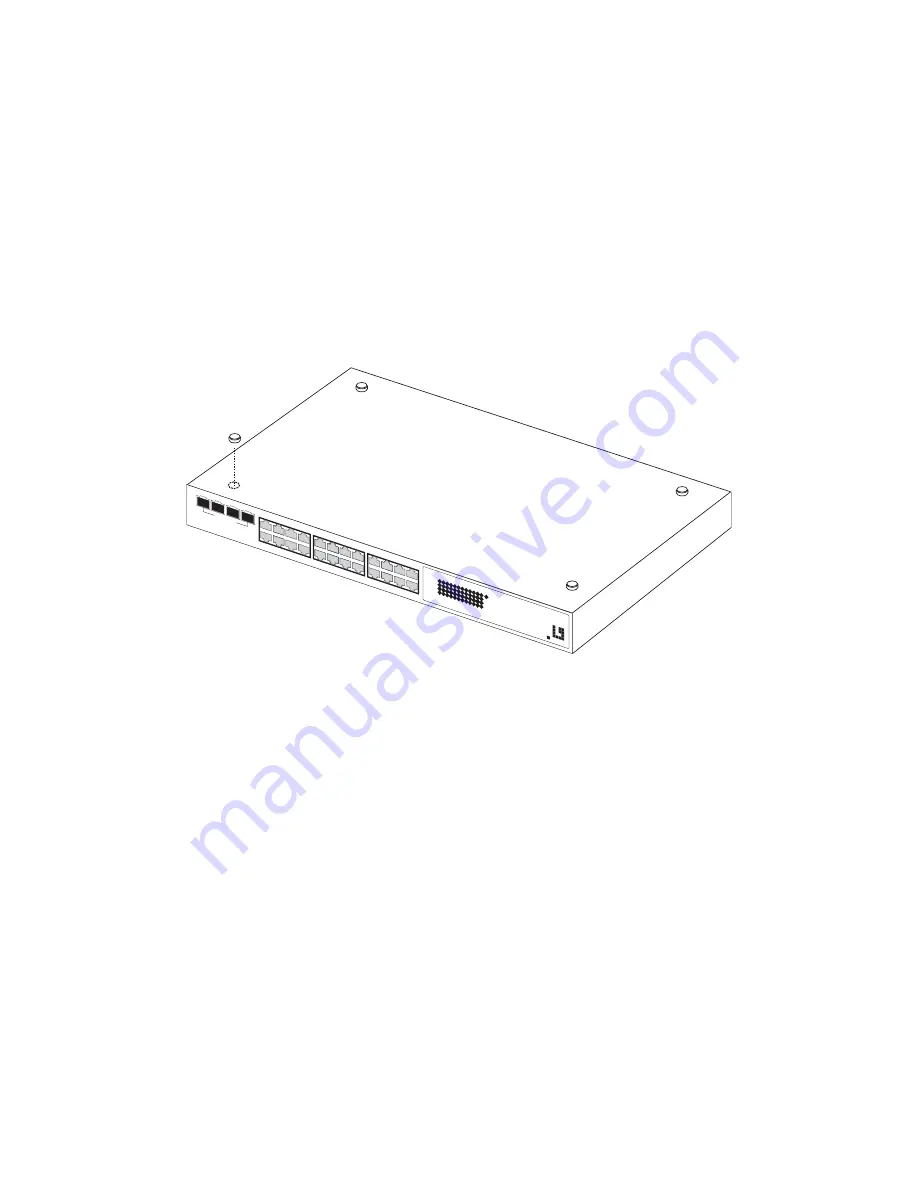
1. Attach the four adhesive feet to the bottom of the first switch.
Figure 3-4 Attaching the Adhesive Feet
2. Set the device on a flat surface near an AC power source, making sure
there are at least two inches of space on all sides for proper air flow.
3. If installing a single switch only, go to “Connecting to a Power Source”
at the end of this chapter.
4. If installing multiple switches, attach four adhesive feet to each one.
Place each device squarely on top of the one below, in any order.
1
2
7
8
12
3
4
5
6
9
10
11
13
14
15
16
17
18
19
20
21
22
23
24
Lin
k/A
ct
Lin
k/A
ct
Po
we
r
100
0
100
0
1
2
3
4
13
14
15
16
5
6
7
8
17
18
19
20
9
10
11
12
21
22
23
24
21
22
23
24
o n e
level
GS
W-2
47
62
4P
ort
Gig
ab
it
w4
Po
rt
SF
PWe
bS
ma
rt
Sw
itc
h
-
/-
Sh
are
dS
FP
Po
rt
Summary of Contents for GSW-1676
Page 1: ...GSW 1676 GSW 2476 User Manual...
Page 2: ......
Page 16: ...FIGURES xvi...
Page 58: ...CONFIGURING THE SWITCH 6 10 Figure 6 3 Status Overview...
Page 62: ...CONFIGURING THE SWITCH 6 14 Web Click STATUS Statistics Figure 6 4 Port Statistics...
Page 71: ...STATIC MAC 6 23 Figure 6 13 Counter Configuration...
Page 109: ...802 1X 6 61 Figure 6 32 802 1X Configuration...
Page 113: ...802 1X 6 65 Web Click 802 1X Statistics Figure 6 33 802 1X Statistics...
Page 128: ...TROUBLESHOOTING A 4...
Page 138: ...SPECIFICATIONS C 4...
Page 144: ...GLOSSARY Glossary 6...
Page 148: ...INDEX Index 4...
Page 149: ......
Page 150: ...GSW 1676 GSW 2476 E052010 CS R02 149100011100H...


