Level One Printer Servers
Adding Remote Printers
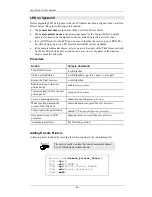
A remote printer is added by inserting the following line in the /etc/printcap file.
The entry is really one line, but can be entered as
shown. Use a TAB character where shown.
printer_name
|
Remote_Printer_Alias:\
[T
AB
]
:lp=:\
[T
AB
]
:rm=PS_NAME:\
[T
AB
]
:rp=Logical_Printer_name:\
[T
AB
]
:sd=Spooler_directory:\
[T
AB
]
:mx#0:
Where:
printer_name
is the Print Queue name used to store jobs for the corresponding logical
printer
PS_NAME
is the LevelOne Printer Server name defined in /etc/hosts
Logical_Printer_name
is the logical printer name on the LevelOne Printer Server
(L1..L3 or L1..L8)
Spooler_directory
is the directory you created in Step 6.
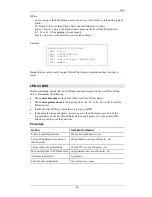
Example:
Marketing|RP1_PS123456:\
[T
AB
] :lp=:\
[T
AB
] :rm=PS_Rm203:\
[T
AB
] :rp=L1:\
[T
AB
] :sd=/usr/spool/Marketing:\
[T
AB
] :mx#0:
Repeat this process for each Logical Printer/Print Queue combination that you wish to
create.
Printing using LPD
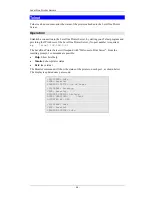
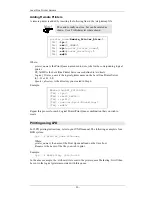
For LPD printing instructions, refer to your UNIX manual. The following example is for a
BSD system:
lpr -P printer_name filename
Where:
printer_name
is the name of the Print Queue defined on the Unix host.
filename
is the name of the file you wish to print.
Example:
lpr -P Marketing /etc/hosts
In the above example, the /etc/hosts file is sent to the printer queue Marketing. It will then
be sent to the logical printer associated with this queue.
- 50 -

