Step 4.
Remove the stand base. Refer to “Removing the stand base”.
Step 5.
Remove the foot cover. Refer to “Removing the foot cover”.
Step 6.
Remove the hinge. Refer to “Removing the stand hinge”.
Step 7.
Remove the hard disk drive. Refer to “Replacing hard disk drive”.
Step 8.
Remove the optical drive. Refer to “Replacing the optical drive”.
Step 9.
Remove the rear cover. Refer to “Removing the rear cover”.
Step 10. Remove the optical drive housing. Refer to “Removing the optical drive housing”.
Step 11. Remove the power switch board. Refer to “Replacing the power switch board”.
Step 12. Remove the converter board. Refer to “Replacing the converter board”.
Step 13. Remove the EMI cover. Refer to “Removing the EMI cover”.
Step 14. Remove the memory module. Refer to “Replacing a memory module”.
Step 15. Remove the Wi-Fi card. Refer to “Replacing the Wi-Fi card”.
Step 16. Remove the heat-sink. Refer to “Replacing the heat-sink”.
Step 17. Remove the system fan. Refer to “Replacing the system fan”.
Step 18. Remove the speaker system. Refer to “Replacing the speaker system”.
Step 19. Remove the motherboard. Refer to “Replacing the motherboard”.
Step 20. Remove the camera. Refer to “Replacing the camera”.
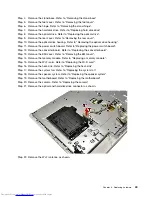
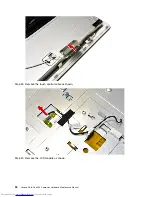
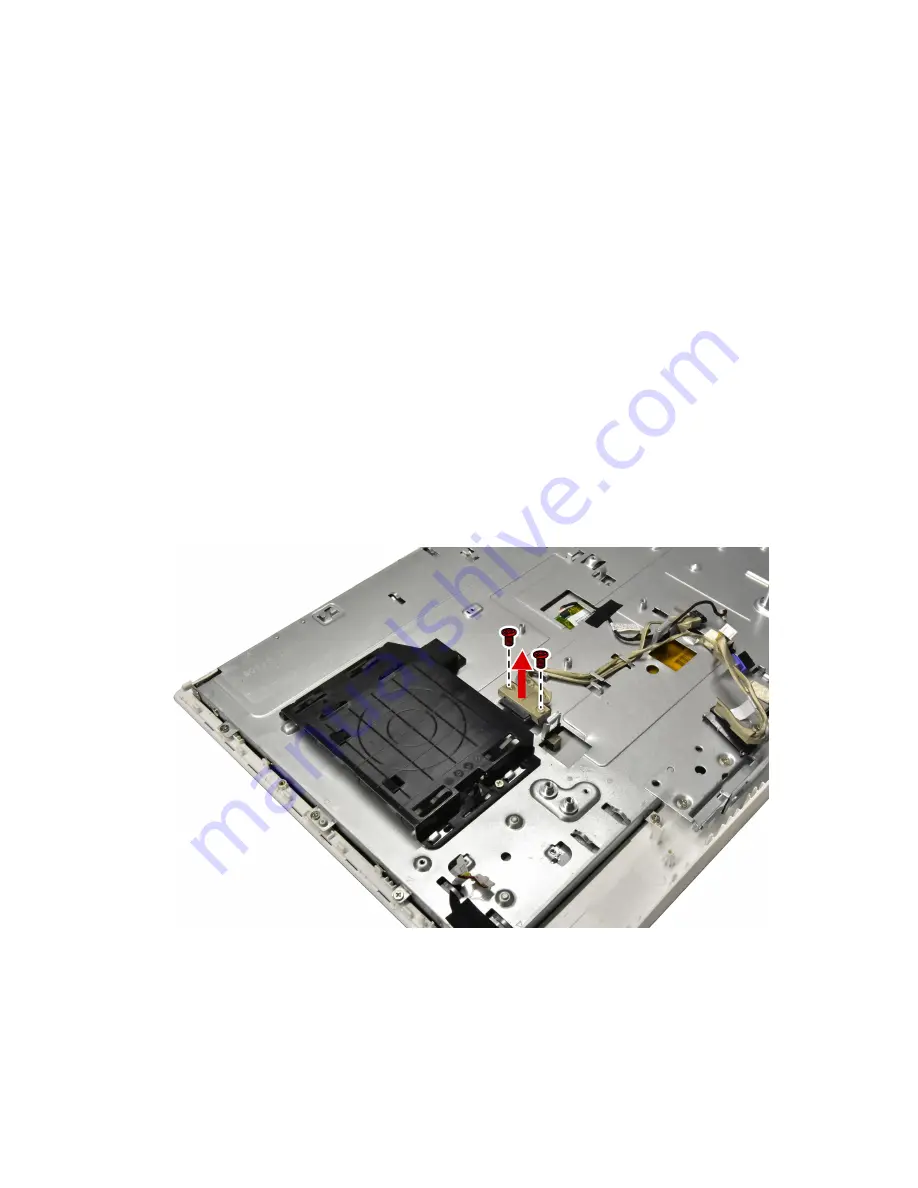
Step 21. Remove the optical and hard disk drive connector as shown.
Step 22. Remove the Wi-Fi antenna as shown.
Chapter 8
.
Replacing hardware
49
Summary of Contents for Thinkpad 300
Page 2: ......
Page 6: ...iv Lenovo All In One 300 Computer Hardware Maintenance Manual ...
Page 8: ...2 Lenovo All In One 300 Computer Hardware Maintenance Manual ...
Page 16: ...10 Lenovo All In One 300 Computer Hardware Maintenance Manual ...
Page 18: ...12 Lenovo All In One 300 Computer Hardware Maintenance Manual ...
Page 24: ...18 Lenovo All In One 300 Computer Hardware Maintenance Manual ...
Page 32: ...26 Lenovo All In One 300 Computer Hardware Maintenance Manual ...


