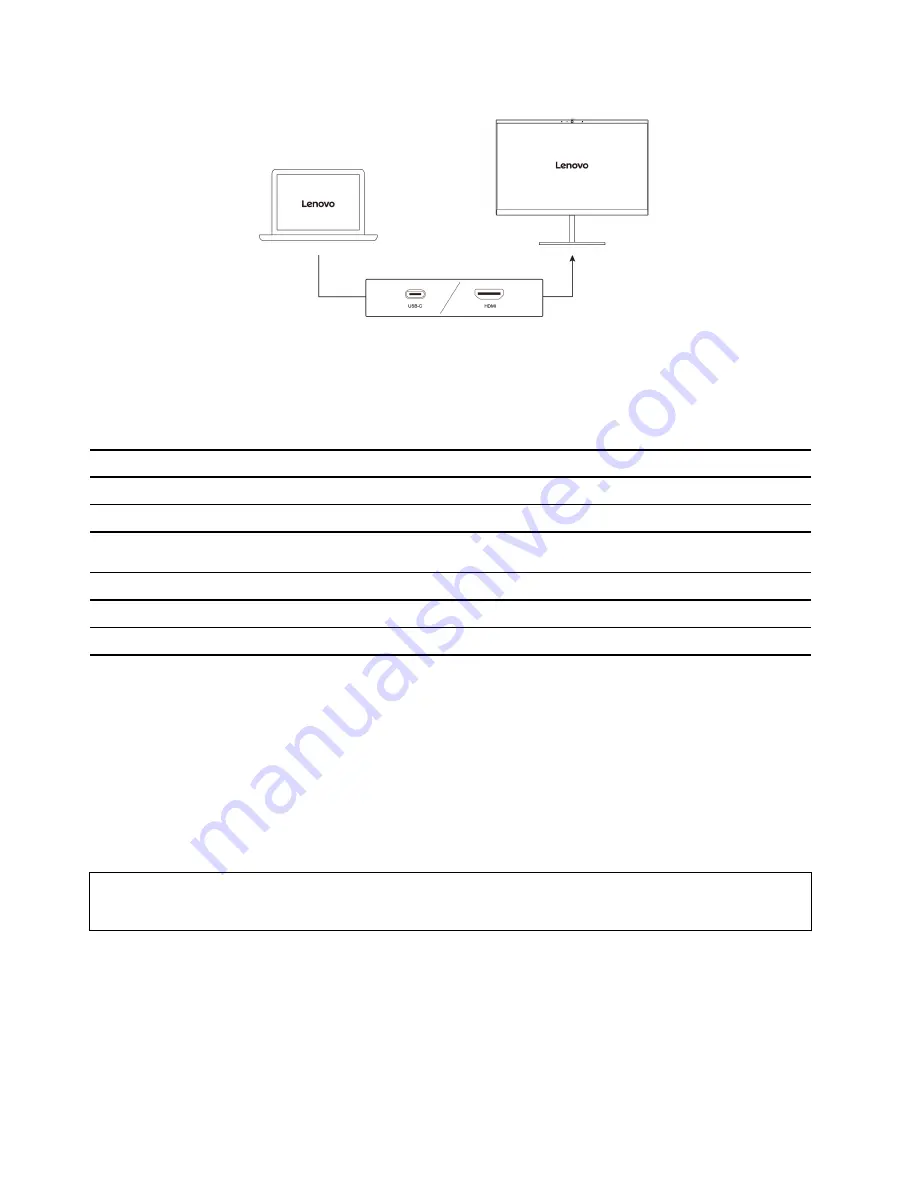
Supported resolution
The following table lists the supported maximum resolution of the external display.
Table 1. Lenovo 100e/300e Chromebook Gen 3
Connect the external display to
Supported resolution
USB-C (3.2 Gen 1) connector
Up to 3840 x 2160 pixels @ 30 Hz
HDMI connector
Up to 3840 x 2160 pixels @ 30 Hz
Table 2. Lenovo 500e Chromebook Gen 3
Connect the external display to
Supported resolution
USB-C (3.2 Gen 1) connector
Up to 4096 x 2160 pixels @ 60 Hz
HDMI connector
Up to 4096 x 2160 pixels @ 24 Hz
To change display settings:
1. Click the setting icon in the system tray, and then click
Device
➙
Displays
.
2. Follow the on-screen instructions to change the display settings as you prefer.
Set the power plan
For ENERGY STAR
®
compliant Chromebooks, the following power plan takes effect when your
Chromebooks have been idle for a specified duration:
Table 3. Default power plan (when plugged into ac power)
• Turn off the display: After seven minutes and 30 seconds
• Put the Chromebook into sleep: After eight minutes and 30 seconds
To reset the power plan to achieve the best balance between performance and power saving:
1. Click the setting icon in the system tray, and then click
Device
➙
Power
.
2. Follow the on-screen instructions to change the settings as you prefer.
Shut down your Chromebook
When you finish working with your Chromebook, shut it down to save power.
14
Lenovo 100e/300e/500e Chromebook Gen 3 User Guide
Summary of Contents for Chromebook 100e Gen 3
Page 1: ...Lenovo 100e 300e 500e Chromebook Gen 3 User Guide ...
Page 19: ... Click in the system tray Press the power button Chapter 2 Explore your Chromebook 15 ...
Page 20: ...16 Lenovo 100e 300e 500e Chromebook Gen 3 User Guide ...
Page 23: ...Chapter 3 CRU replacement 19 ...
Page 28: ...24 Lenovo 100e 300e 500e Chromebook Gen 3 User Guide ...
Page 34: ...30 Lenovo 100e 300e 500e Chromebook Gen 3 User Guide ...
Page 36: ...32 Lenovo 100e 300e 500e Chromebook Gen 3 User Guide ...
Page 39: ......
Page 40: ......


