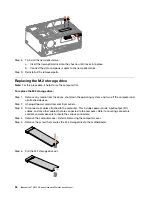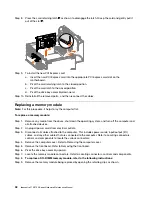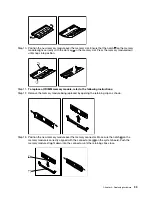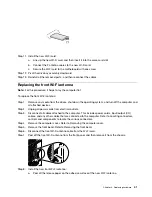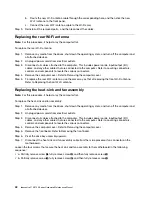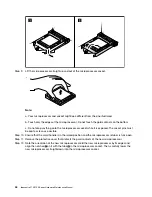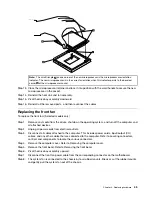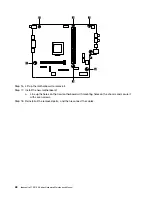
Step 7. To install the new M.2 storage drive
:
a. Insert the new M.2 storage drive into the M.2 slot.
b. Secure the new M.2 storage drive to the motherboard with one screw.
Step 8. Reinstall all the removed parts, and then reconnect the cables.
Replacing the storage drive
Note:
For this procedure, it helps to lay the computer flat.
To replace the storage drive:
Step 1. Remove any media from the drives, shut down the operating system, and turn off the computer and
all attached devices.
Step 2. Unplug all power cords from electrical outlets.
Step 3. Disconnect all cables attached to the computer. This includes power cords, input/output (I/O)
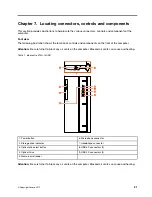
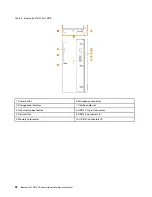
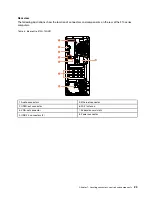
cables, and any other cables that are connected to the computer. Refer to Locating connectors,
controls and components to locate the various connectors.
Step 4. Remove the computer cover. Refer to Removing the computer cover.
Step 5. Remove the front bezel. Refer to Removing the front bezel.
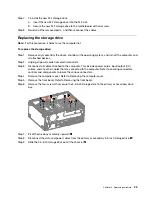
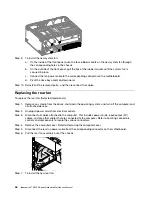
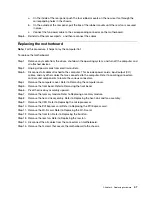
Step 6. Remove the four screws that secure the 3.5-inch storage drive to the primary or secondary drive
bay.
Step 7. Pivot the drive bay assembly upward.
2
Step 8. Disconnect the data and power cables from the primary or secondary 3.5-inch storage drive.
3
Step 9. Slide the 3.5-inch storage drive out of the chassis.
4
.
35
Summary of Contents for 90HU
Page 2: ......
Page 6: ...iv ideacentre 510 510A Series Hardware Maintenance Manual ...
Page 8: ...2 ideacentre 510 510A Series Hardware Maintenance Manual ...
Page 16: ...10 ideacentre 510 510A Series Hardware Maintenance Manual ...
Page 18: ...12 ideacentre 510 510A Series Hardware Maintenance Manual ...
Page 24: ...18 ideacentre 510 510A Series Hardware Maintenance Manual ...

