Replacing
an
optical
drive
This
procedure
describes
how
to
remove
and
replace
an
optical
drive.
1.
Remove
the
computer
cover.
See
“Removing
the
cover”
on
page
123.
2.
Remove
the
front
bezel.
See
“Removing
and
replacing
the
front
bezel”
on
page
128.
3.
Disconnect
the
signal
and
power
cables
from
the
rear
of
the
optical
drive.
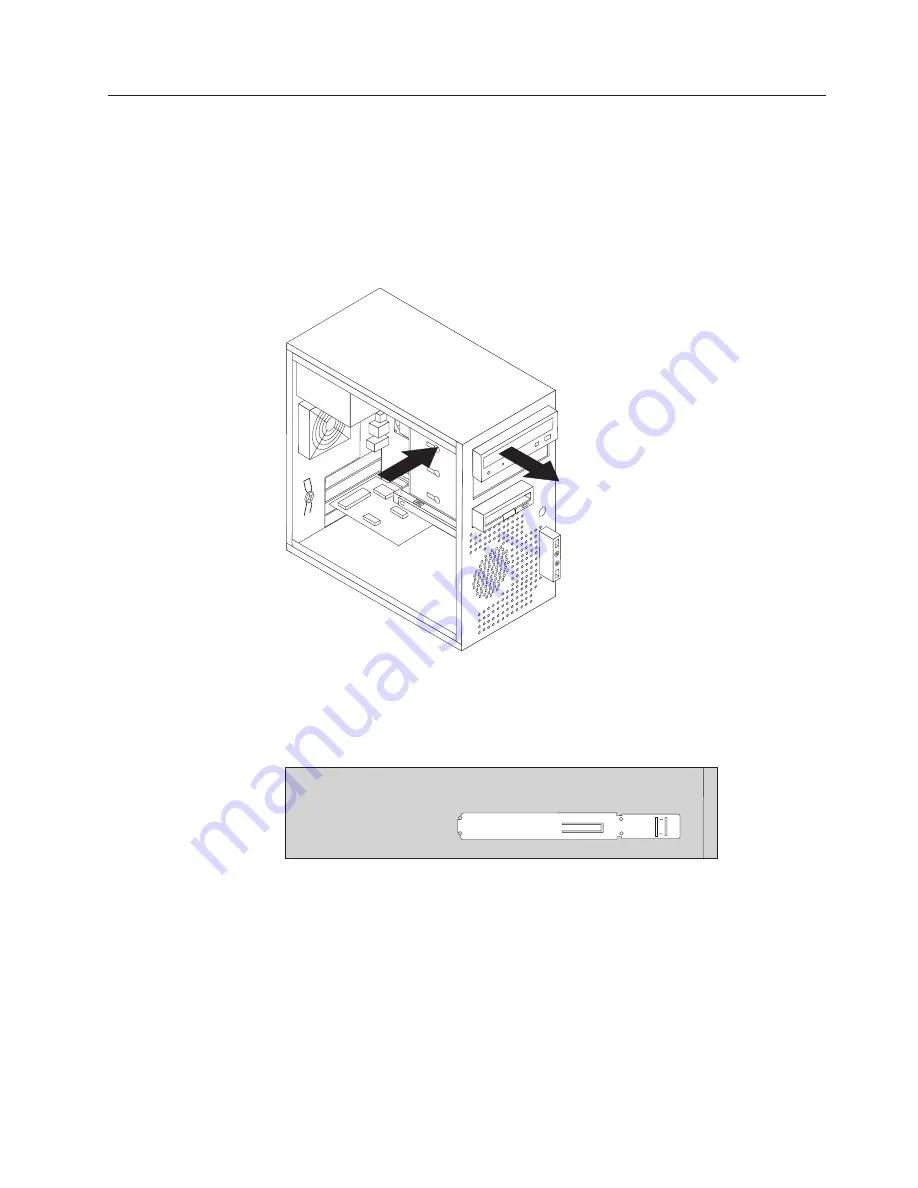
4.
Press
the
release
button
and
remove
the
optical
drive
out
the
front
of
the
computer.
Note:
Notice
that
there
is
a
spare
retainer
bracket
1
attached
to
the
upper
drive
cage.
5.
Remove
the
retainer
bracket
from
the
drive
being
replaced
and
install
it
on
the
new
drive.
6.
Slide
the
new
optical
drive
into
the
bay
from
the
front
until
it
snaps
into
position.
7.
Connect
the
signal
and
power
cables
to
the
drive.
8.
Replace
the
front
bezel.
See
“Removing
and
replacing
the
front
bezel”
on
page
128.
9.
Go
to
“Completing
the
FRU
replacement”
on
page
161.
Chapter
9.
Replacing
FRUs
-
Tower
Computers
153
Summary of Contents for 7812
Page 2: ......
Page 3: ...Hardware Maintenance Manual ...
Page 17: ...Chapter 2 Safety information 11 ...
Page 18: ...12 Hardware Maintenance Manual ...
Page 19: ... 18 kg 37 lbs 32 kg 70 5 lbs 55 kg 121 2 lbs 1 2 Chapter 2 Safety information 13 ...
Page 23: ...Chapter 2 Safety information 17 ...
Page 24: ...1 2 18 Hardware Maintenance Manual ...
Page 25: ...Chapter 2 Safety information 19 ...
Page 26: ...1 2 20 Hardware Maintenance Manual ...
Page 33: ...Chapter 2 Safety information 27 ...
Page 34: ...28 Hardware Maintenance Manual ...
Page 35: ...1 2 Chapter 2 Safety information 29 ...
Page 39: ...Chapter 2 Safety information 33 ...
Page 40: ...1 2 34 Hardware Maintenance Manual ...
Page 44: ...38 Hardware Maintenance Manual ...
Page 48: ...42 Hardware Maintenance Manual ...
Page 56: ...50 Hardware Maintenance Manual ...
Page 168: ...162 Hardware Maintenance Manual ...
Page 216: ...210 Hardware Maintenance Manual ...
Page 220: ...214 Hardware Maintenance Manual ...
Page 223: ......
Page 224: ...Part Number 43C3182 Printed in USA 1P P N 43C3182 ...


