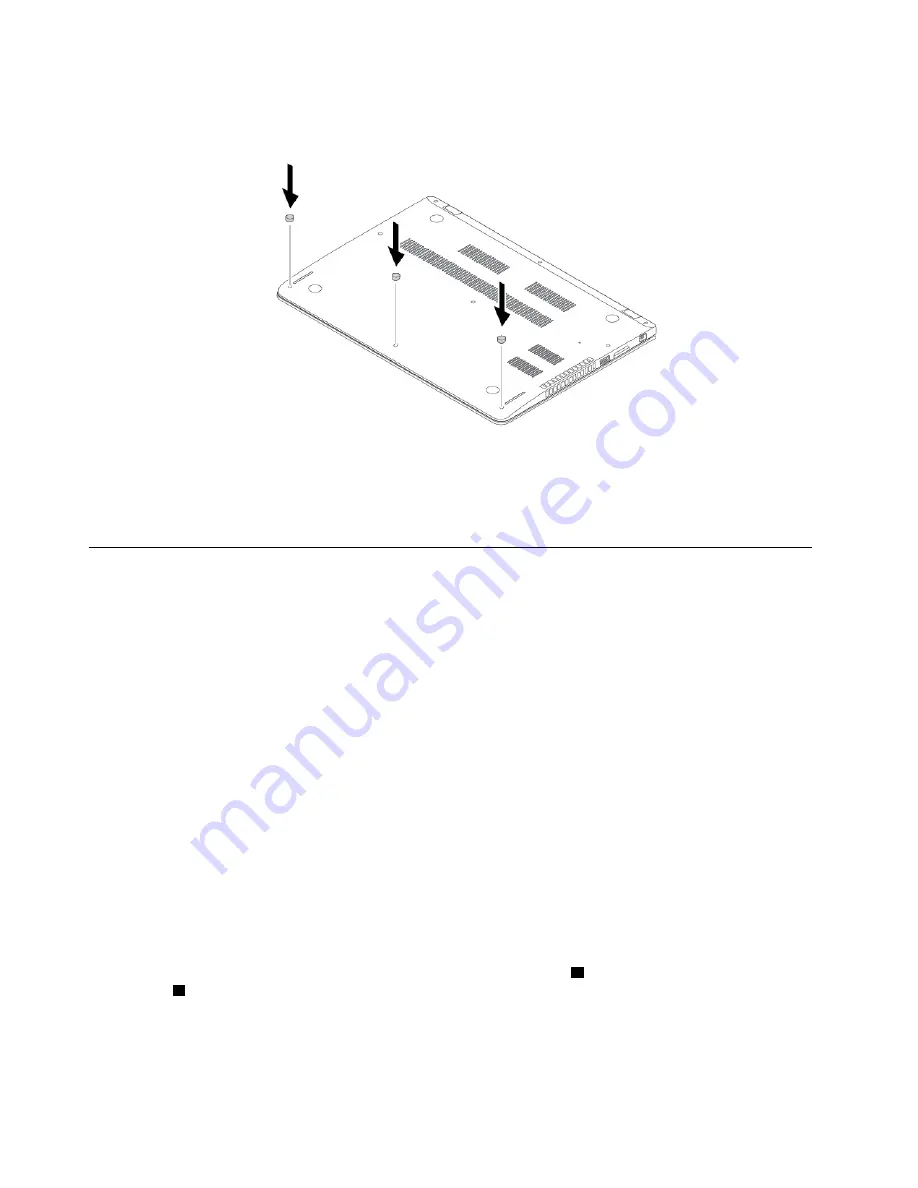
8. Turn the computer over. Connect the ac power adapter and all cables to the computer.
Replacing a memory module
Before you start, read “Important safety information” on page v and print following instructions.
Increasing memory capacity is an effective way to make programs run faster. You can increase memory
capacity by replacing or adding a memory module.
Note:
The operating speed of the memory module has dependency on the system configuration. In some
conditions, the memory module in your computer might not be able to operate at the maximum speed.
Attention:
• Before you start the replacement, touch a grounded metal object. This action reduces any static electricity
from your body. Static electricity might damage the memory module.
• Do not touch the contact edge of the memory module. Otherwise the memory module might get
damaged.
To replace a memory module, do the following:
1. Disable the built-in battery. See “Disabling the built-in battery” on page 83.
2. Ensure that the computer is turned off and disconnected from ac power and all cables.
3. Close the computer display and turn the computer over.
4. Remove the base cover assembly. See “Replacing the base cover assembly” on page 84.
5. Open the latches on both sides of the memory slot at the same time
1
, and then remove the memory
module
2
.
86
ThinkPad 13 2nd Gen User Guide
Summary of Contents for 20J1
Page 1: ...ThinkPad 13 2nd Gen User Guide ...
Page 6: ...iv ThinkPad 13 2nd Gen User Guide ...
Page 18: ...xvi ThinkPad 13 2nd Gen User Guide ...
Page 30: ...12 ThinkPad 13 2nd Gen User Guide ...
Page 60: ...42 ThinkPad 13 2nd Gen User Guide ...
Page 98: ...80 ThinkPad 13 2nd Gen User Guide ...
Page 120: ...102 ThinkPad 13 2nd Gen User Guide ...
Page 132: ...114 ThinkPad 13 2nd Gen User Guide ...
Page 133: ...Taiwan RoHS Appendix C Restriction of Hazardous Substances RoHS Directive 115 ...
Page 134: ...116 ThinkPad 13 2nd Gen User Guide ...
Page 140: ...122 ThinkPad 13 2nd Gen User Guide ...
Page 141: ......
Page 142: ......


