icomfort
Touch Screen 7−Day Programmable Thermostat
Page 9
Installer setup − Page 4 of 8
Add/remove
/modify
non−communicating devices
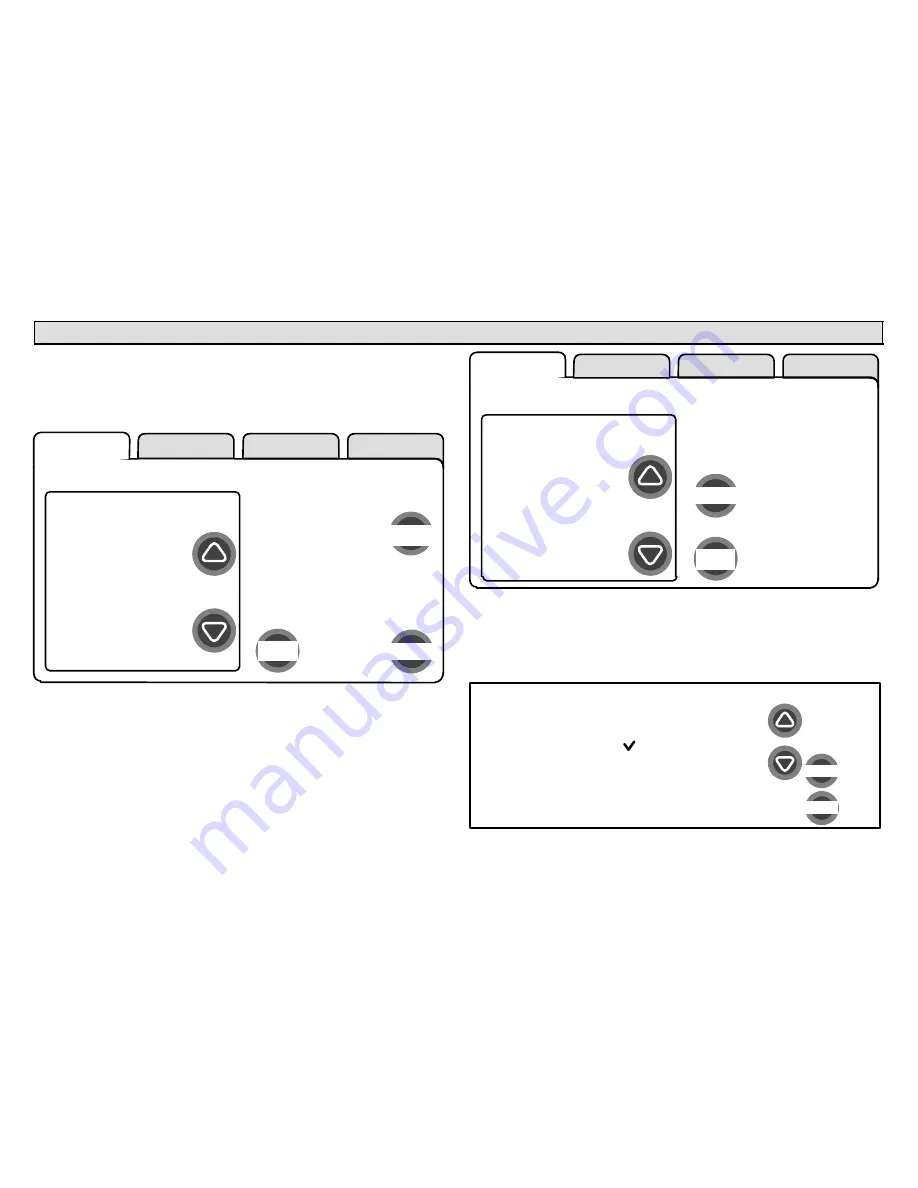
From this screen (figure 9), use the
yes
button to access a list of non−
communicating devices for installing or removing. A list similar to that
shown in figure 10 will appear.
setup
HELP
yes
next step
back
Add or Remove
Non−communicating
equipment?
HP
XP19−060−230−06
5809K00015
AIR HANDLER
CBX32MV−60
5809K00020
THERMOSTAT
49W95
A109K00139
SYSTEM
system devices
Figure 9. Add/remove/modify non−communicating devices
Humidification / Dehumidification Control Modes
depend on a hu-
midifier and/or dehumidifier being added to the system. Therefore, you
must press
yes
on the button near "Add or Remove Non−communicating
equipment?" Also, in order for the user’s display to show these controls,
the system controls must be set. See Page 12 for more information.
Use the up/down arrows (see figure 10) to select a setting. The right hand
side of the screen indicates what is currently selected, for example,
Cur-
rent Value: (Not Installed)
; press
edit
if you want to modify that setting.
setup
HELP
edit
back
non−communicating
device list
HUMIDIFIER
DEHUMIDIFIER
UV LIGHT
to adjust a setting, highlight it,
then press edit
Current Value:
(Not Installed)
Figure 10. Installing UV Light
A typical Installed status screen (Figure 11) shows if the device is not
installed or type of equipment installed. Use the arrows to change and
use
save
to save the change. (
Cancel
goes pack to previous screen.)
Installed Status
save
cancel
Not Installed
UV LIGHT
Figure 11. Typical non−communicating device edit screen


